
Integration with Razorpay | API Keys generation for Payment Gateway
This guide provides a step-by-step walkthrough on setting up and configuring your Razorpay account, including KYC verification, policy creation, and API key generation.
API Keys Overview:
API keys are a combination of key_id and key_secret, essential for connecting to Razorpay's services. They work like passwords for your app, enabling secure communication with Razorpay's payment services.
Getting Started with Razorpay Login
Log in to your Dashboard with the appropriate credentials https://dashboard.razorpay.com/app/
Log in using your email address or phone number, and then click "Continue."

Enter the OTP, and then click the "Verify" button.

Initial Configuration & Identity Setup
Click on "Continue"

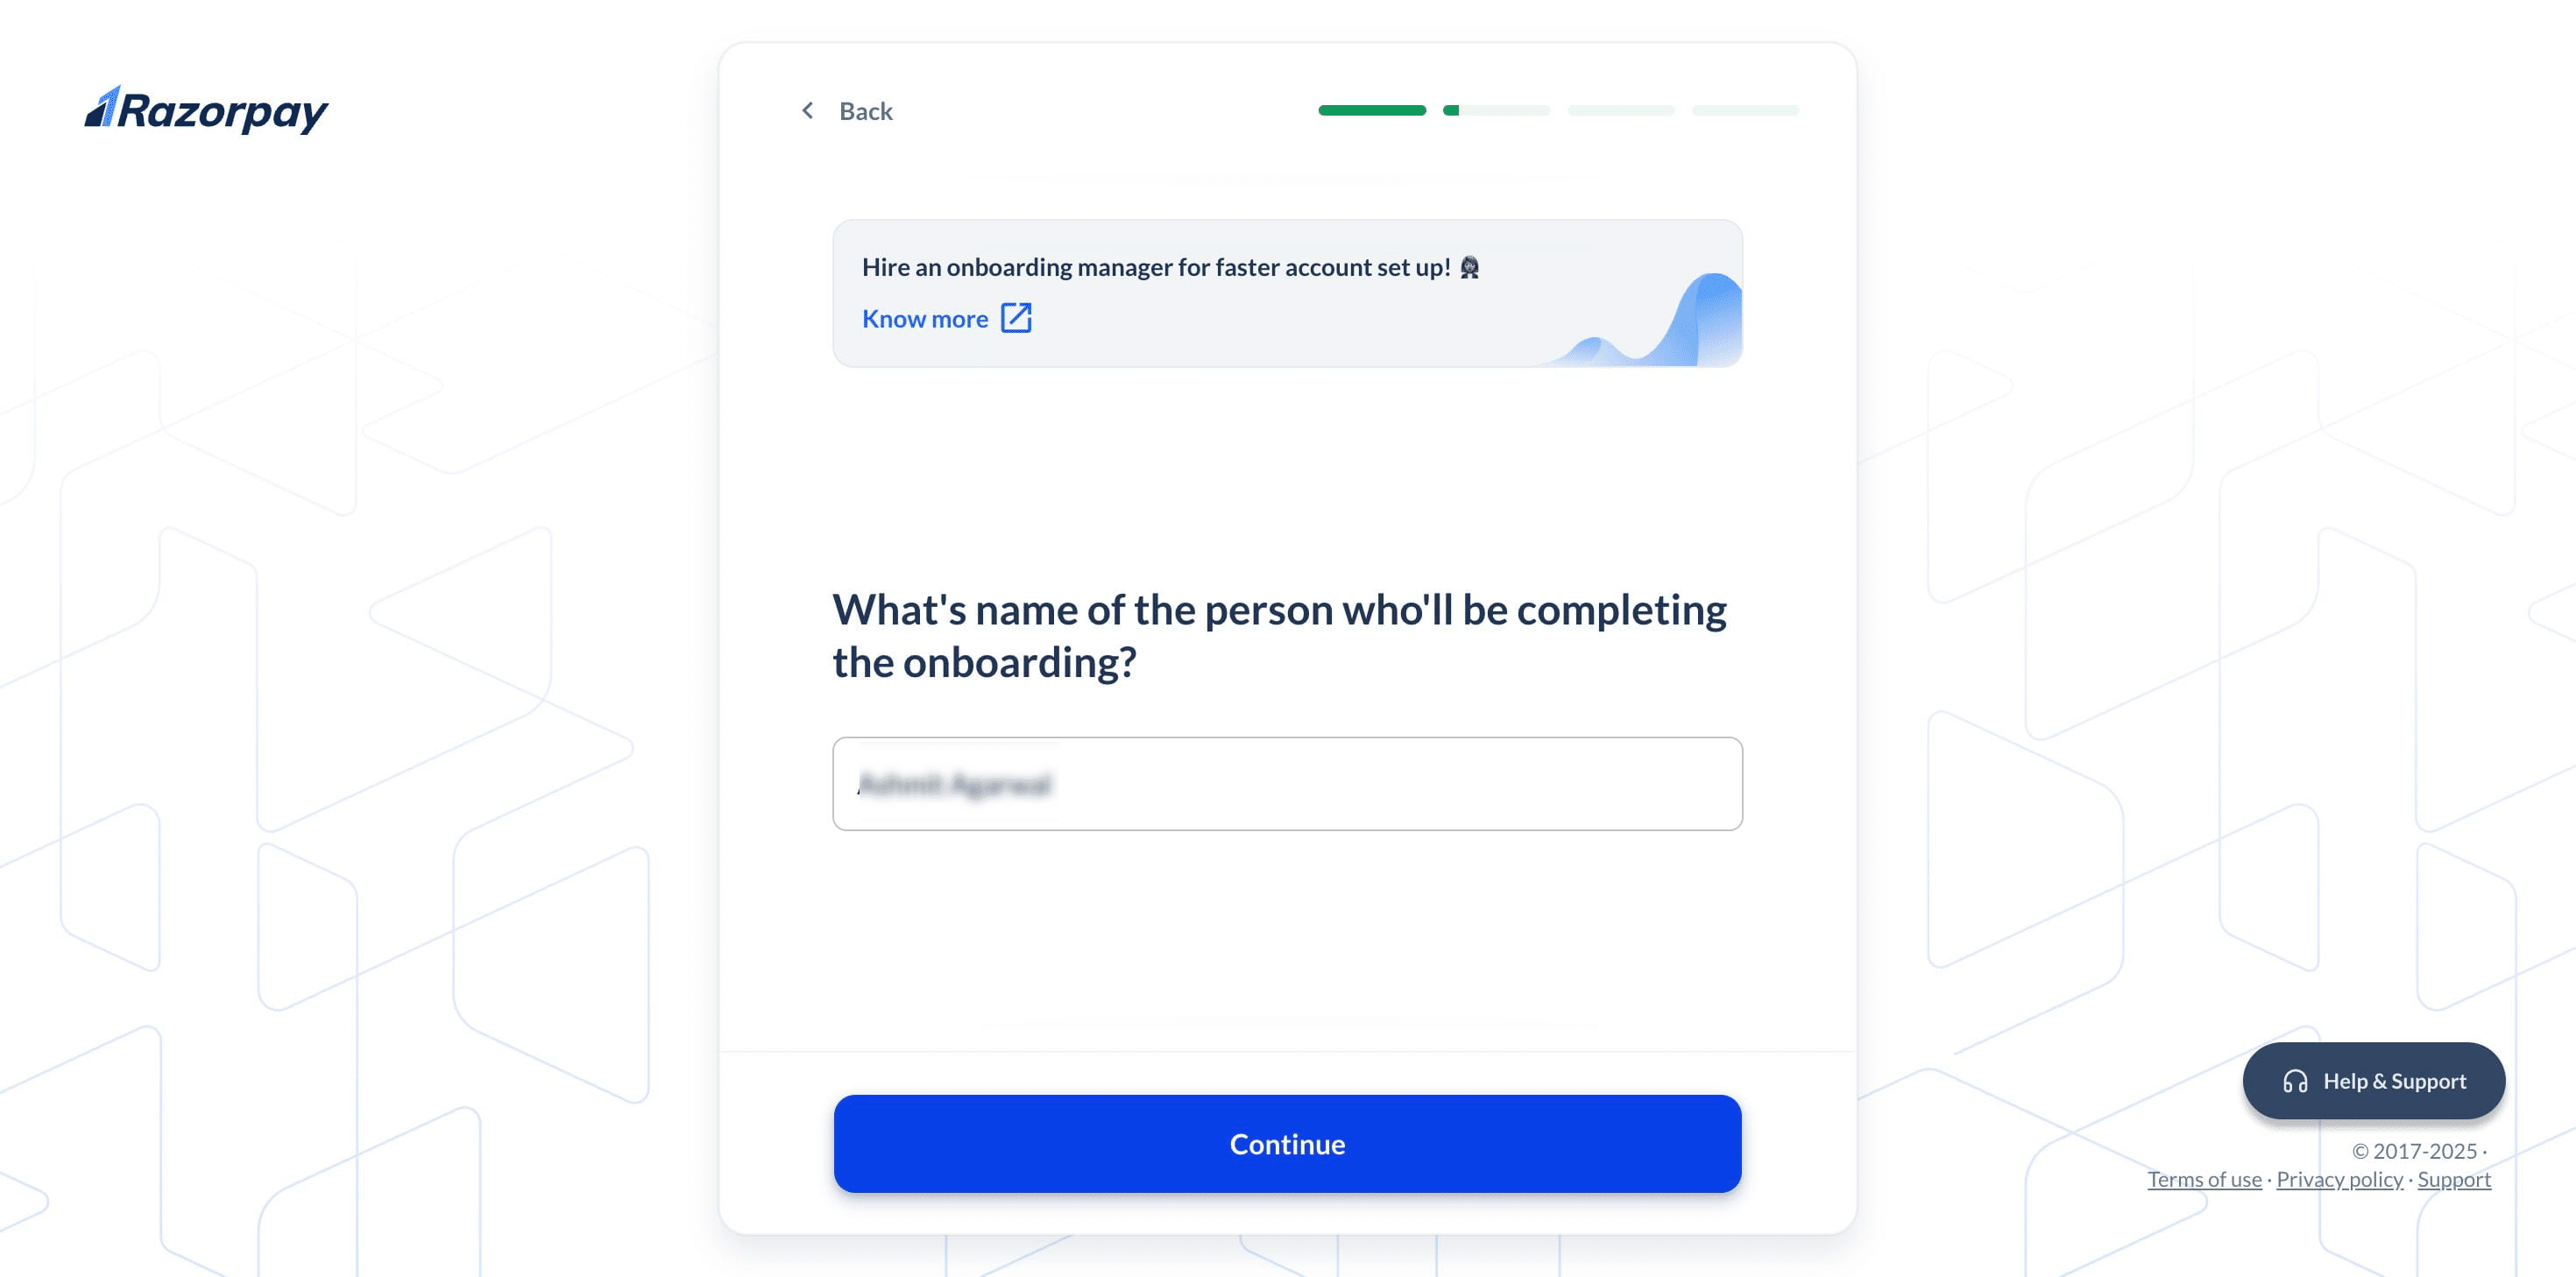
Enter your name and click 'Continue'.
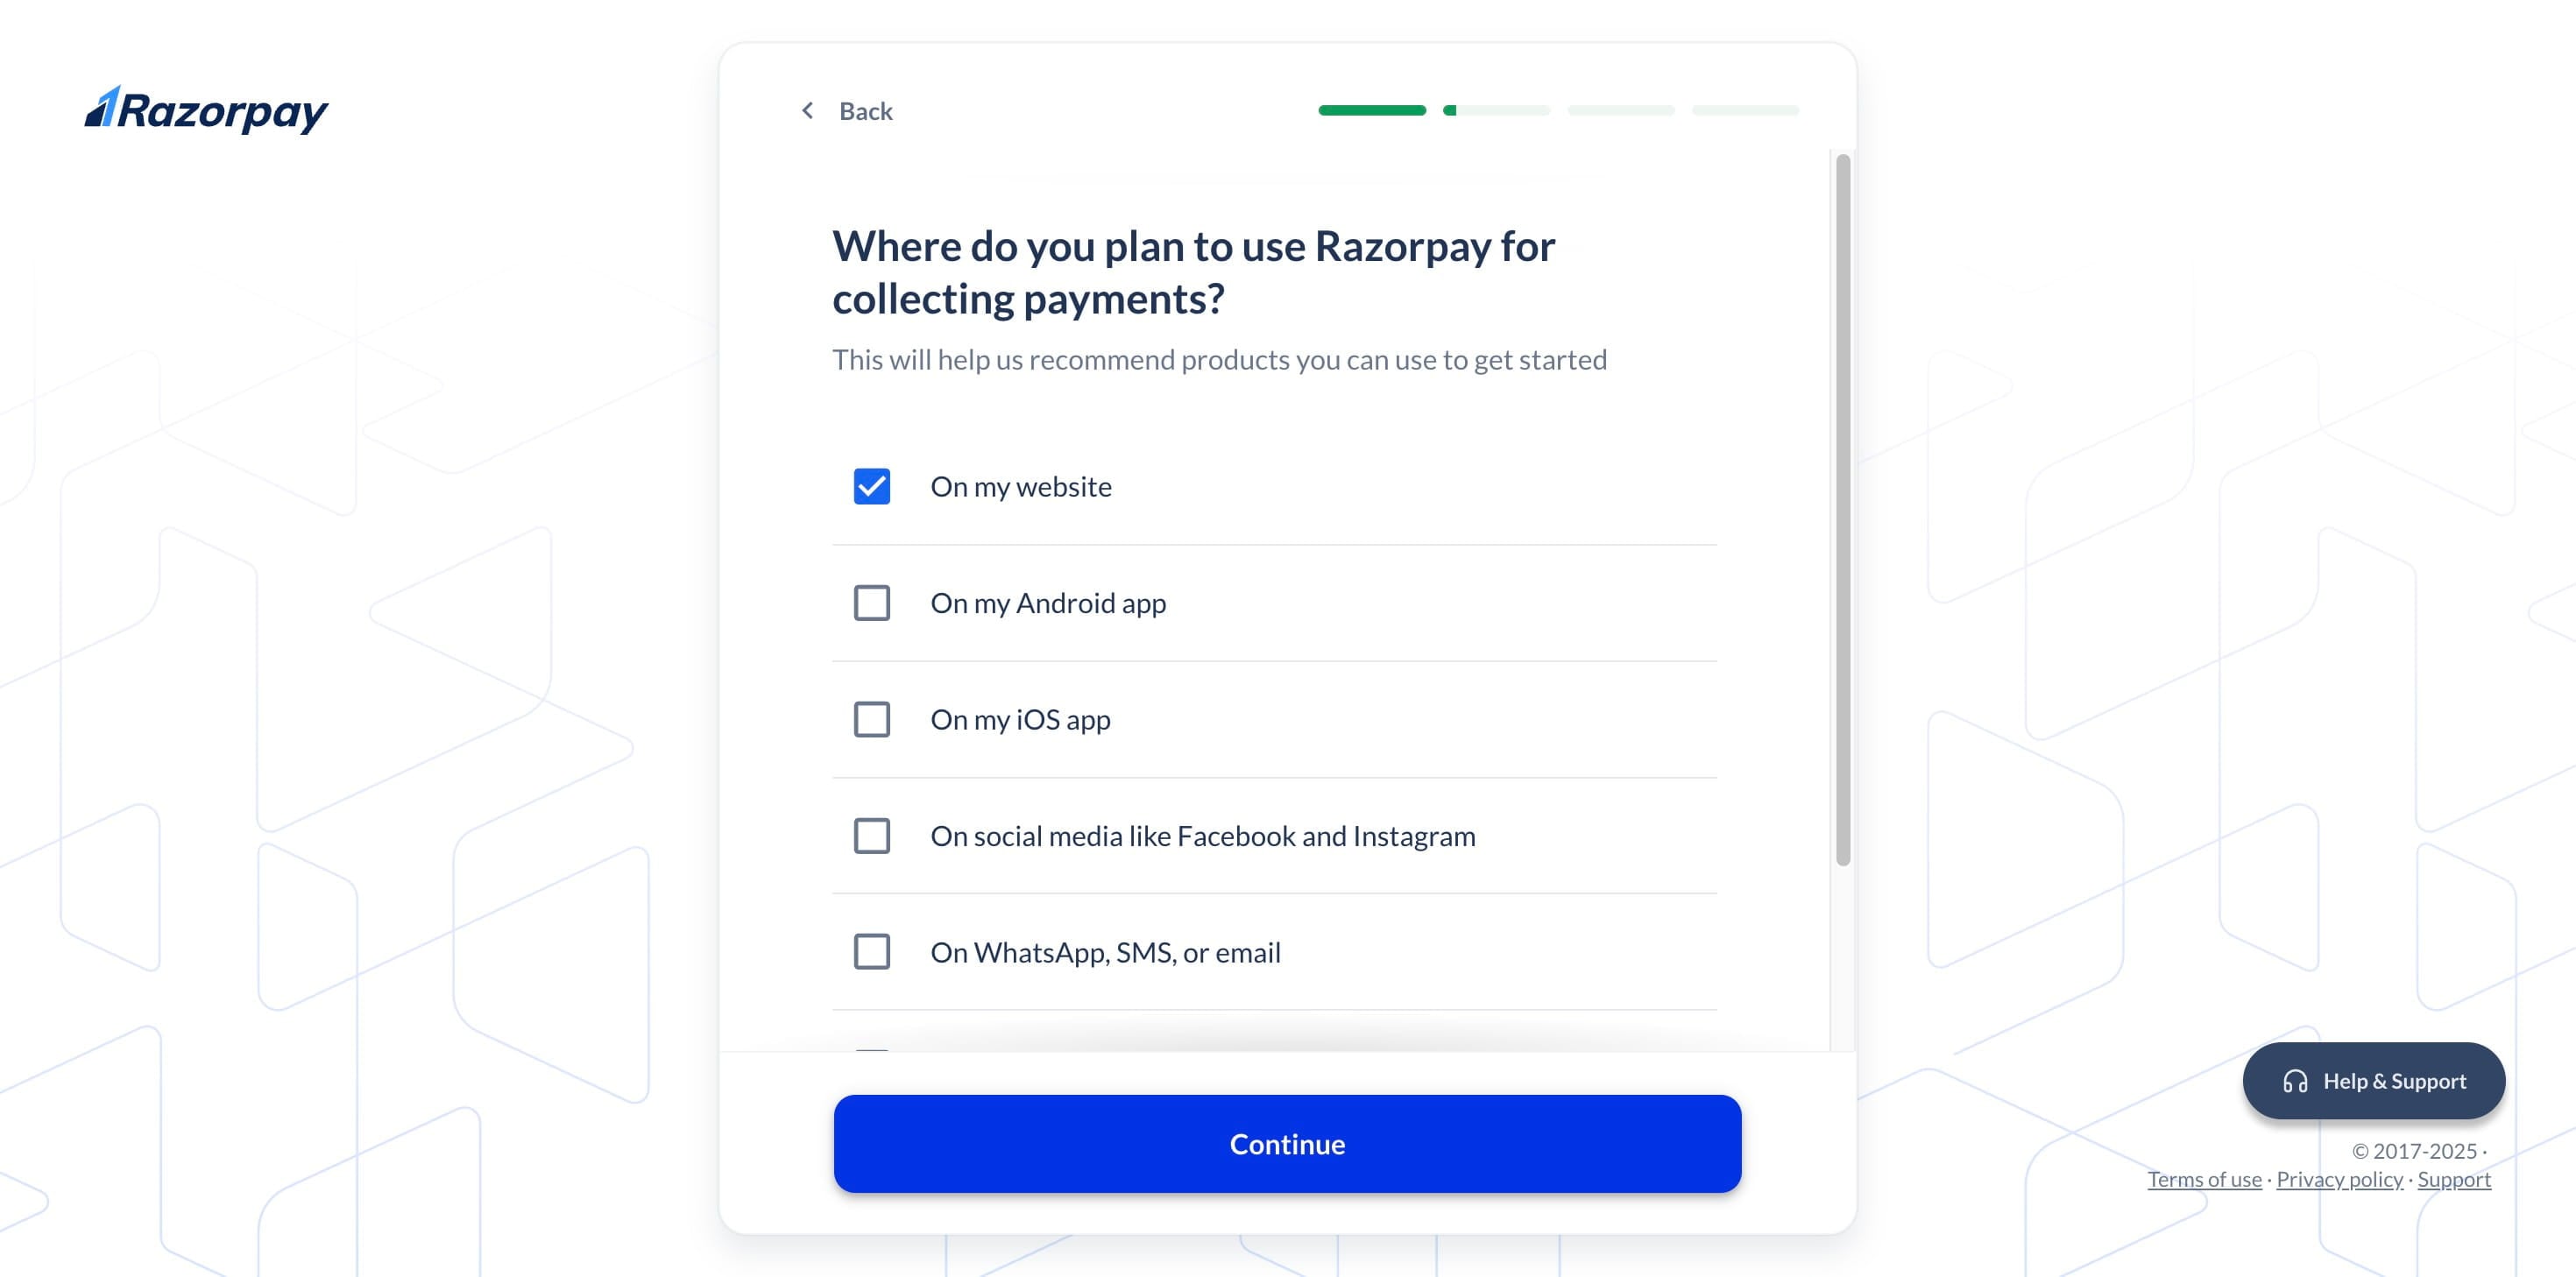
Choose your platform & click "continue."
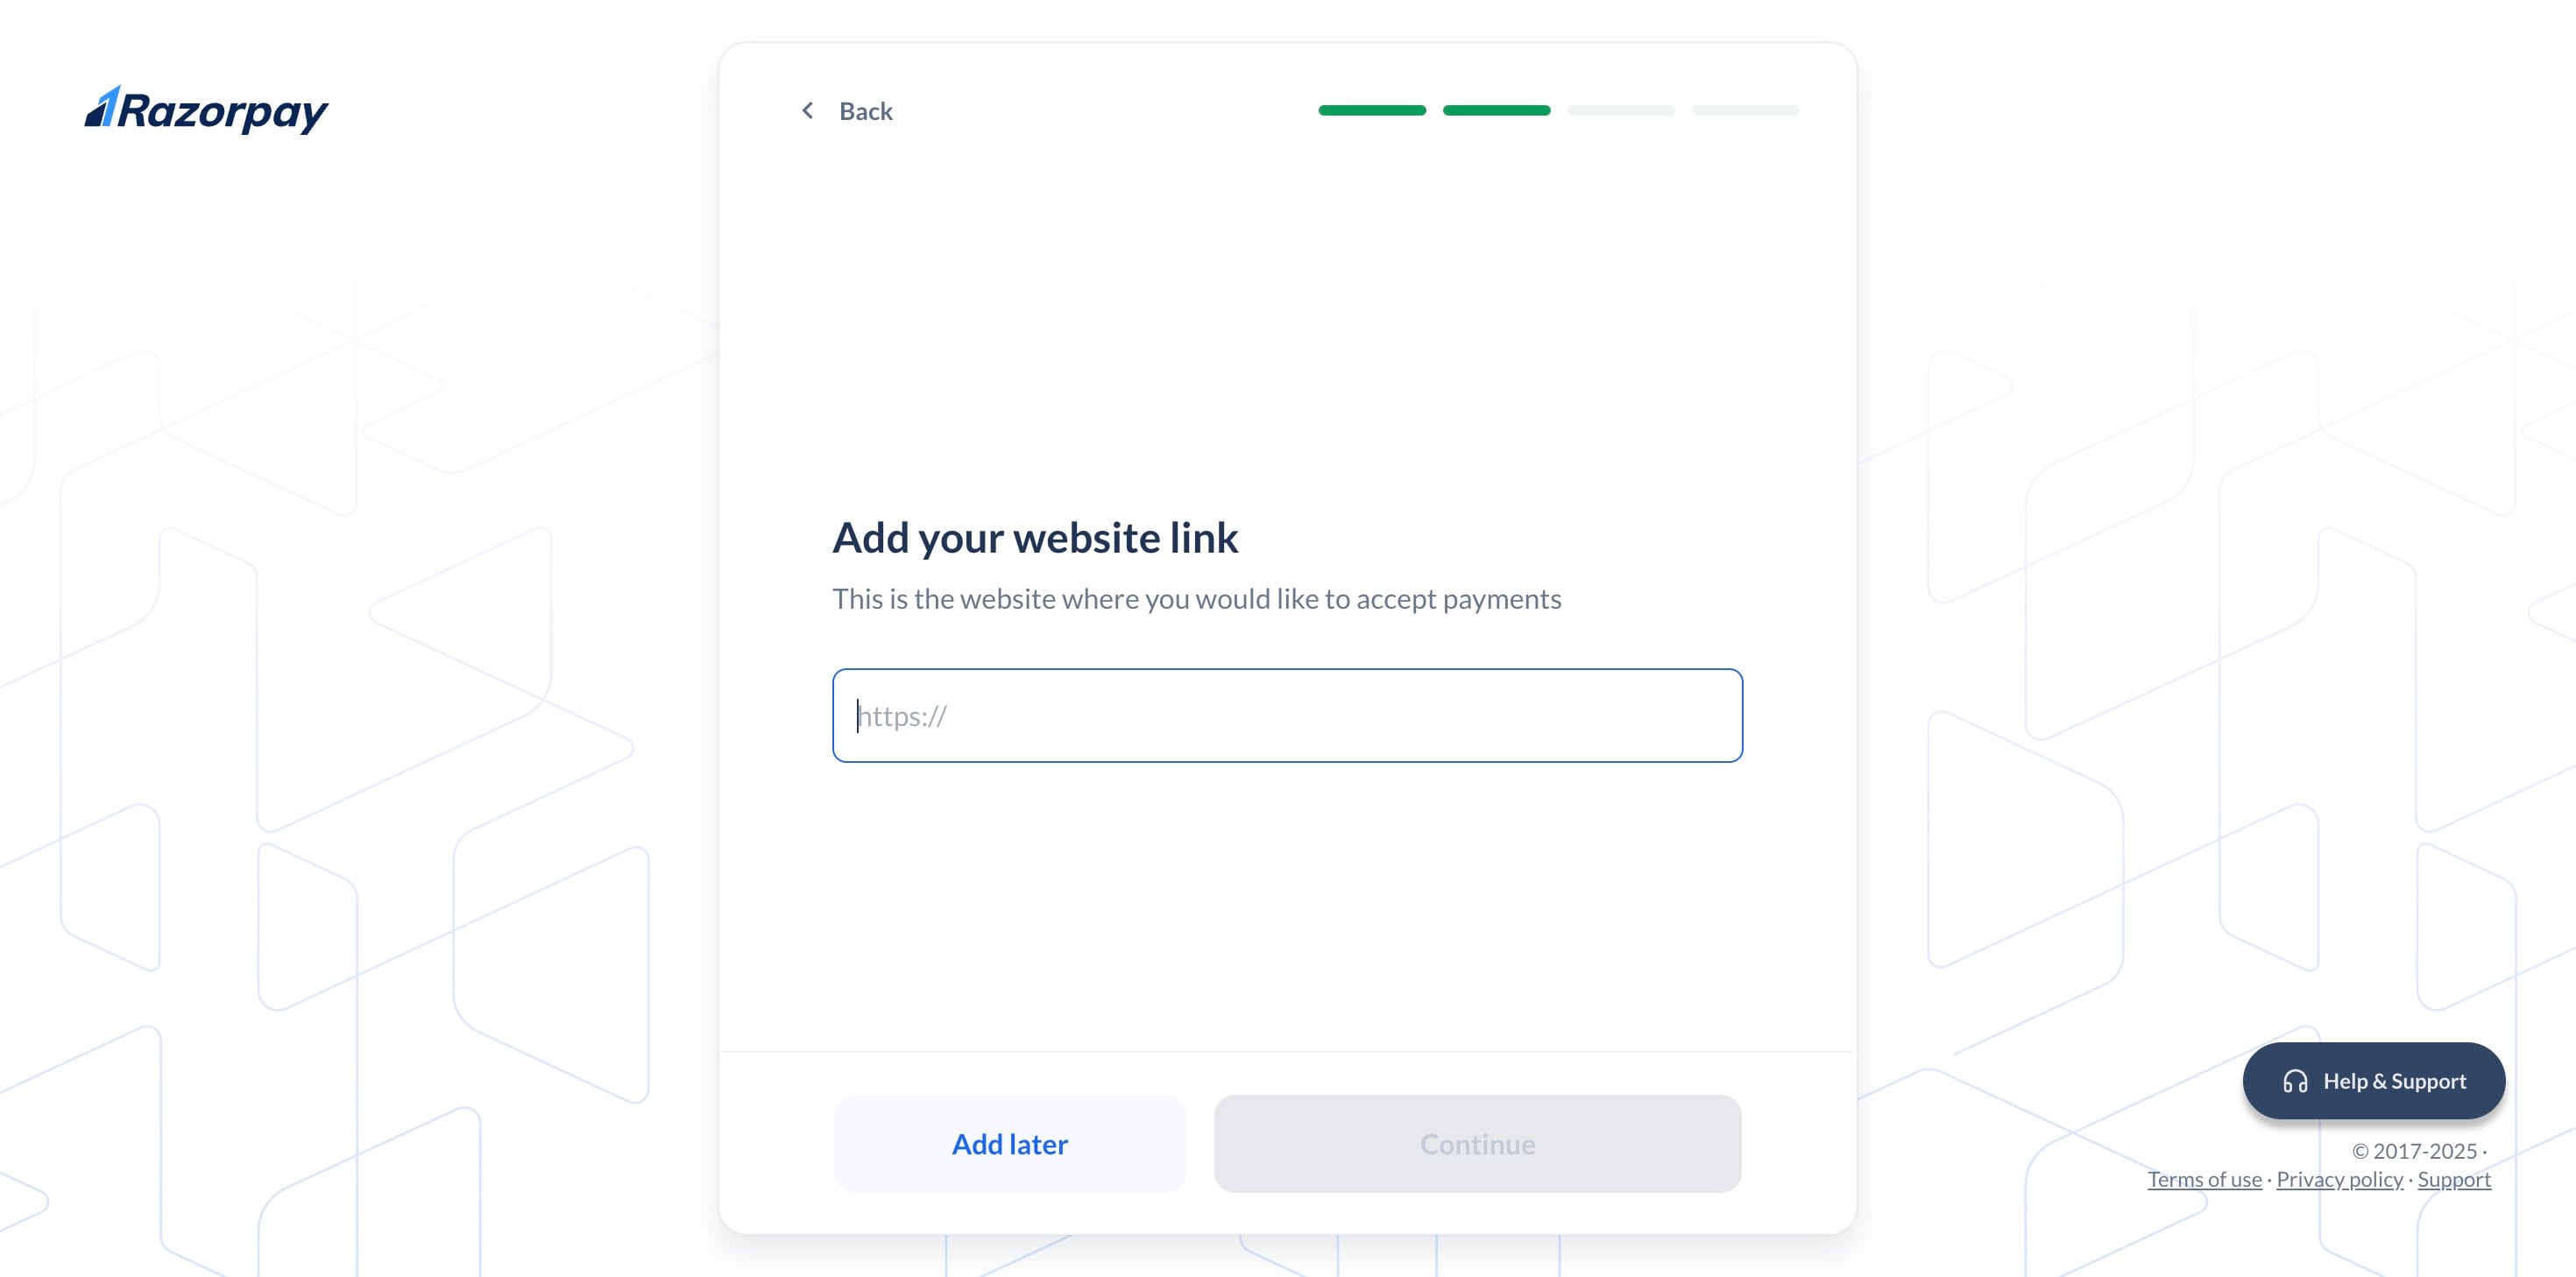
Enter your website link. You can skip this step and add it later if needed.
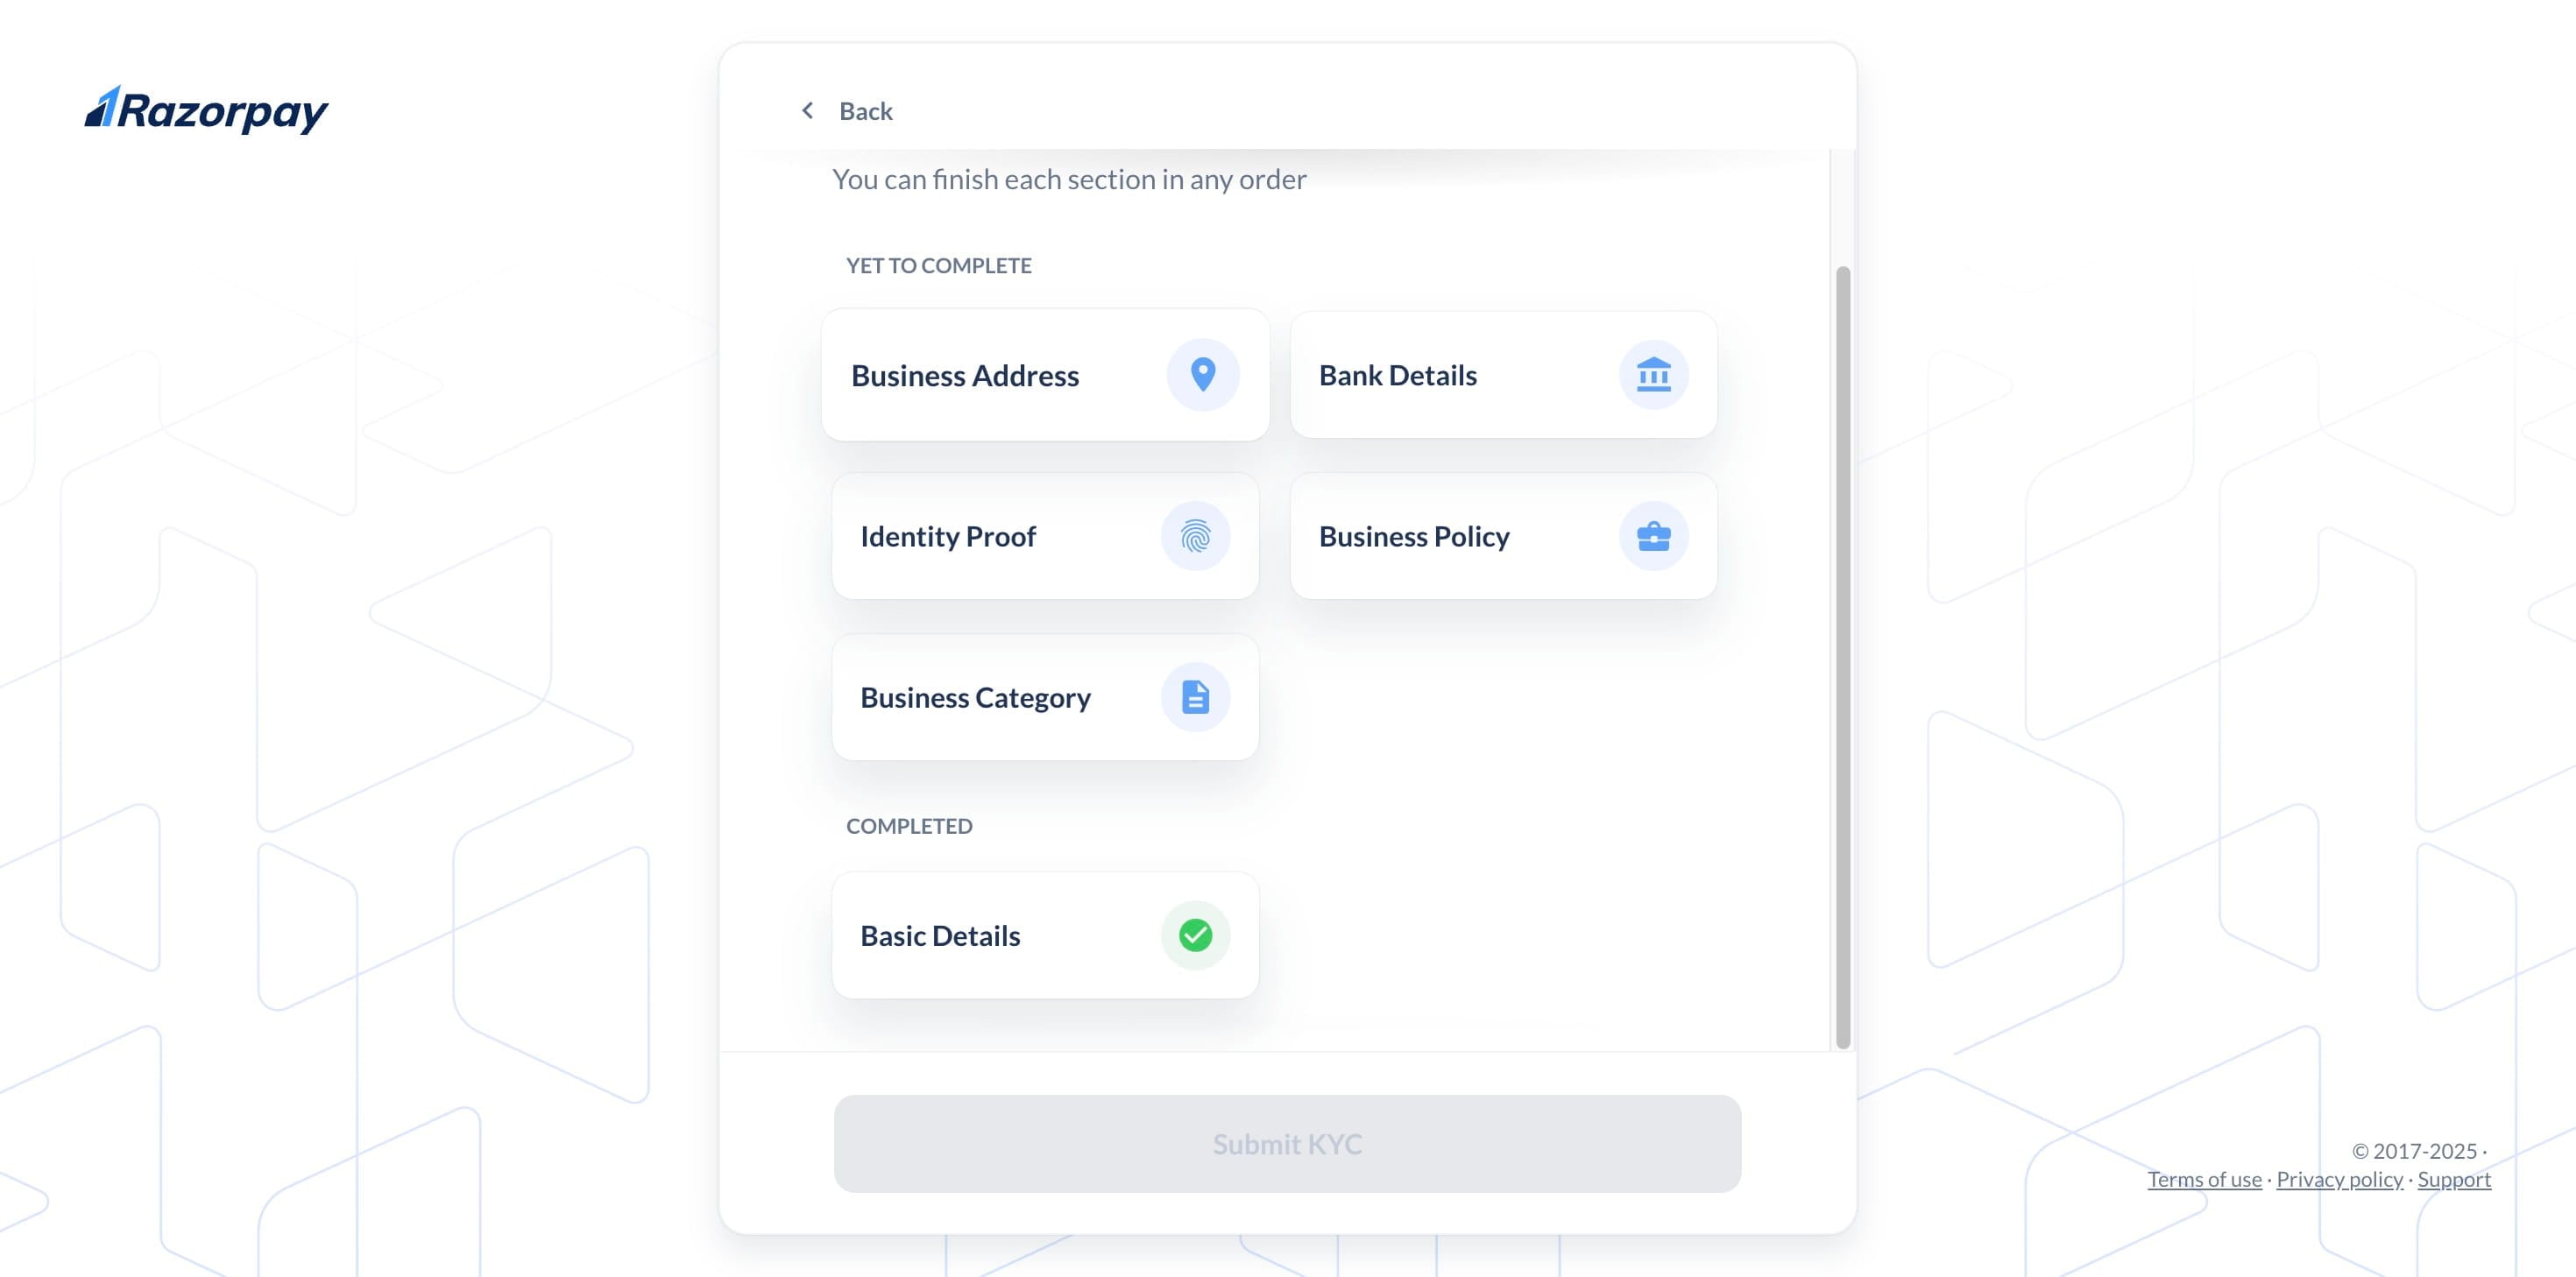
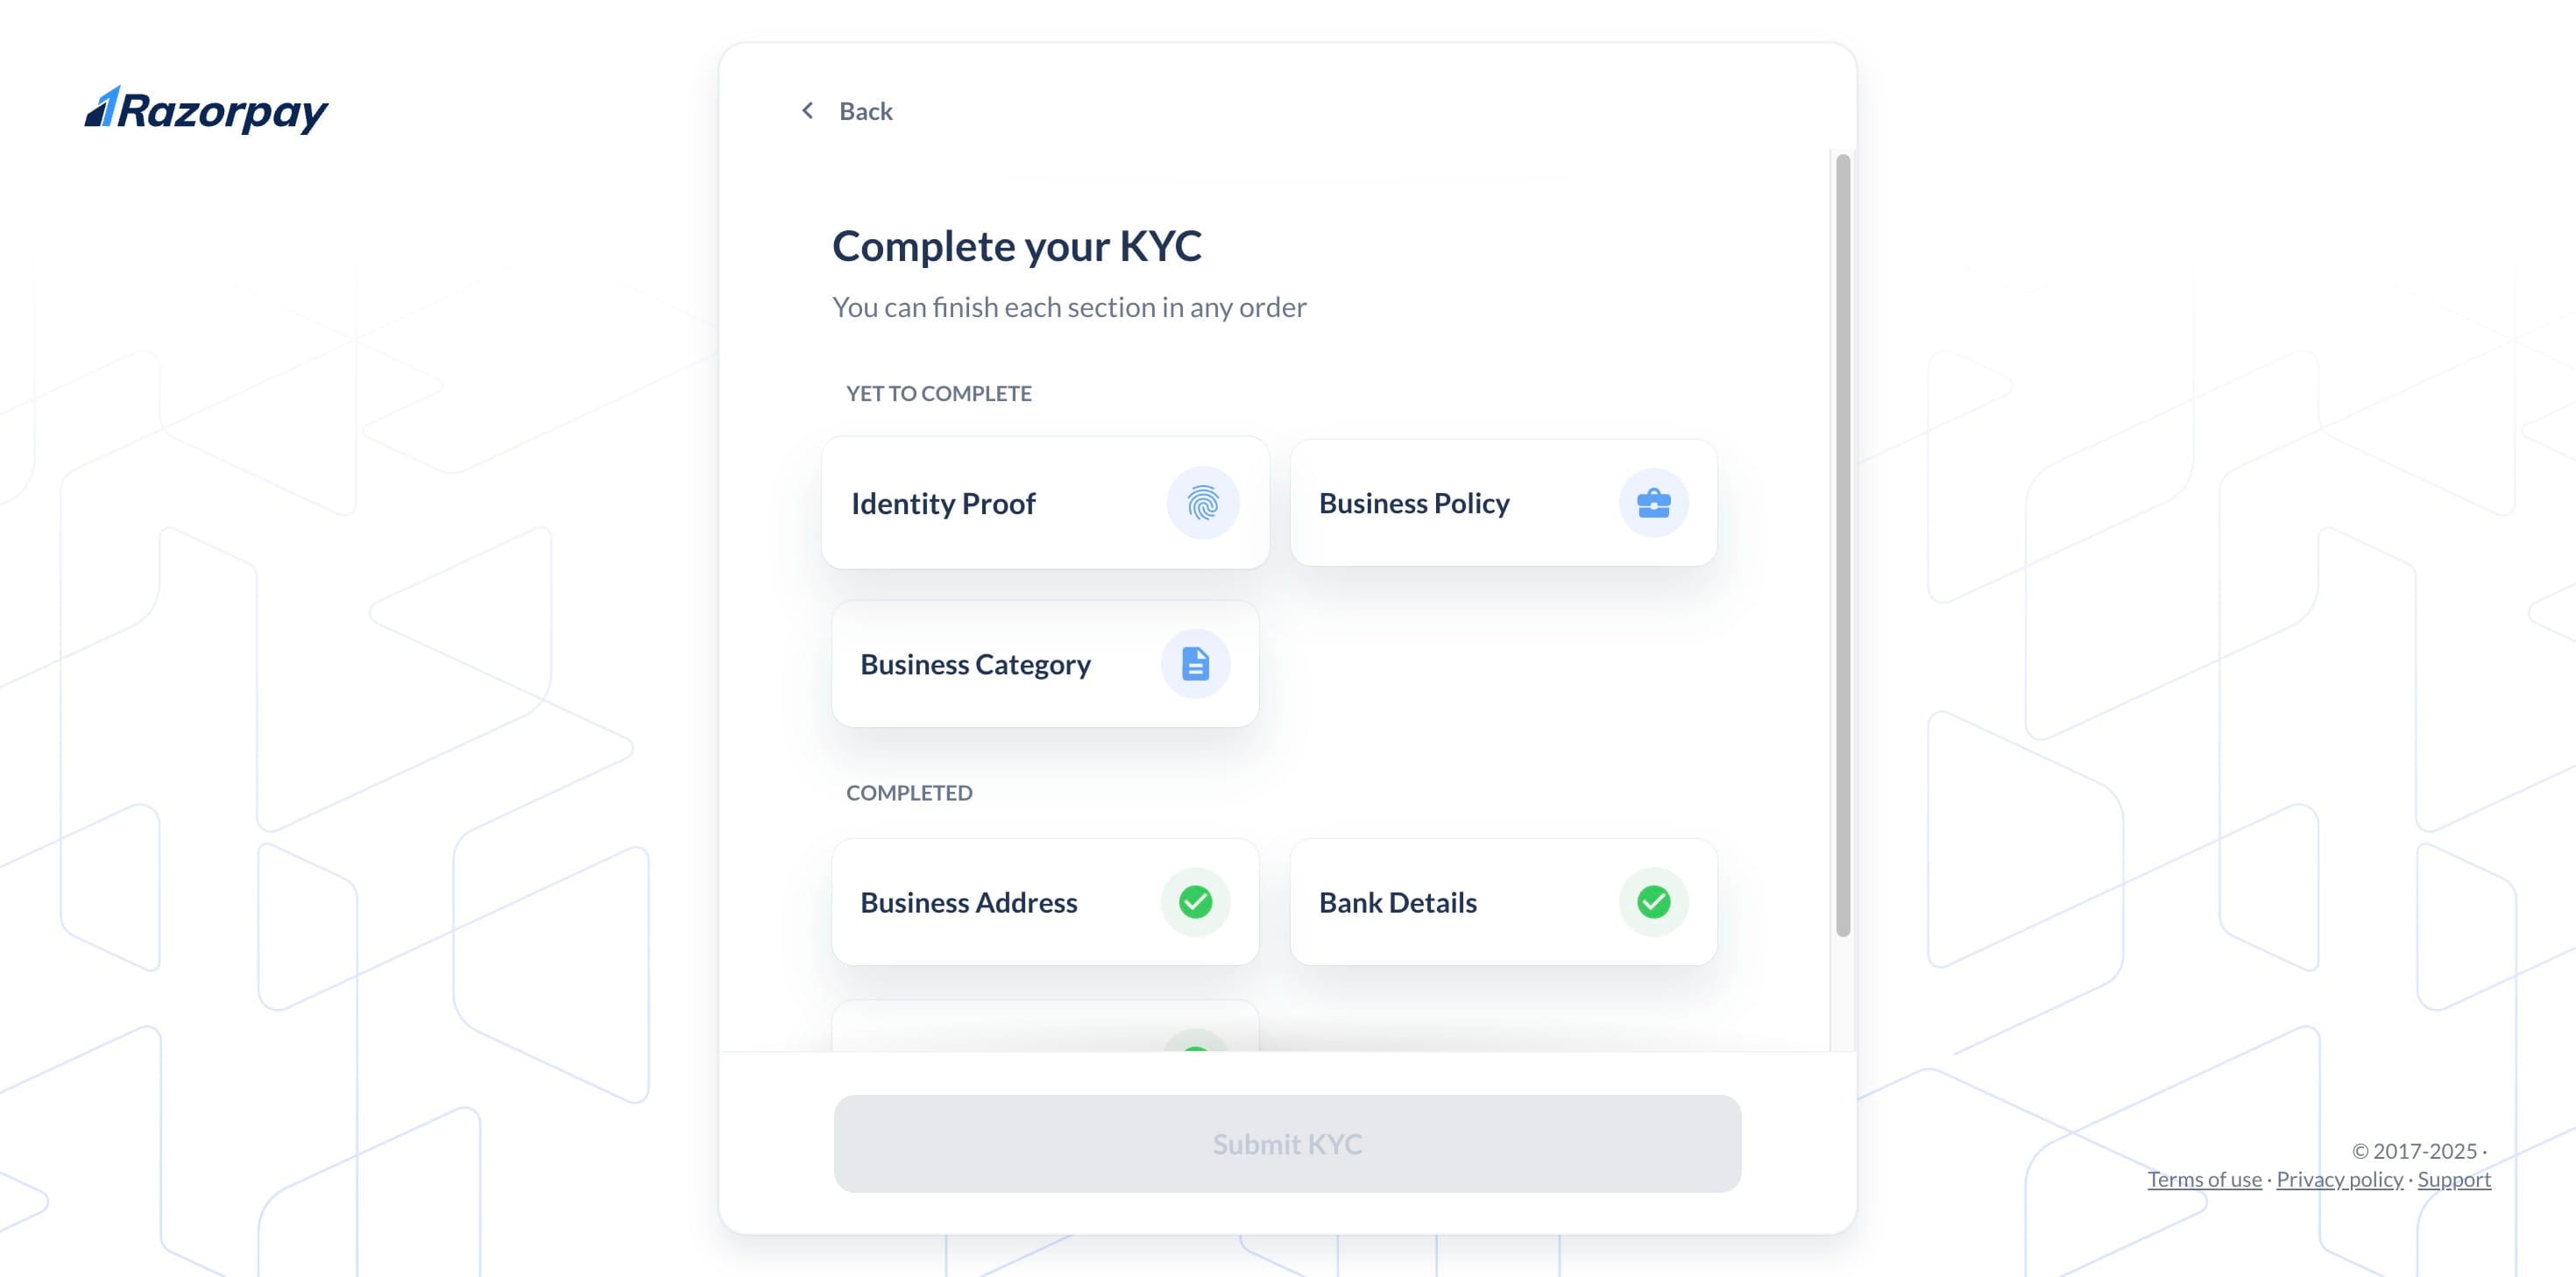
KYC Process: Step-by-Step Completion
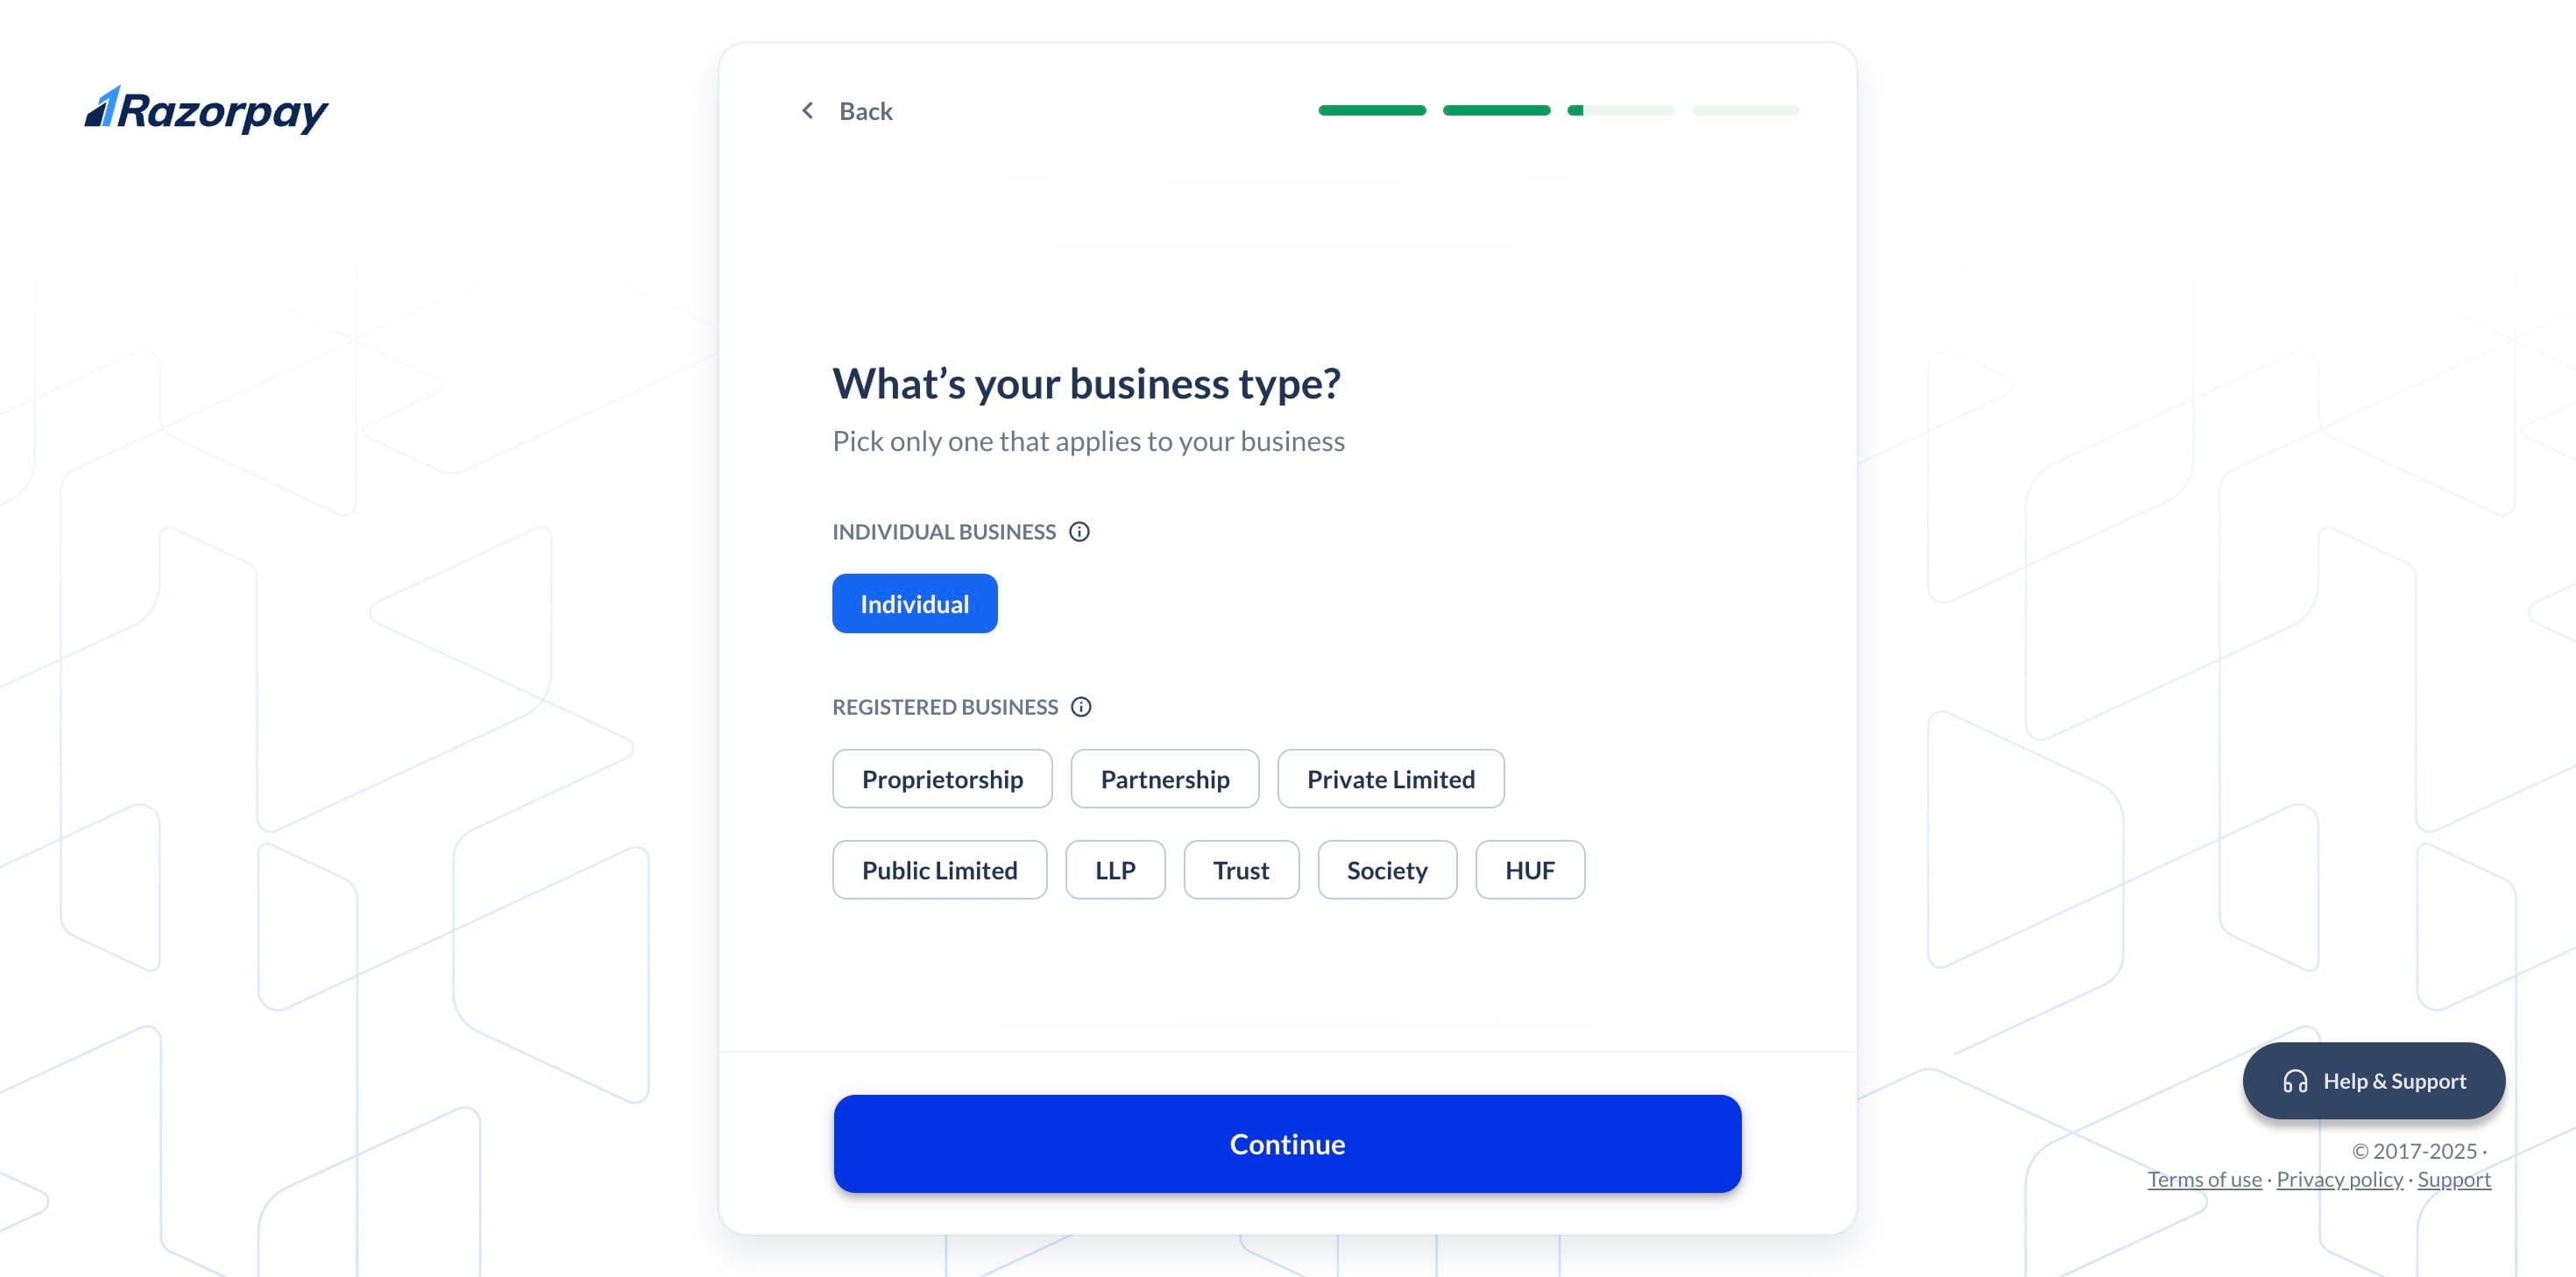
Select your Business Type & click "Continue"
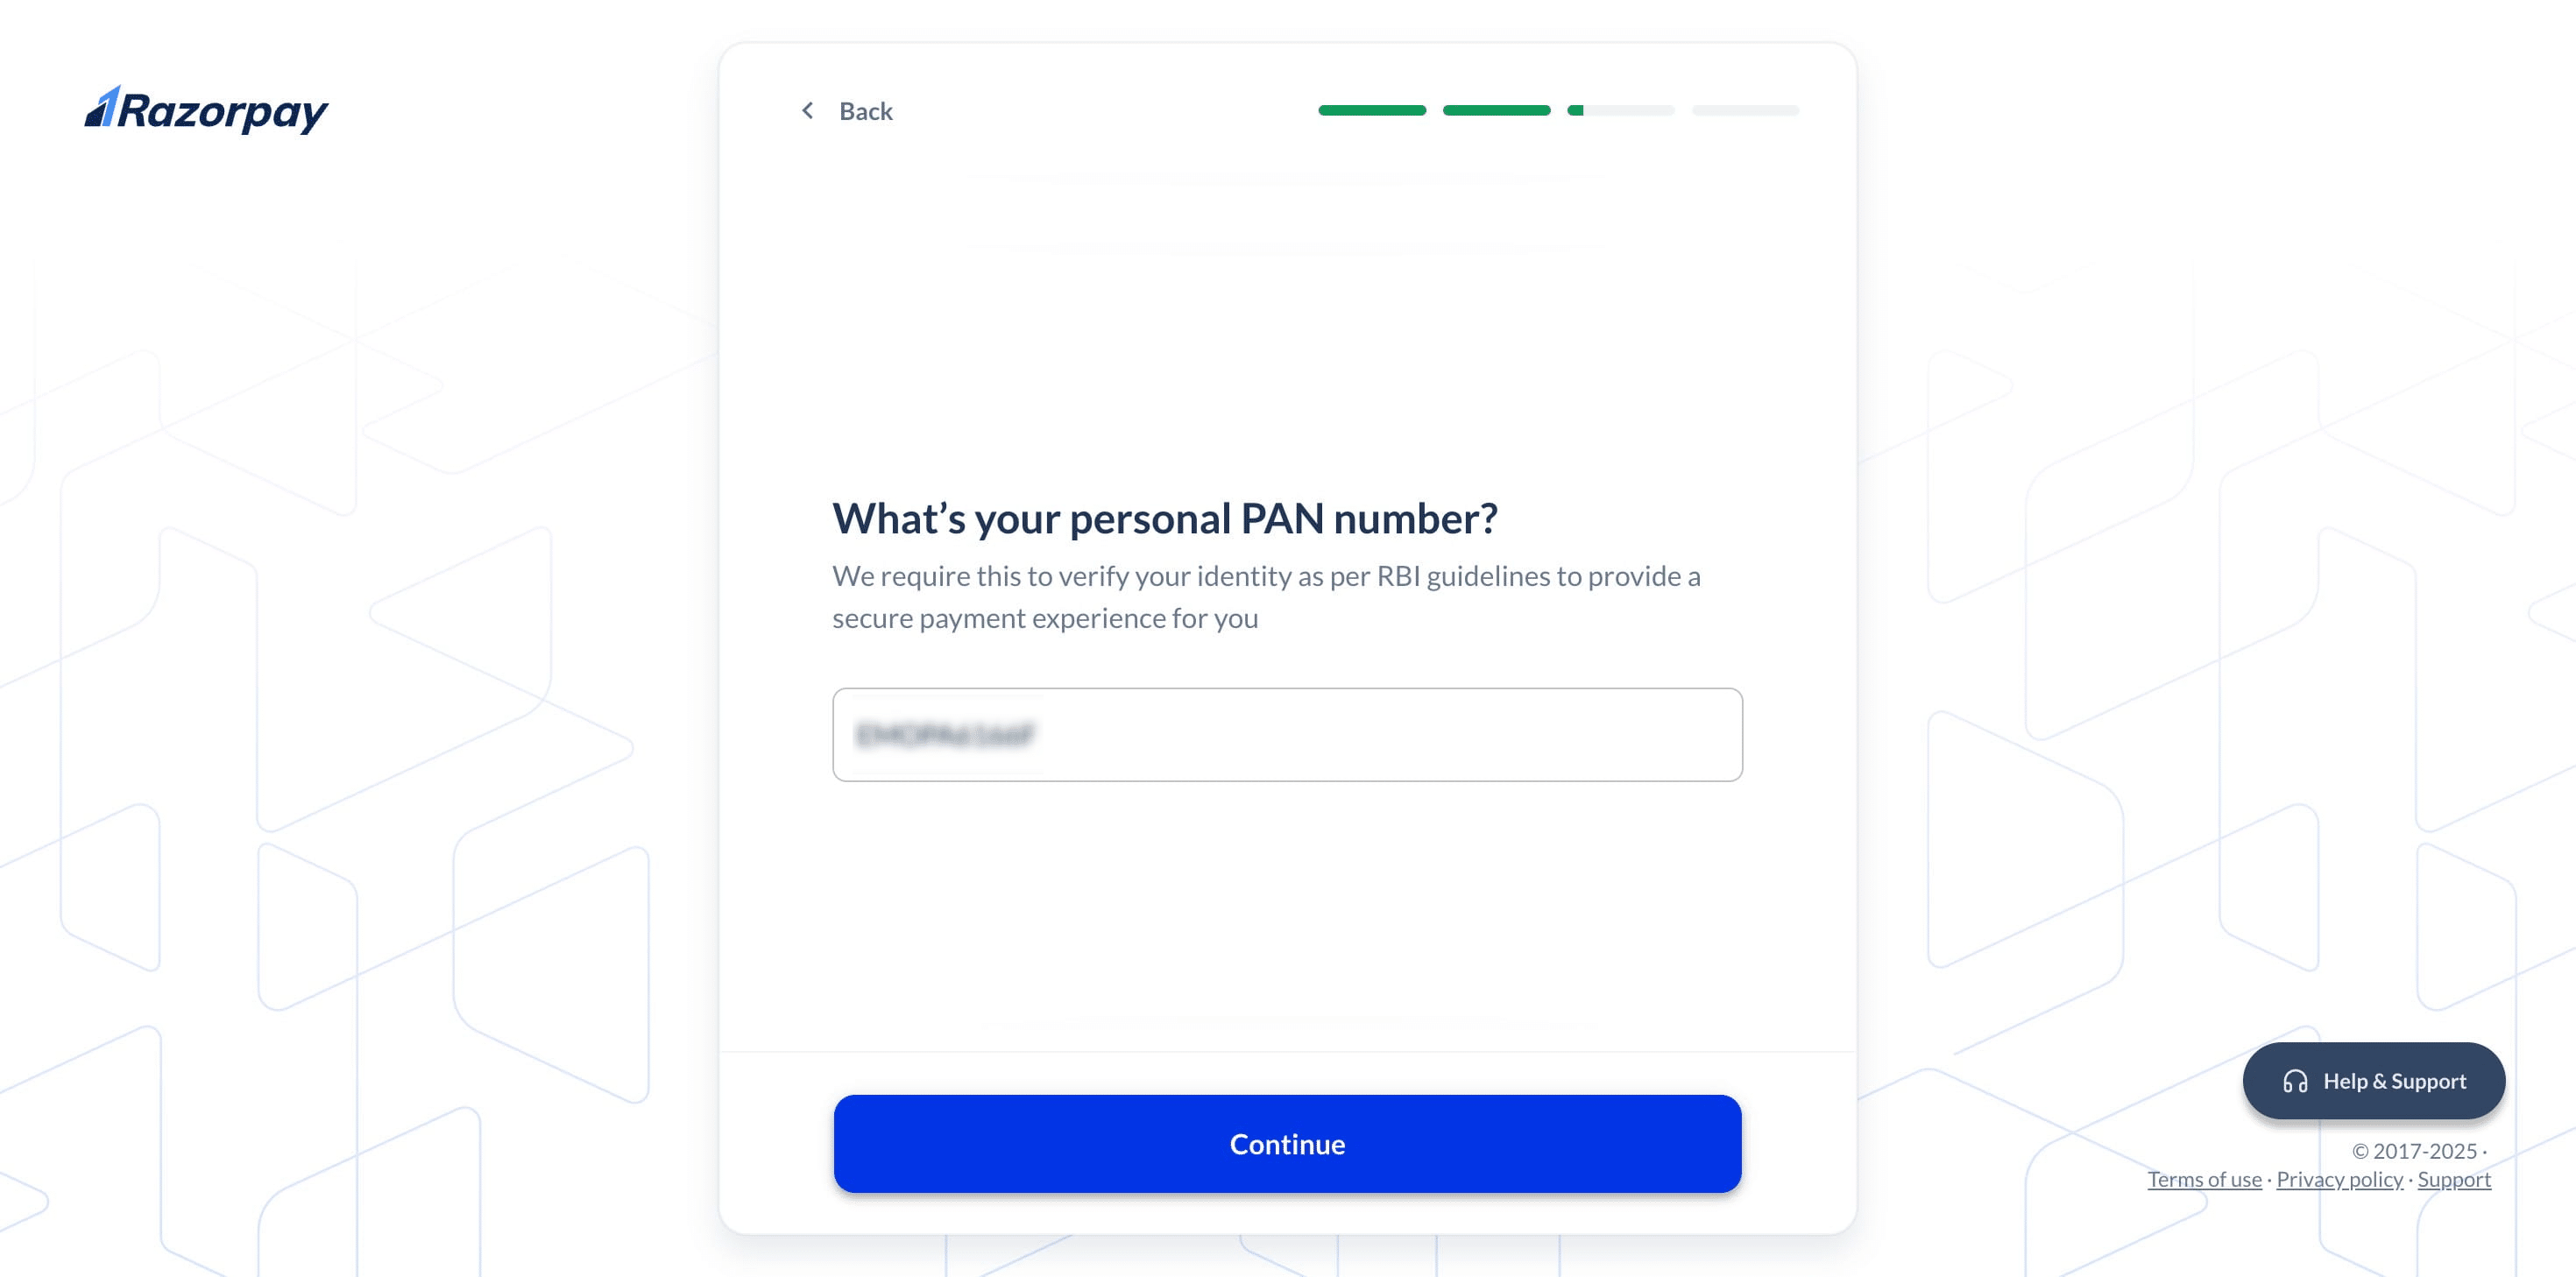
Enter your PAN card number in the designated field & Click on "Continue"
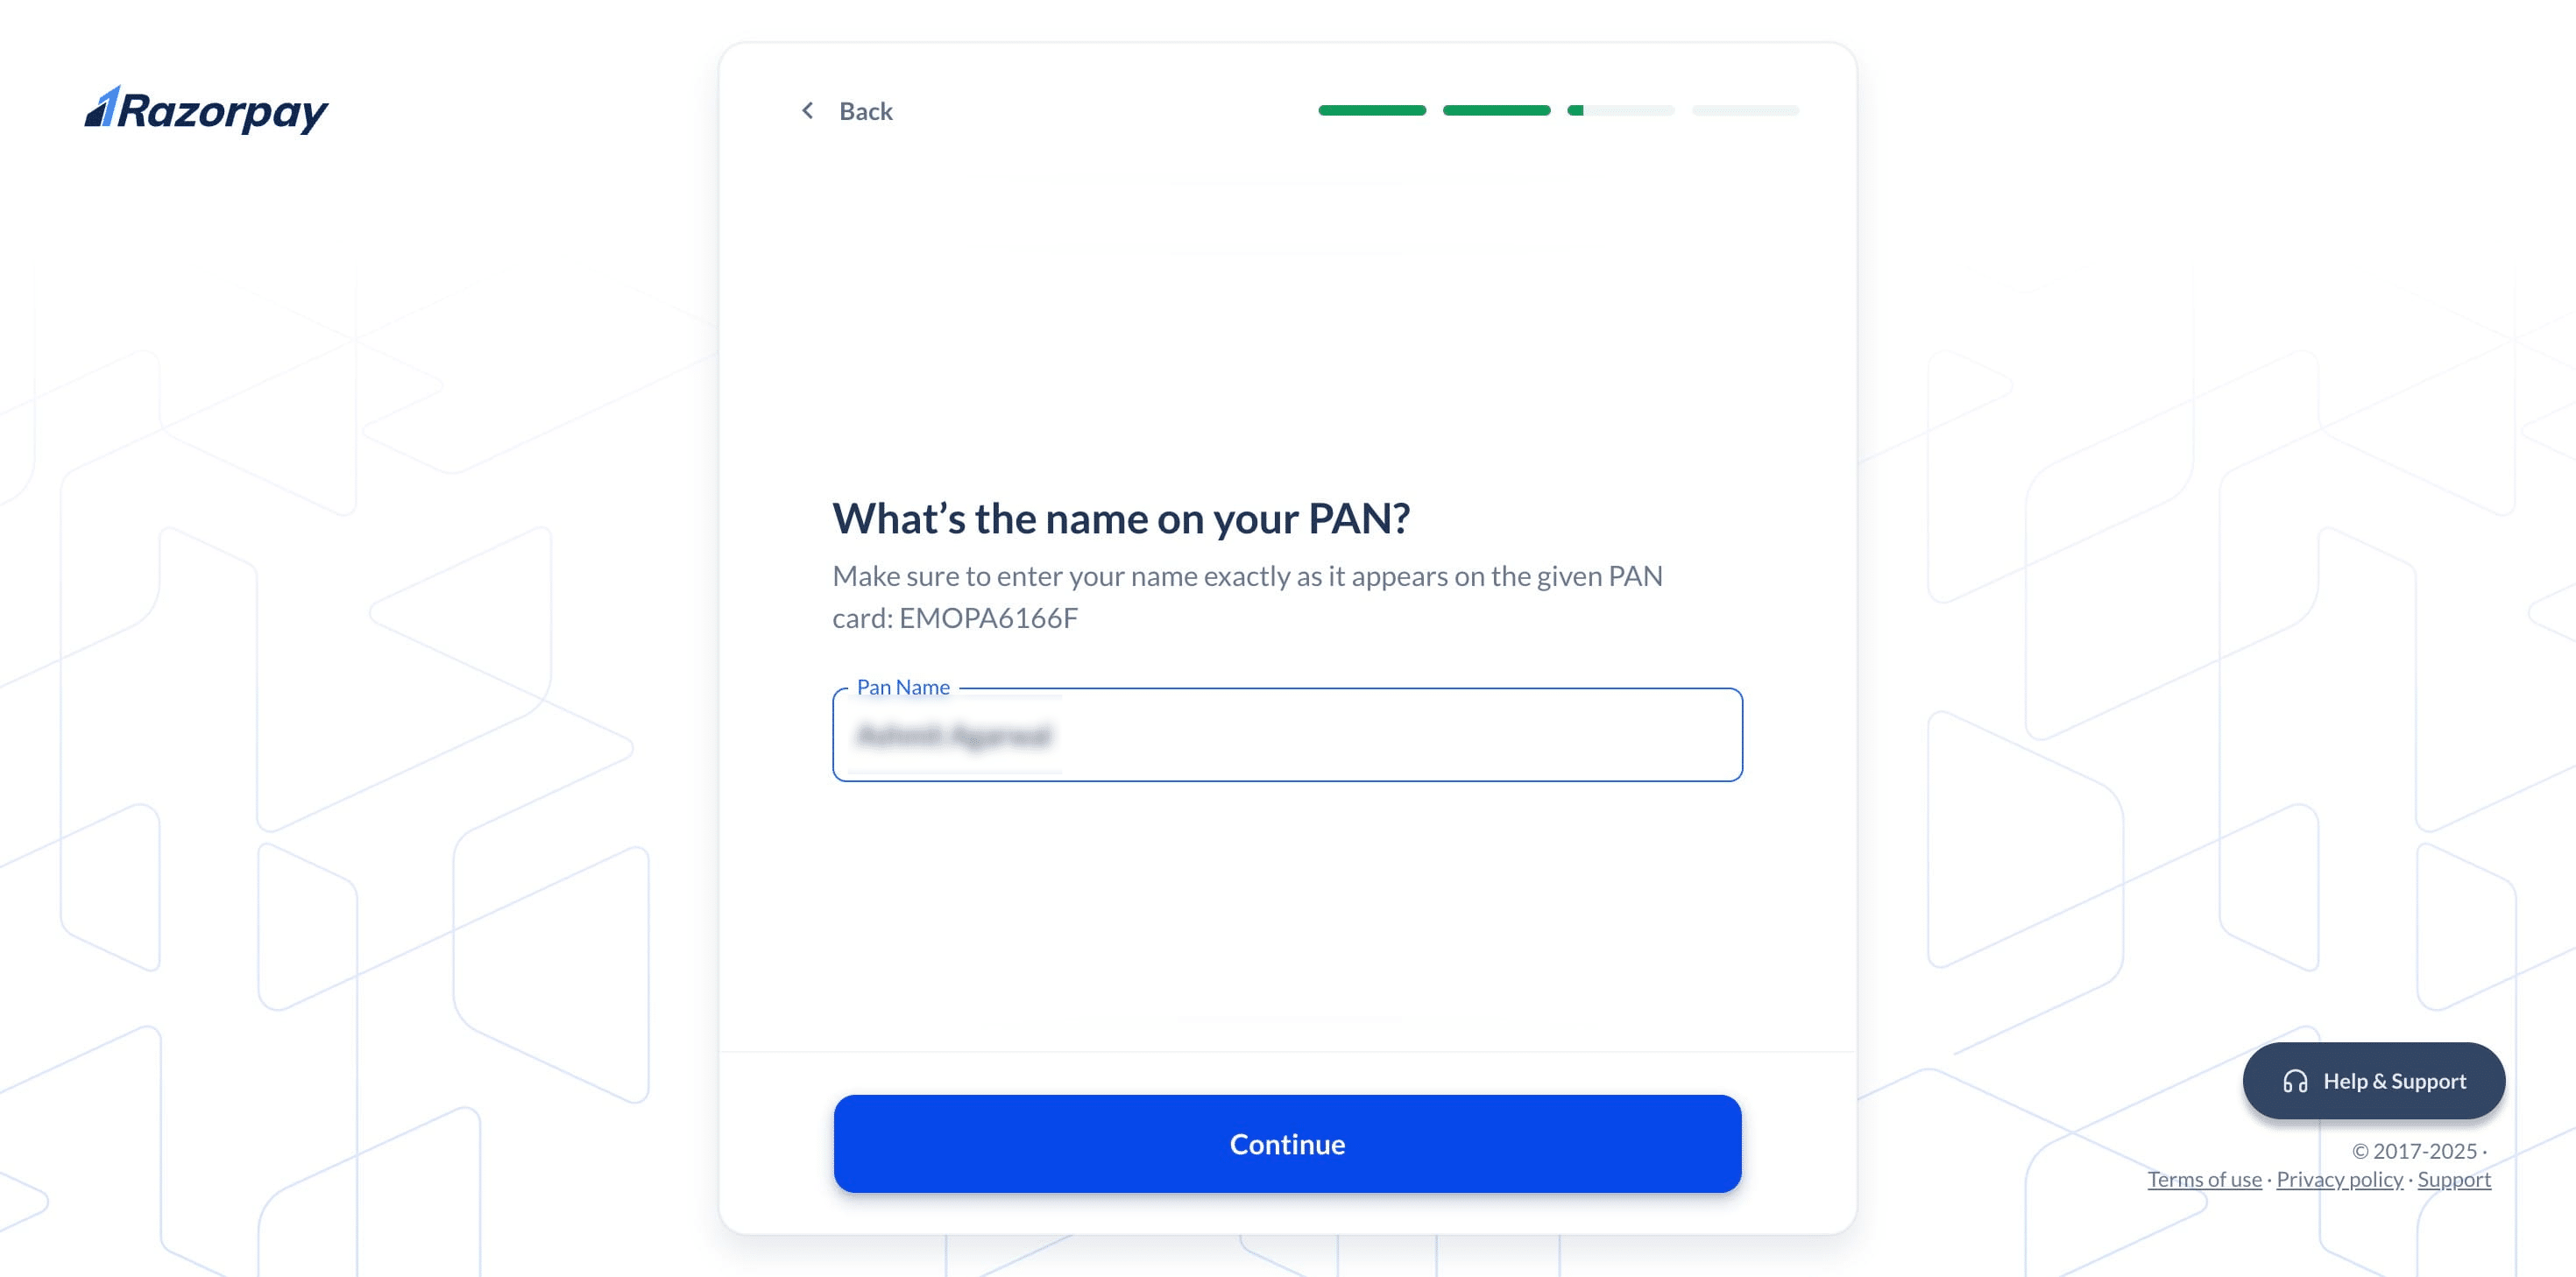
Enter the name as it appears on your PAN Card.
Enter your brand name in the designated field.

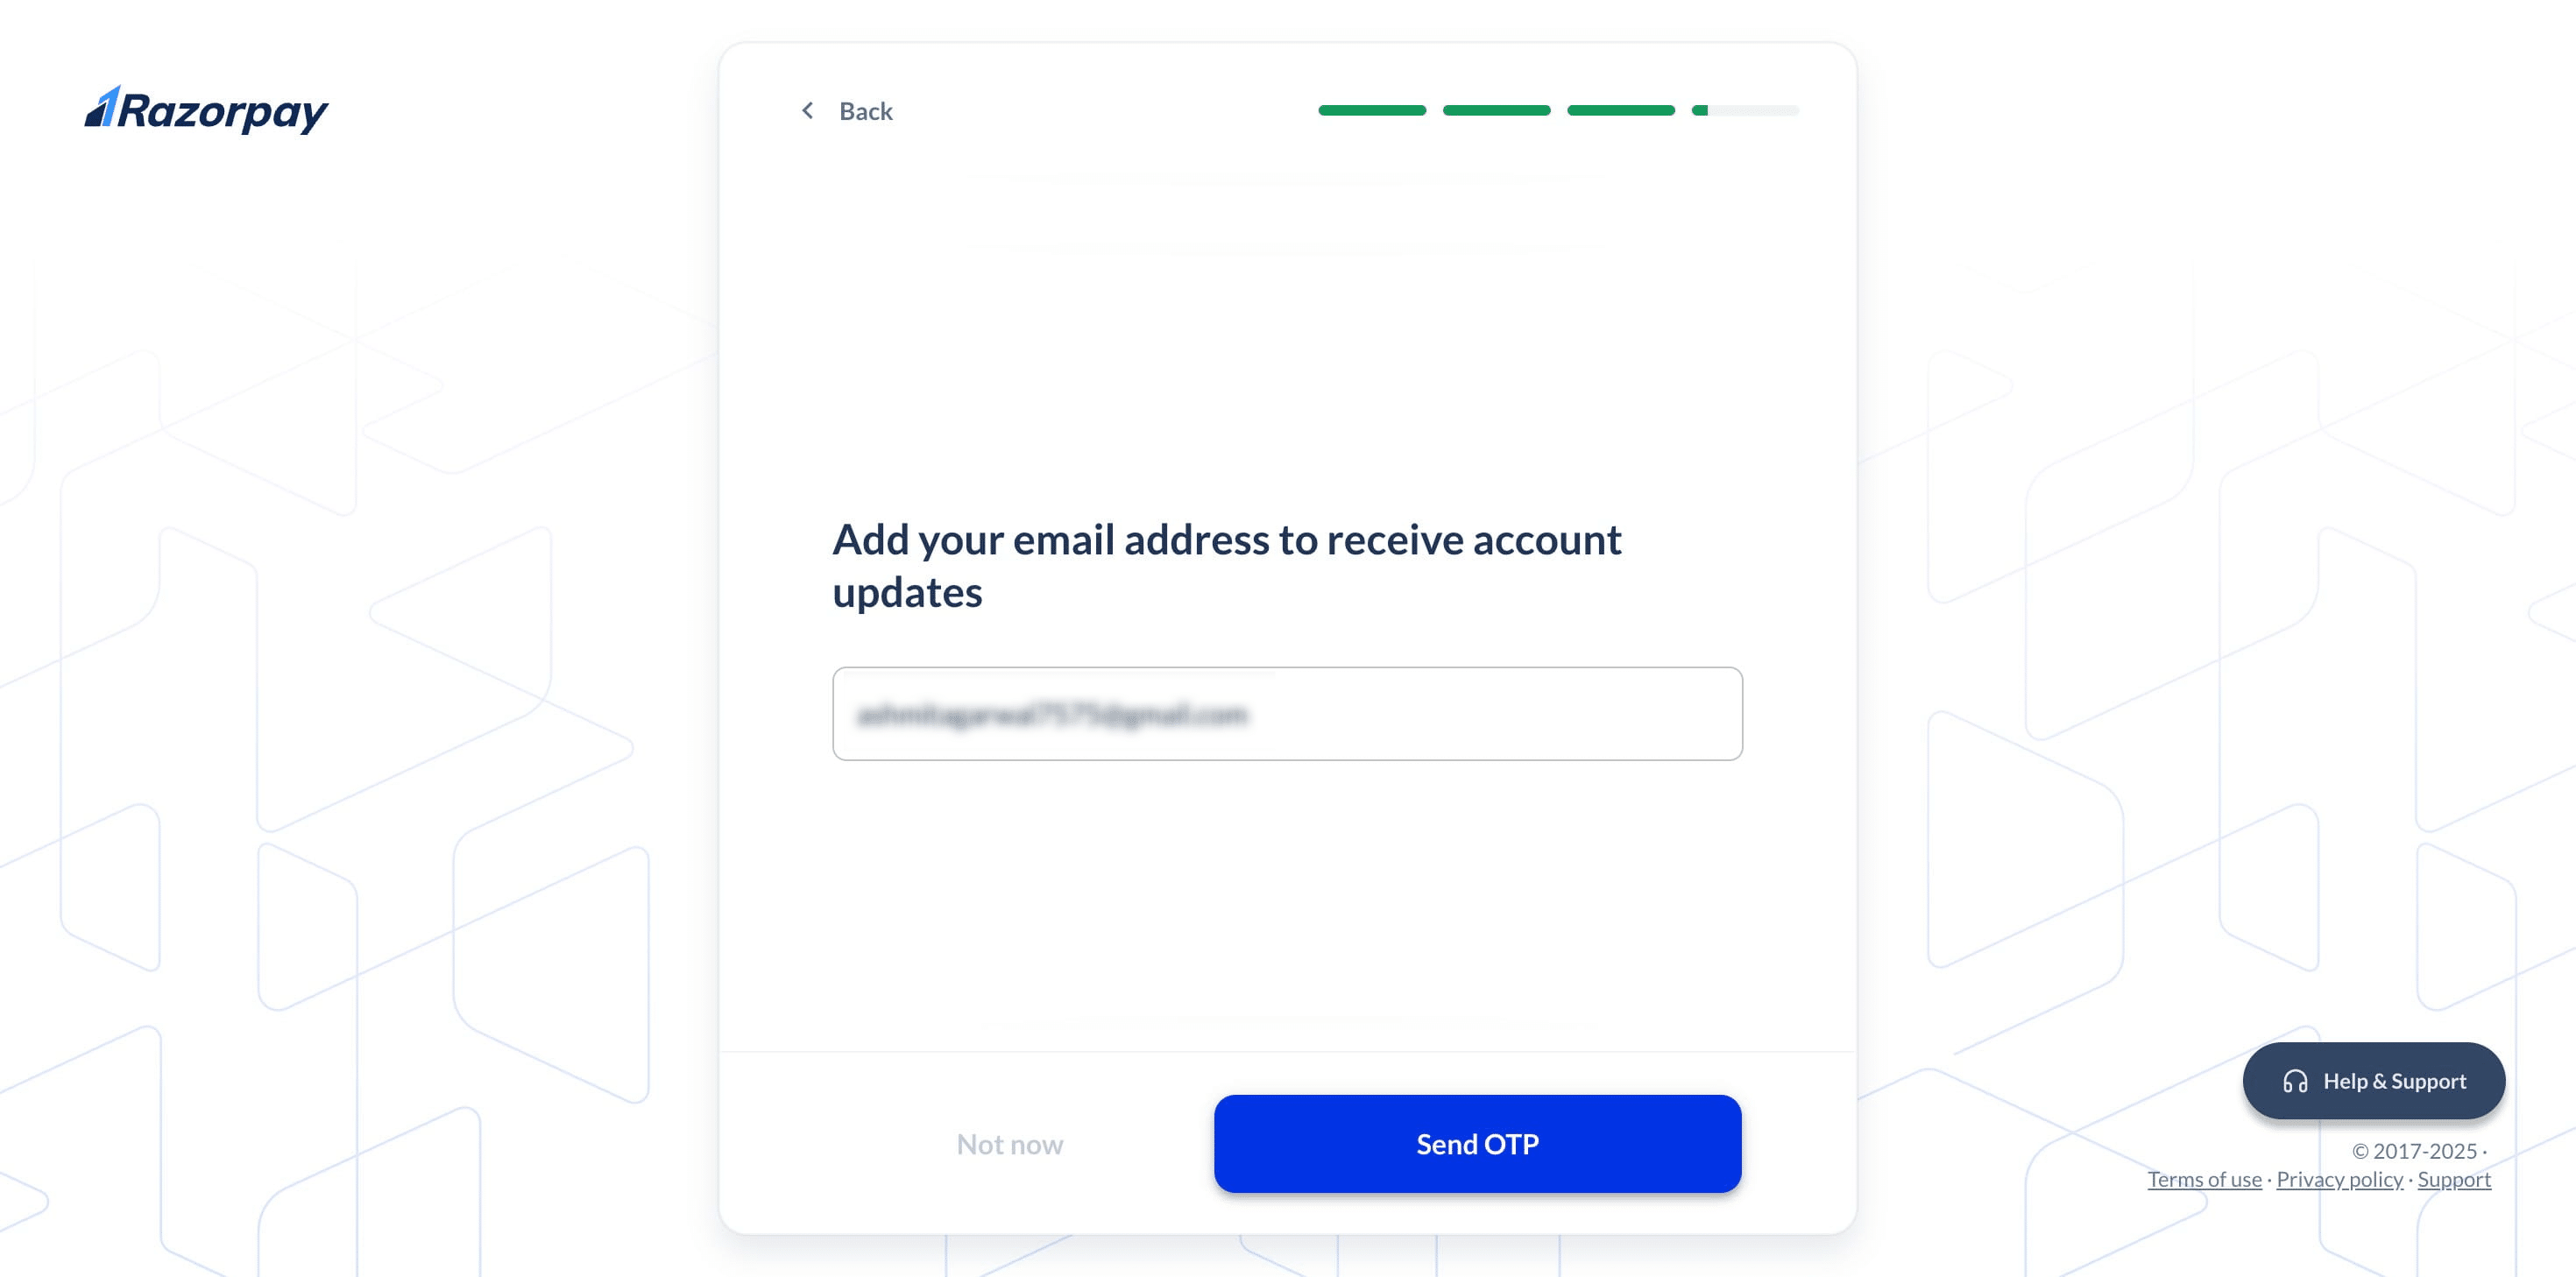
Put the email address to receive account updates about your business & Click on "Send OTP"
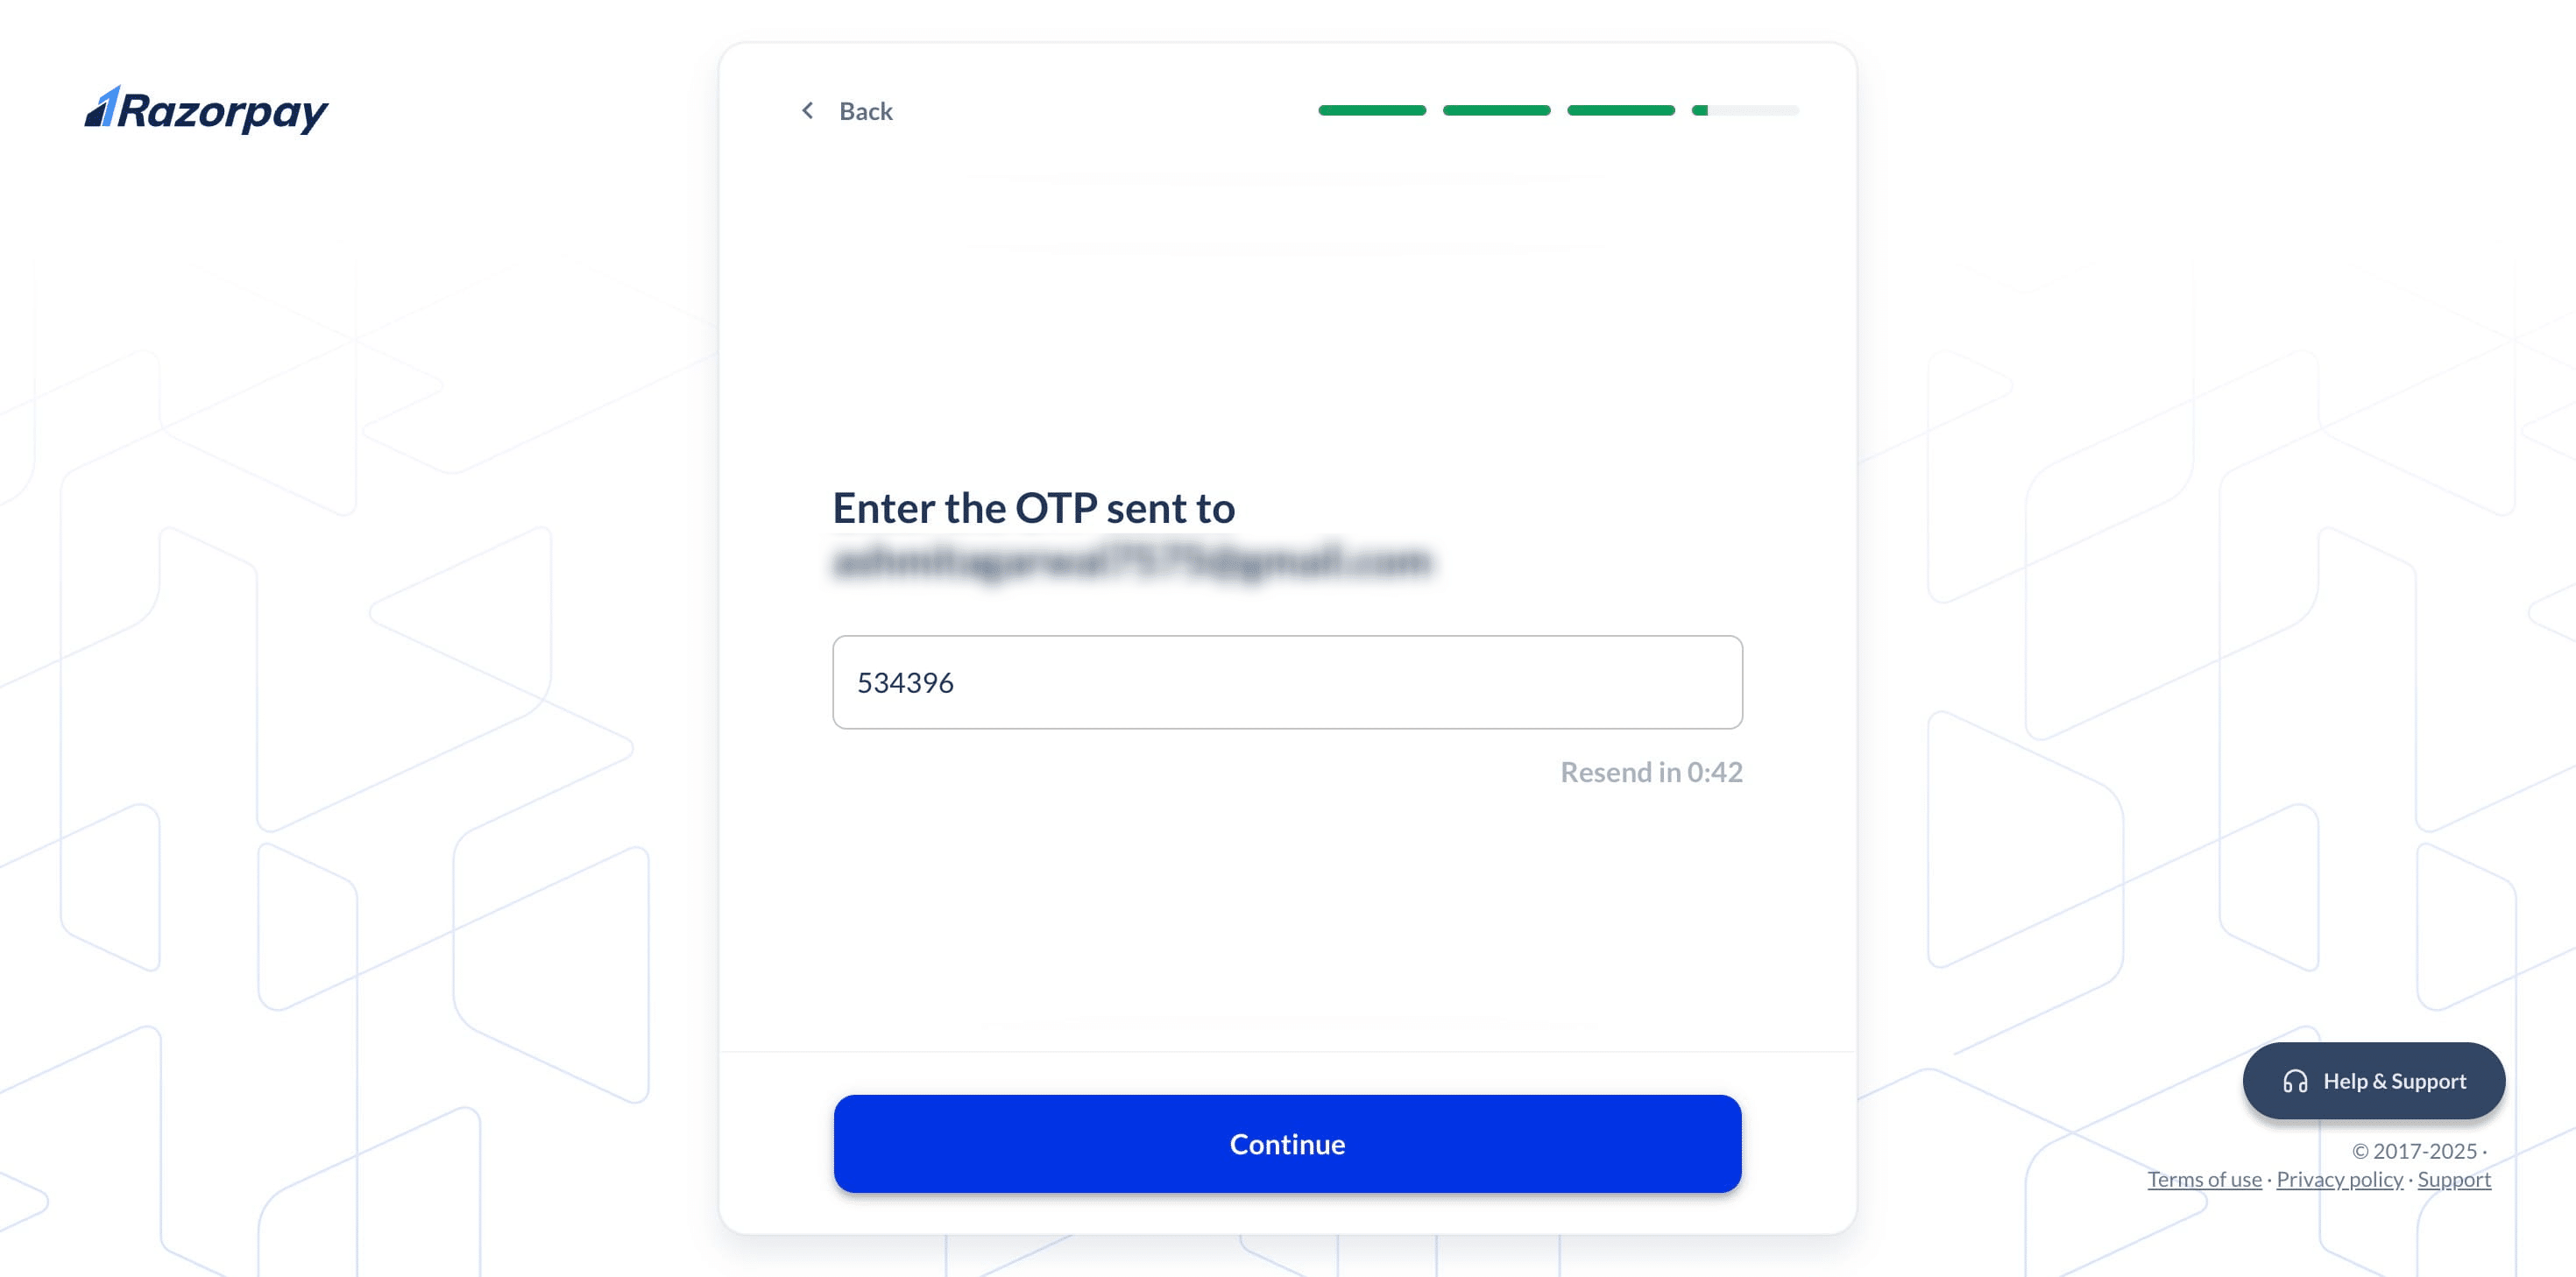
Click "Continue" after entering your OTP.
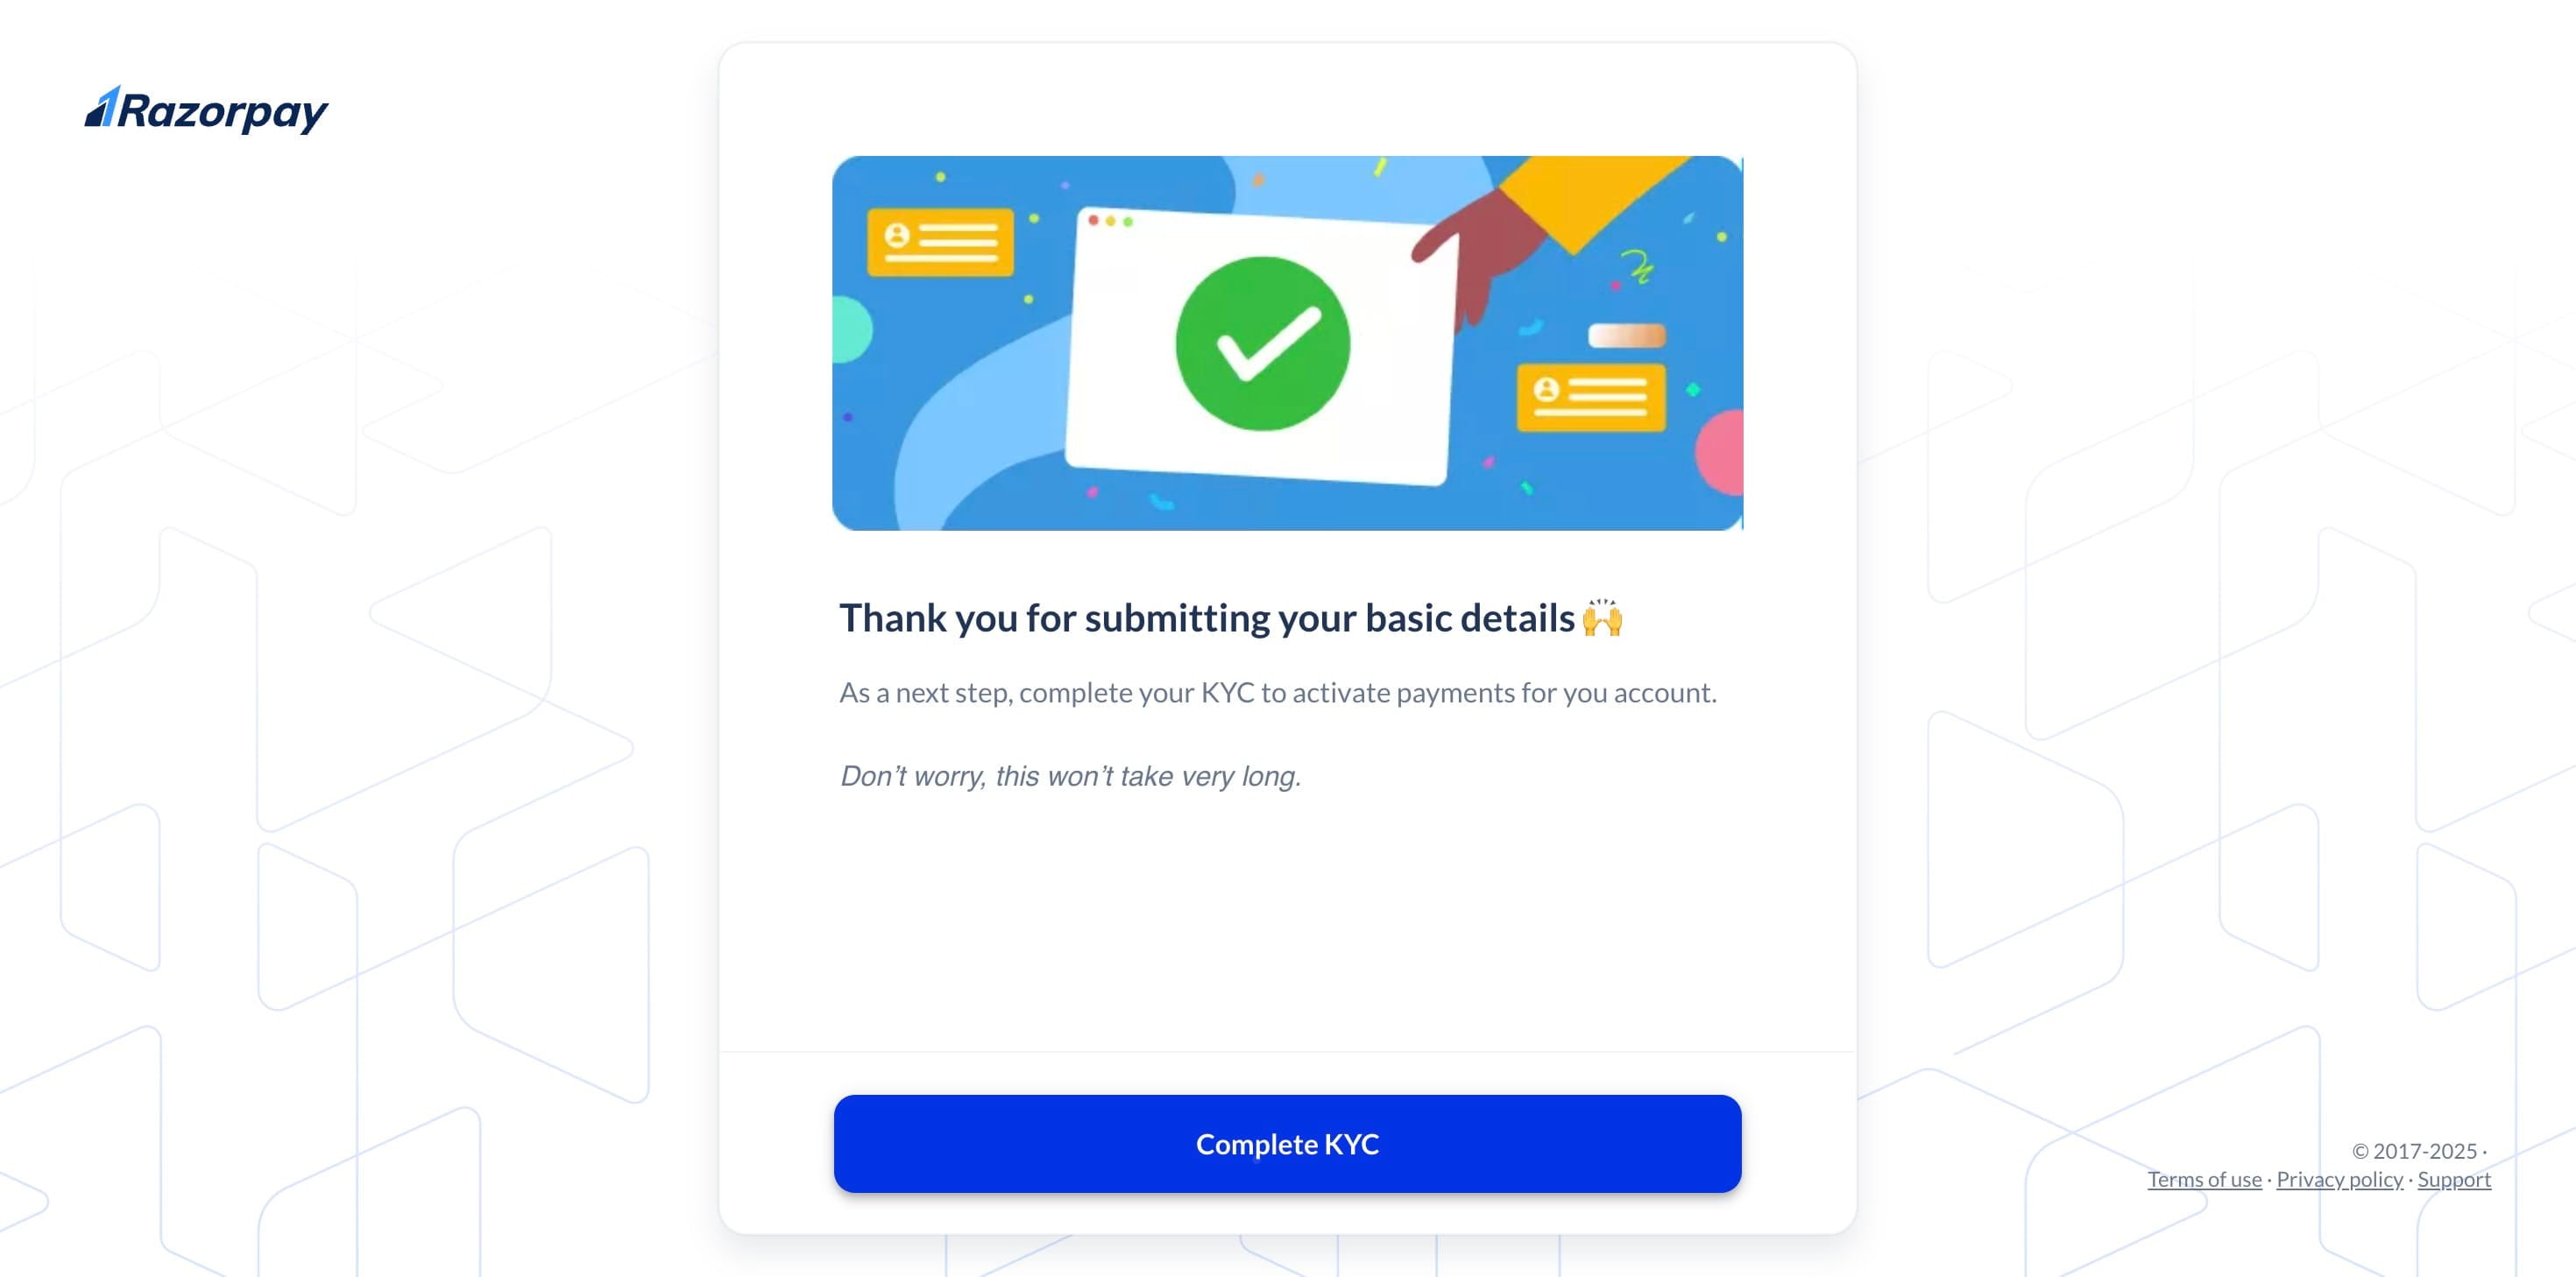
click on "Complete KYC".
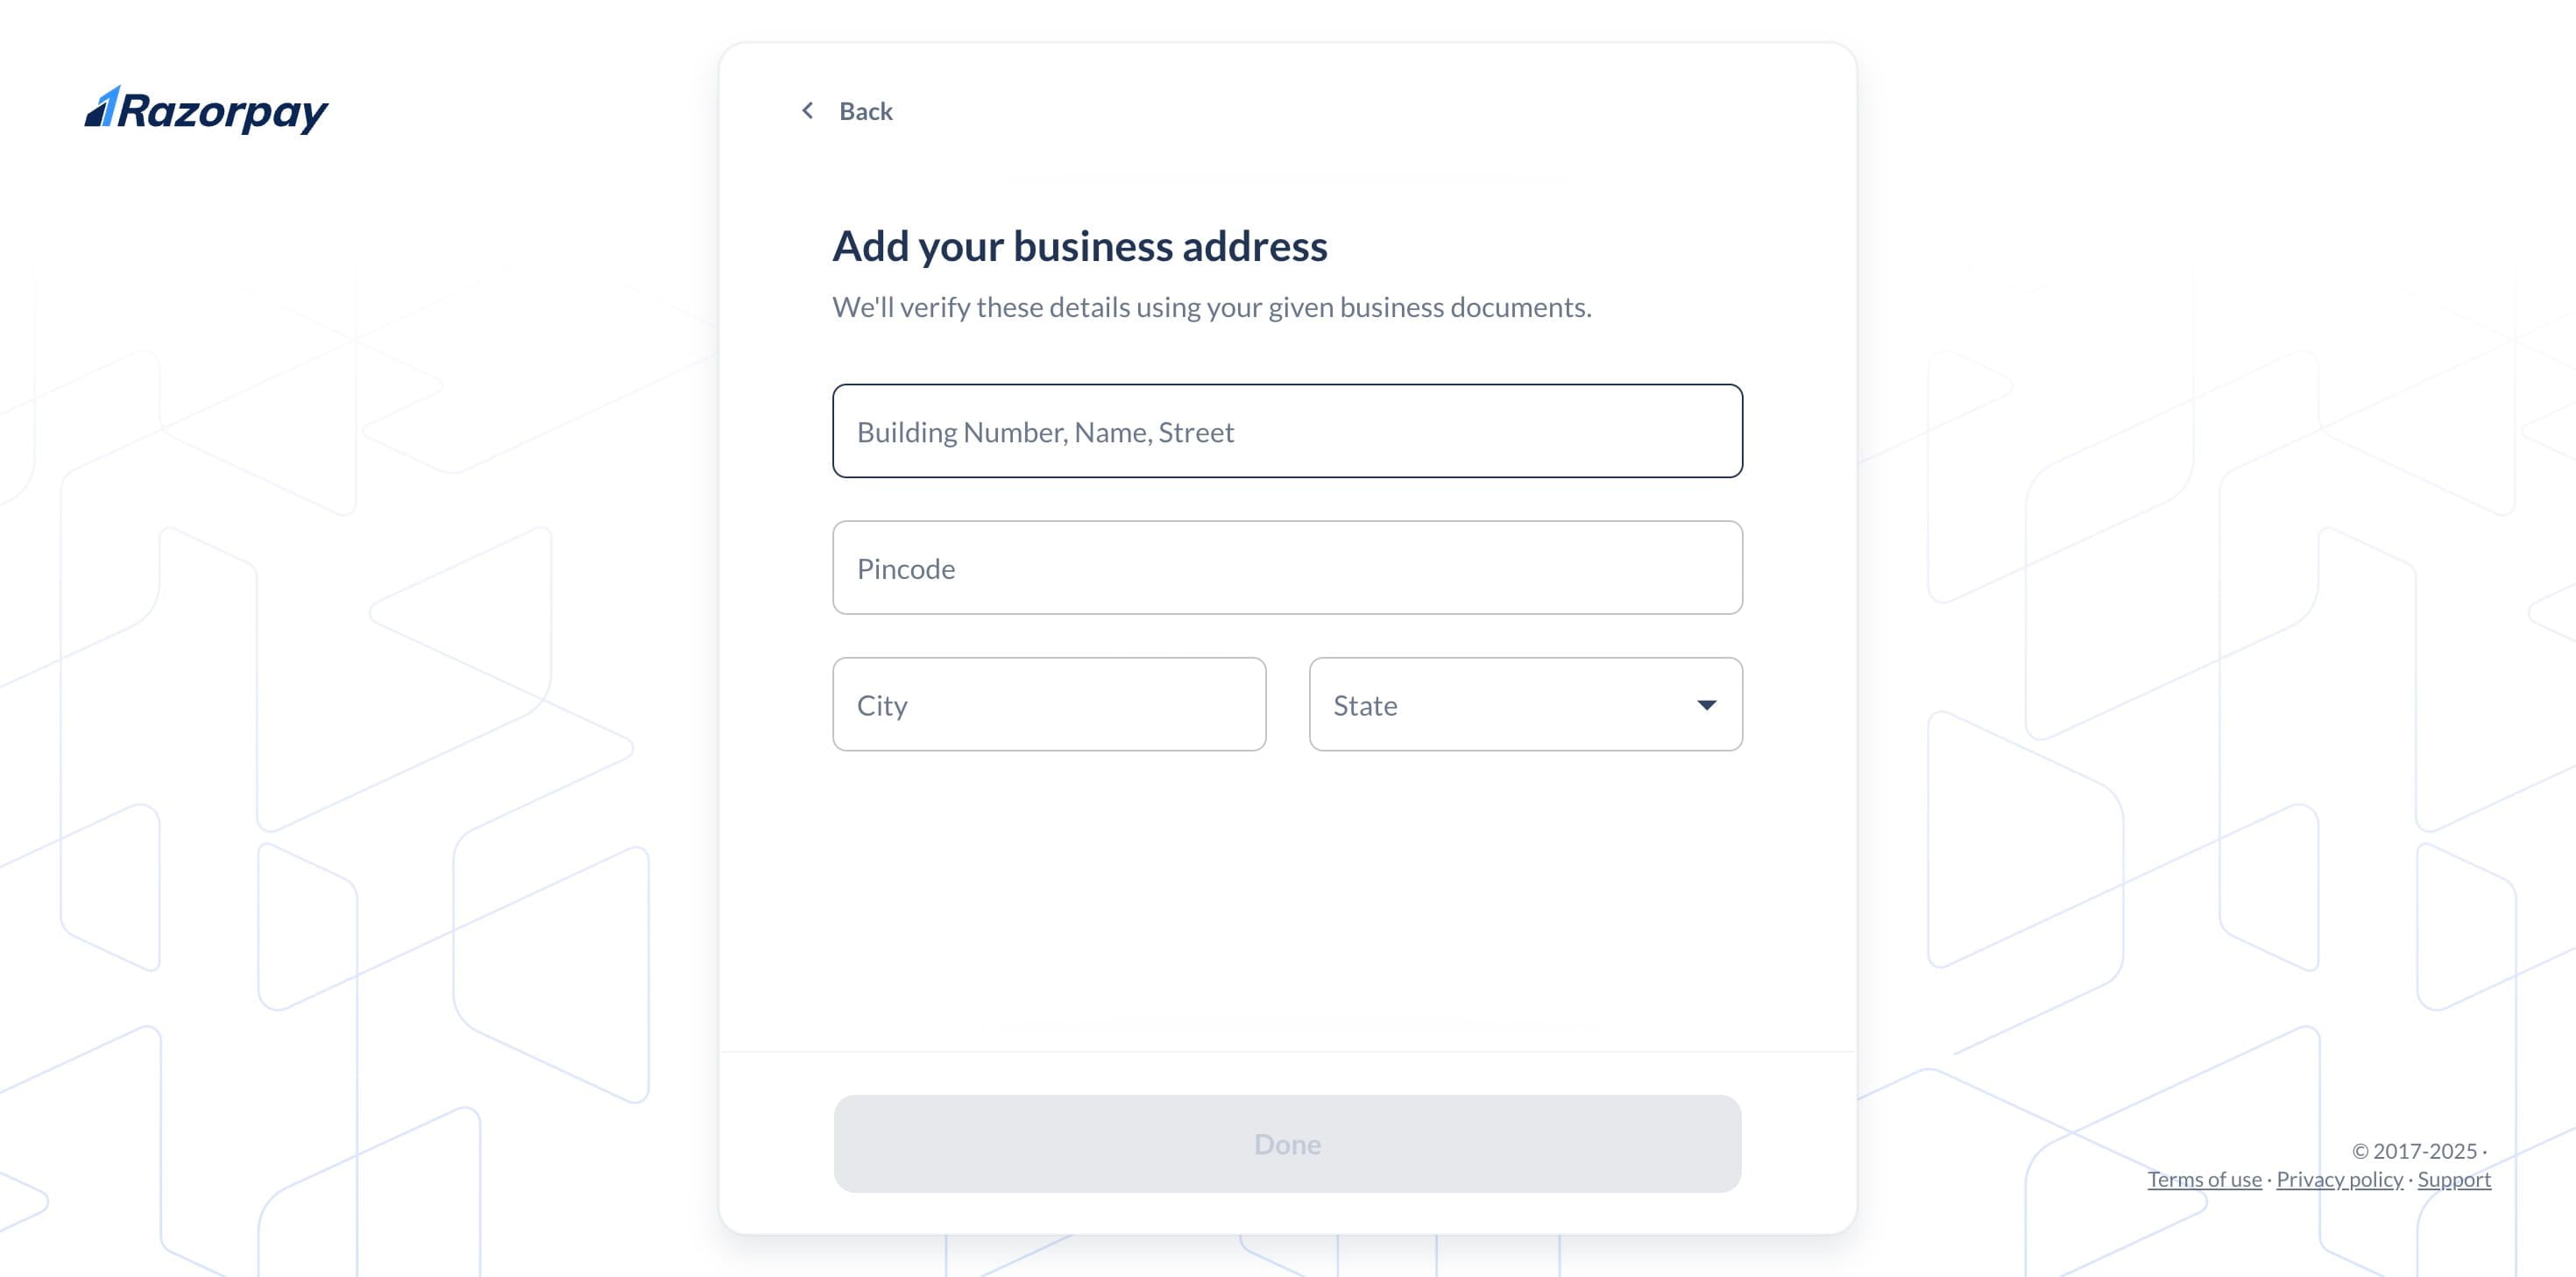
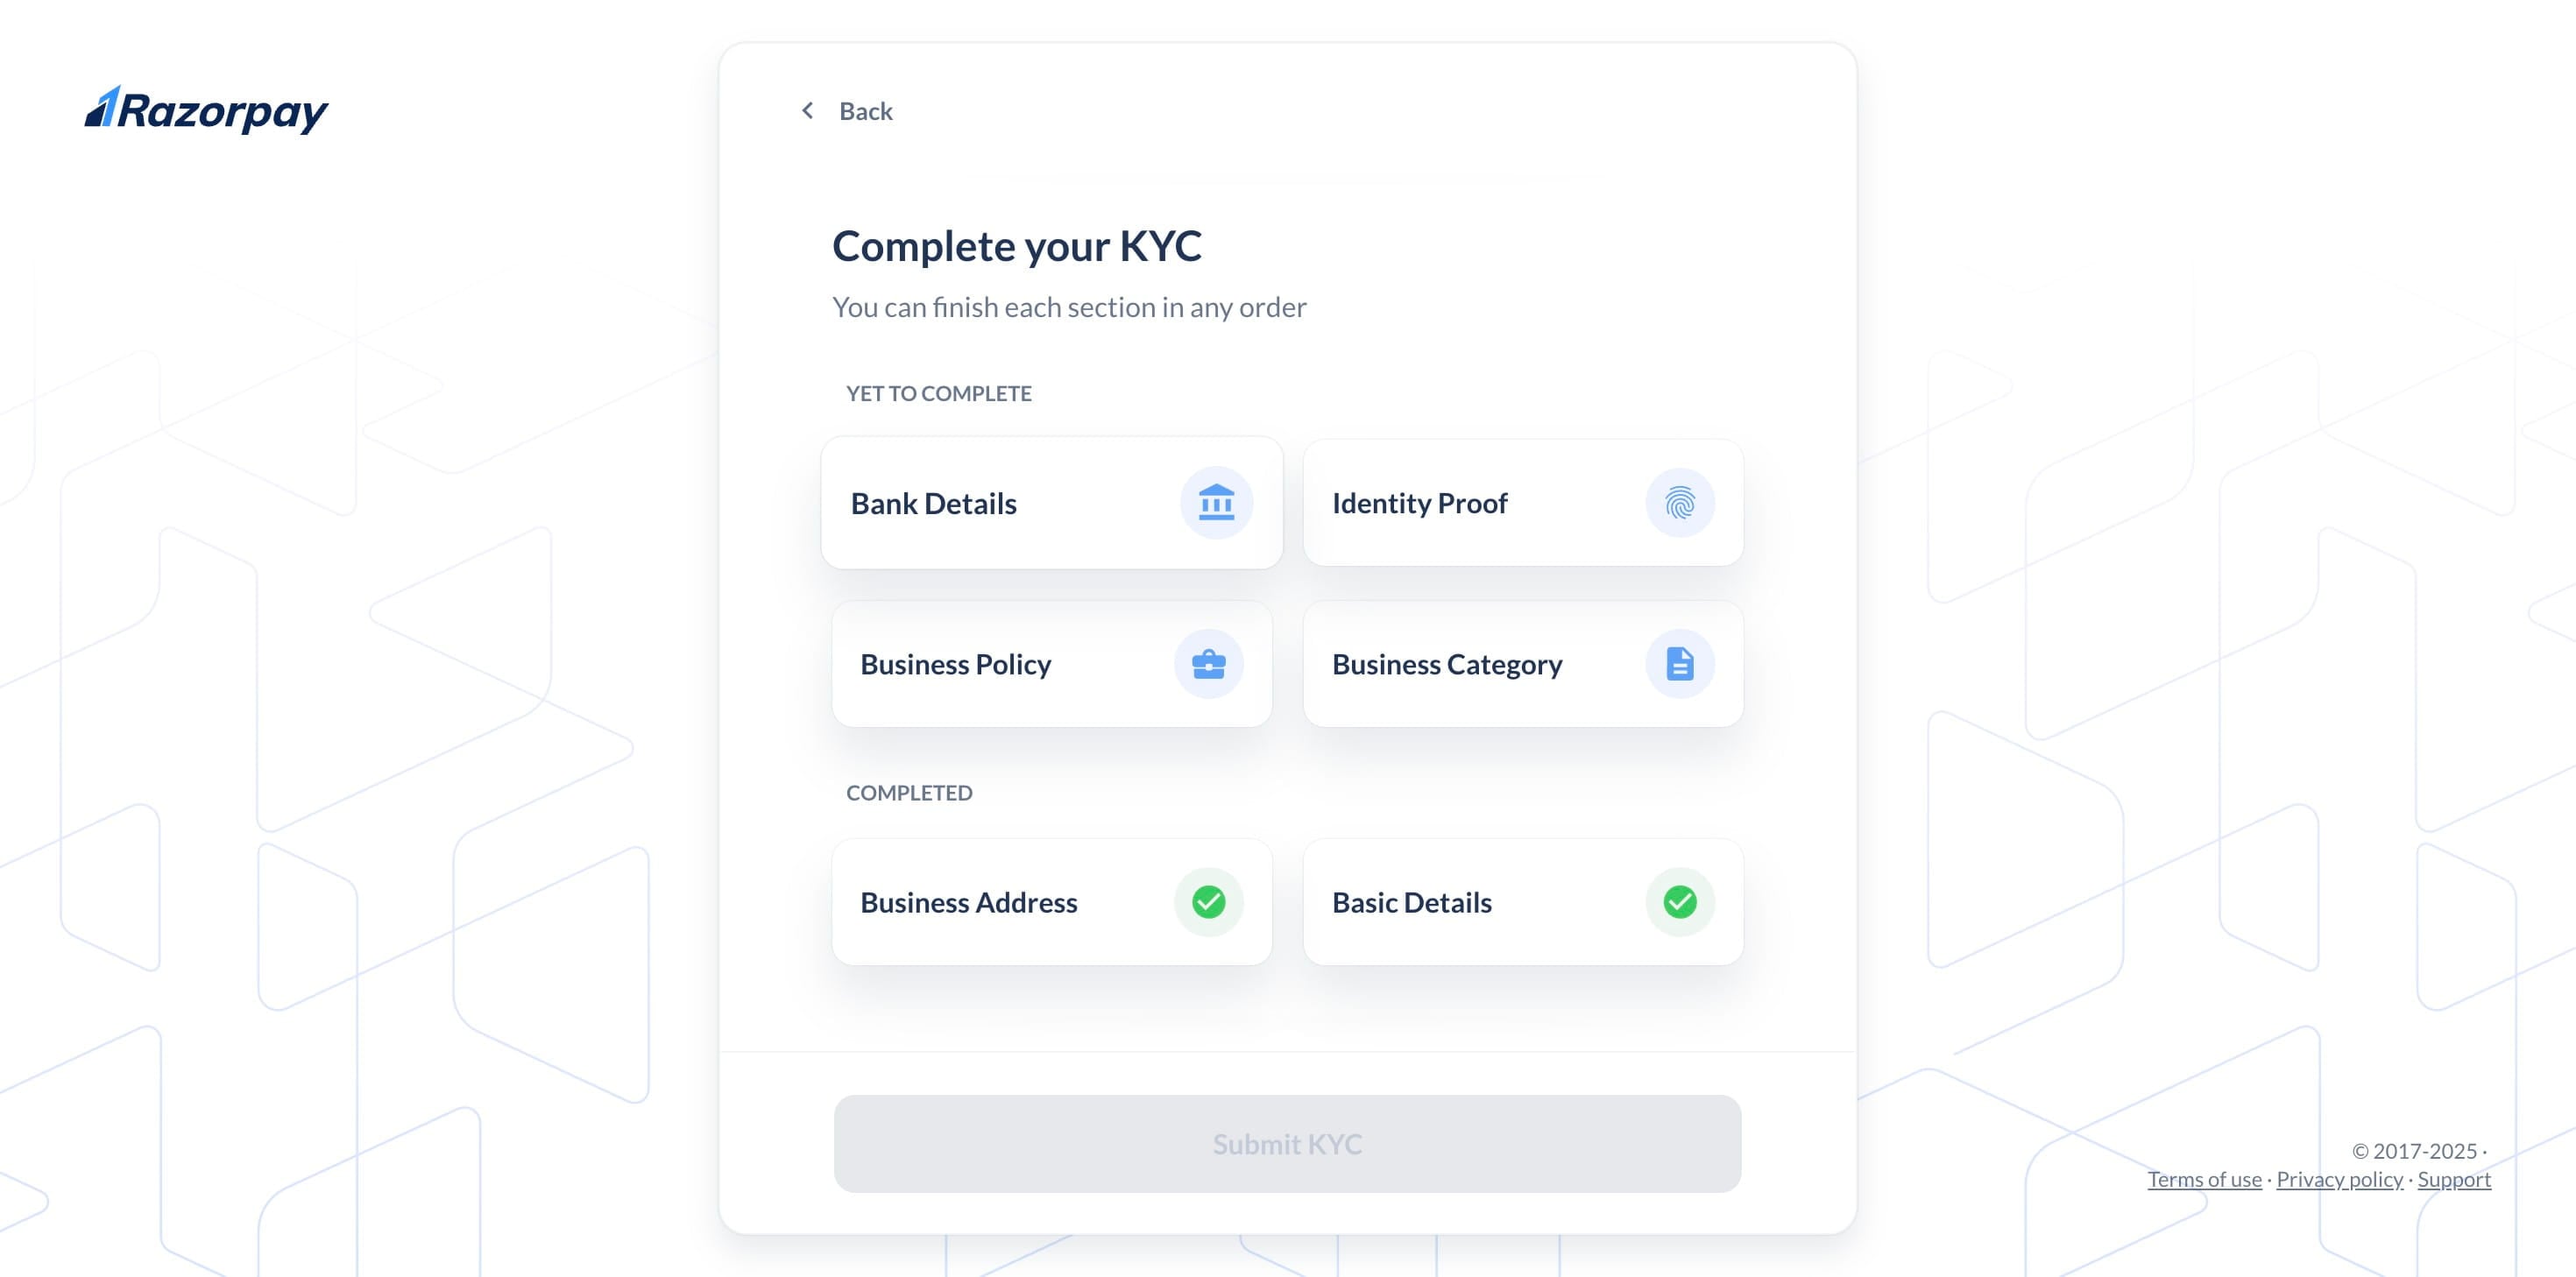
Select "Business Address" and proceed.
Add your business address & click on "Done"
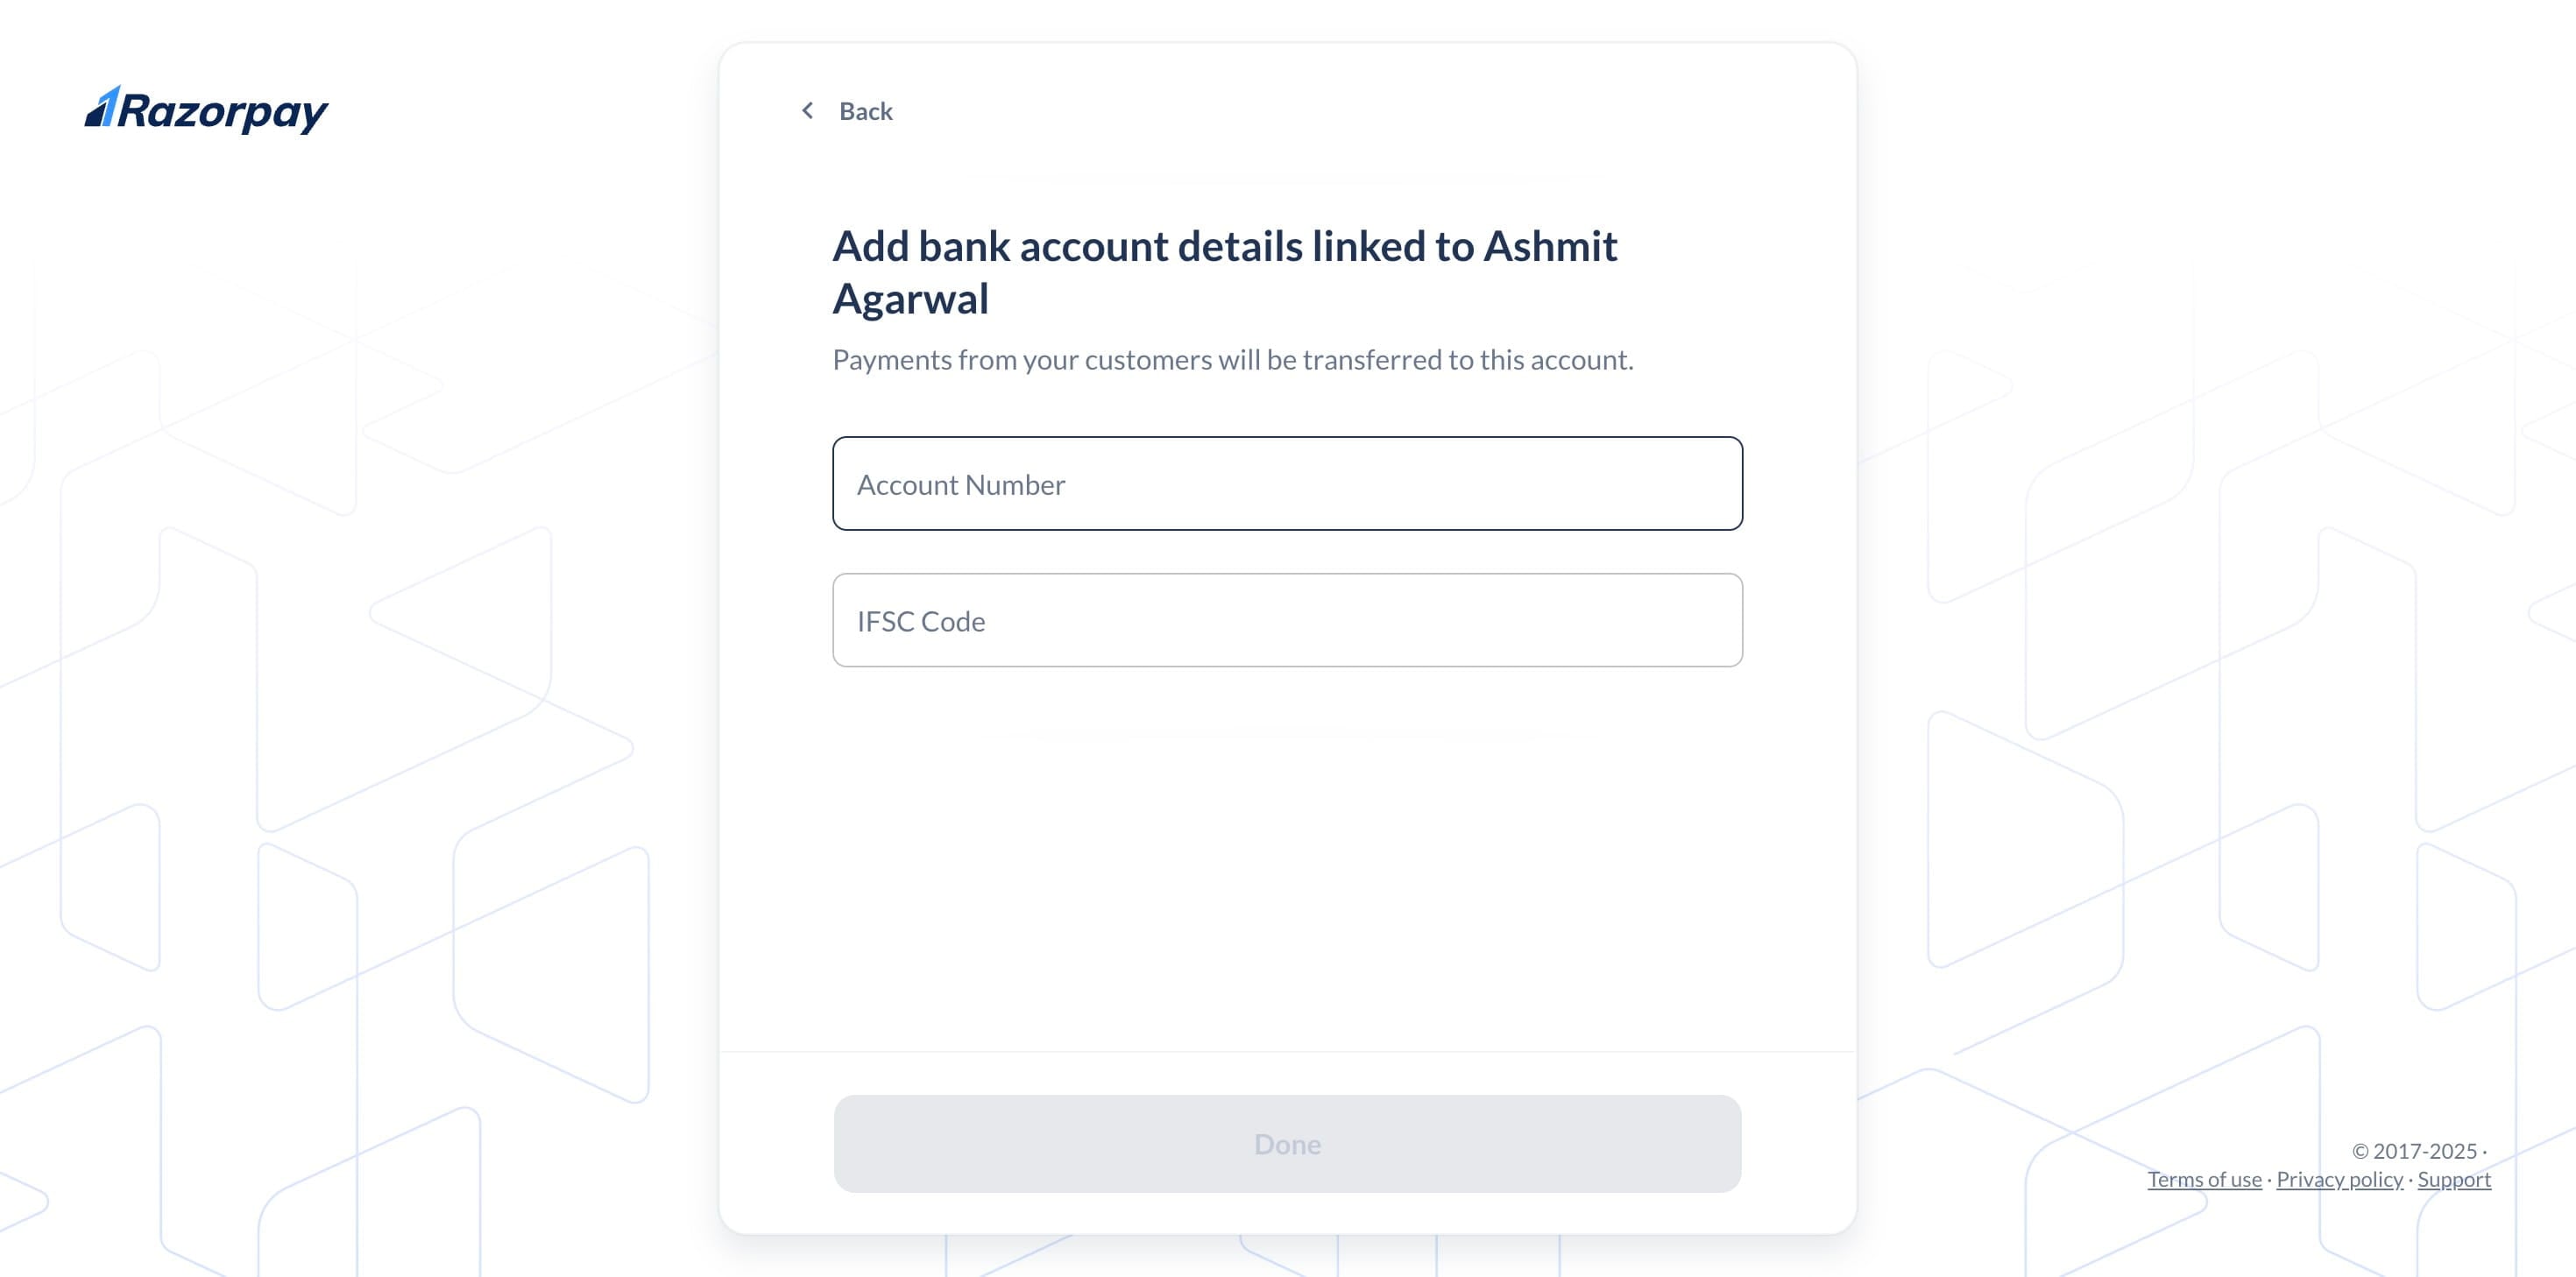
Click the "Bank Detail" icon to proceed.
Enter your account details, including the** account number** and IFSC code.
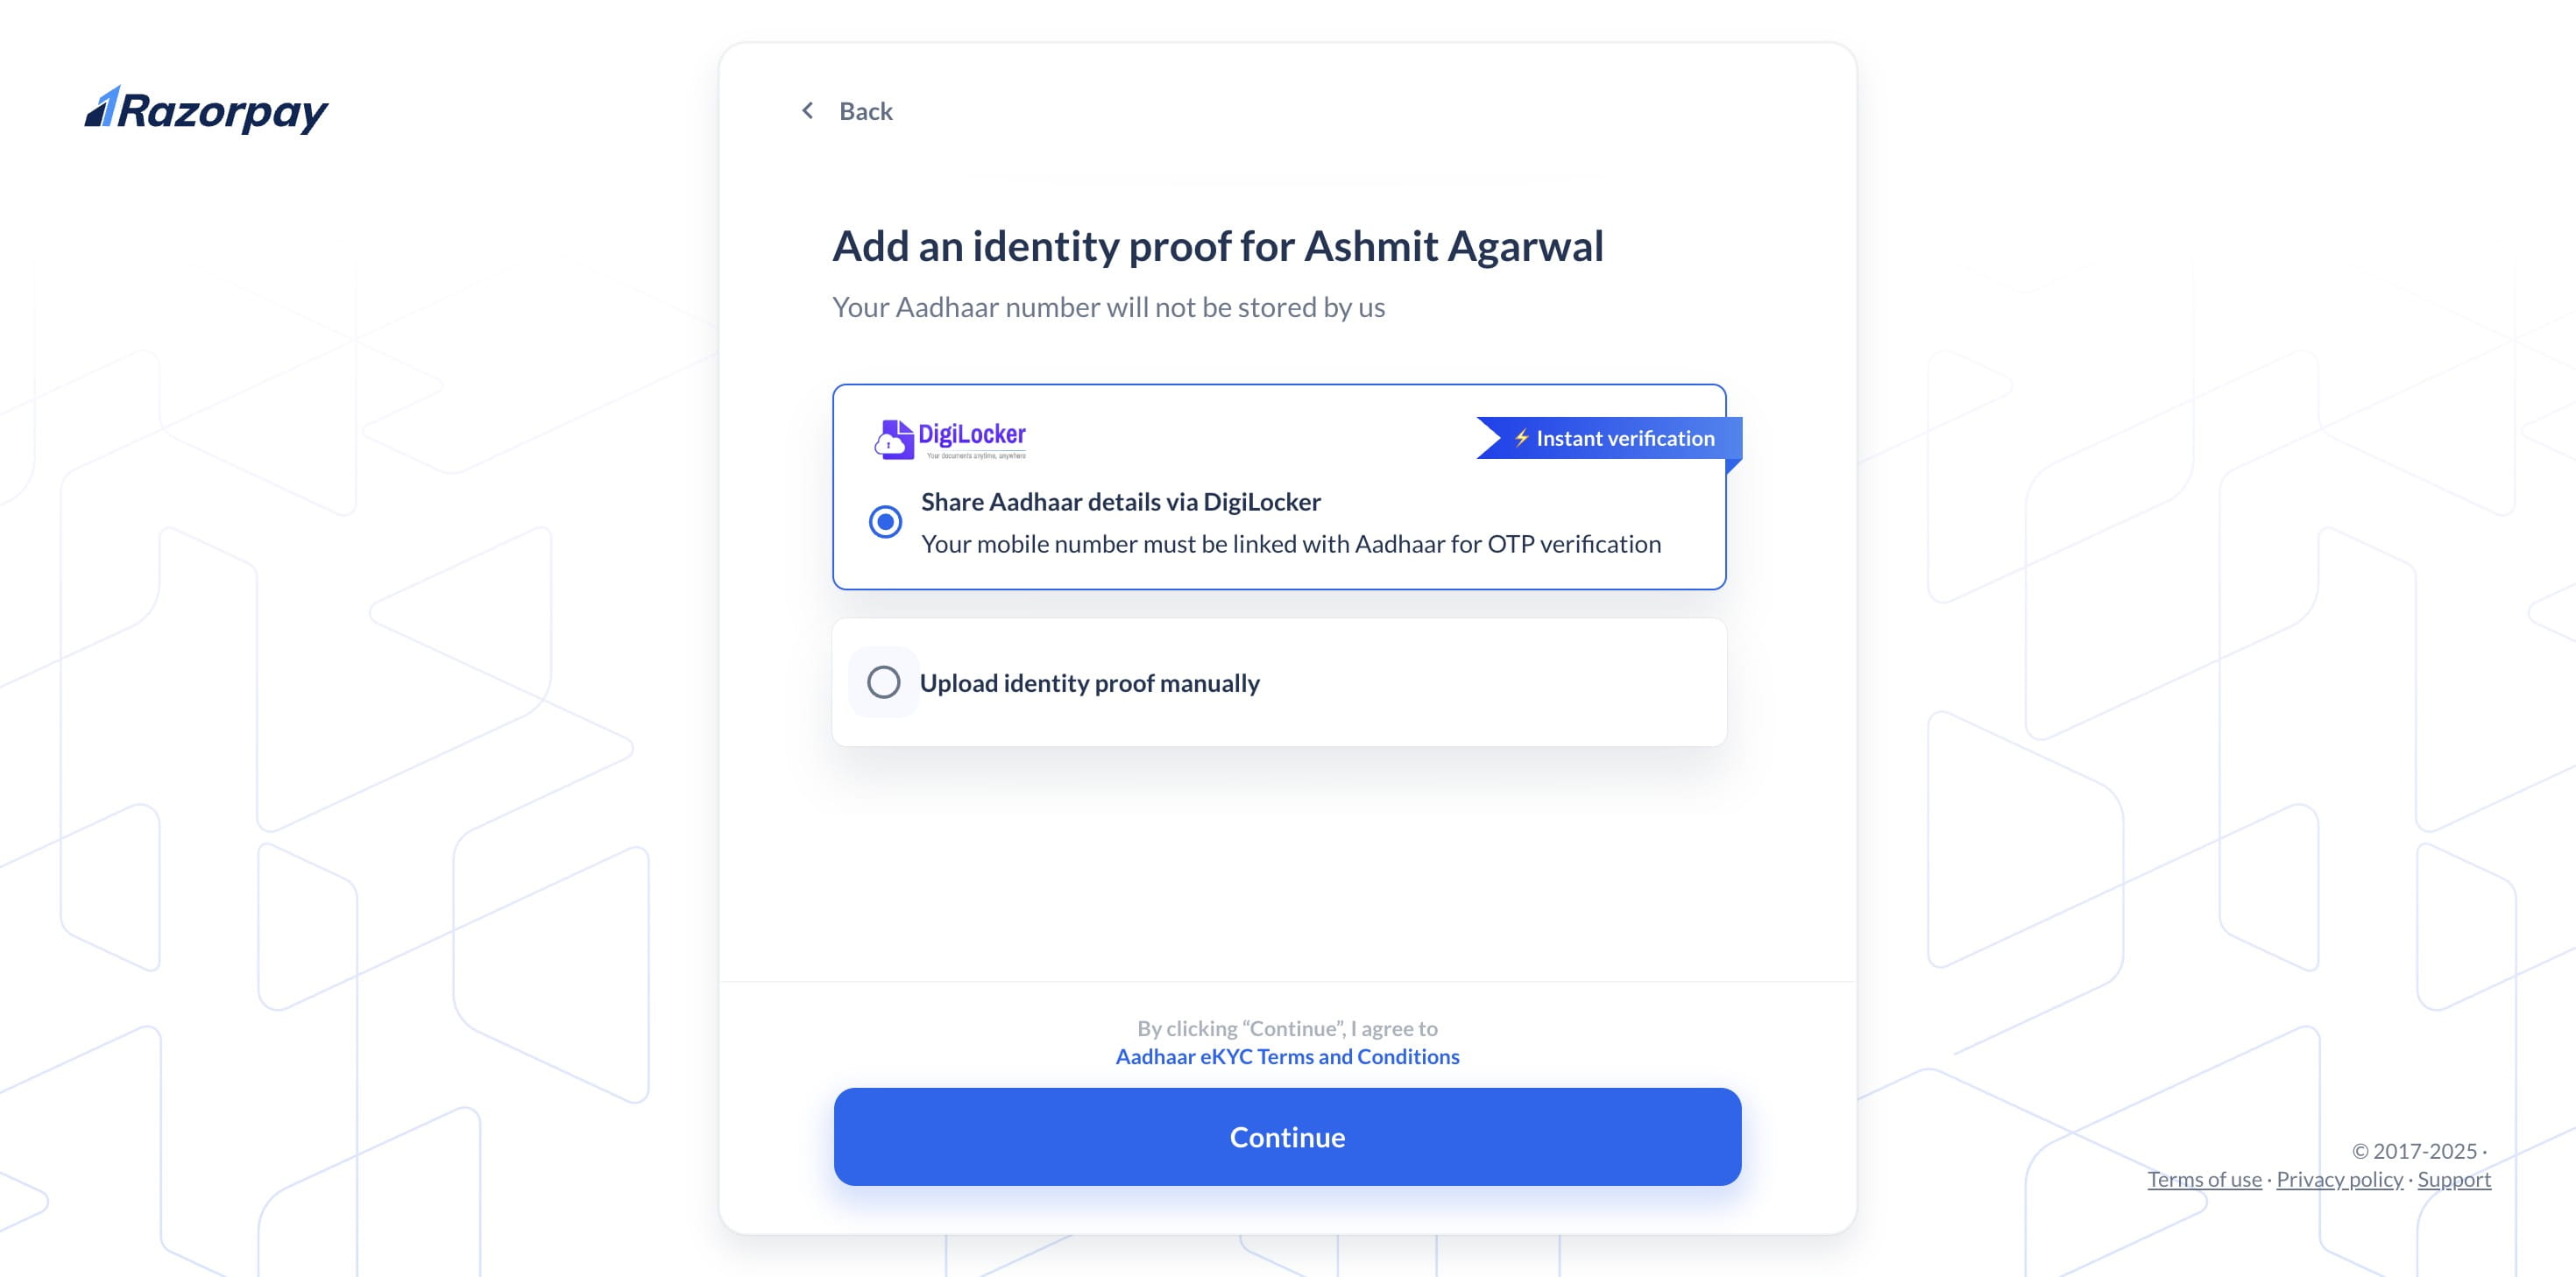
To begin identity verification, select the "ID Proof Section" option.
Select your preferred method.
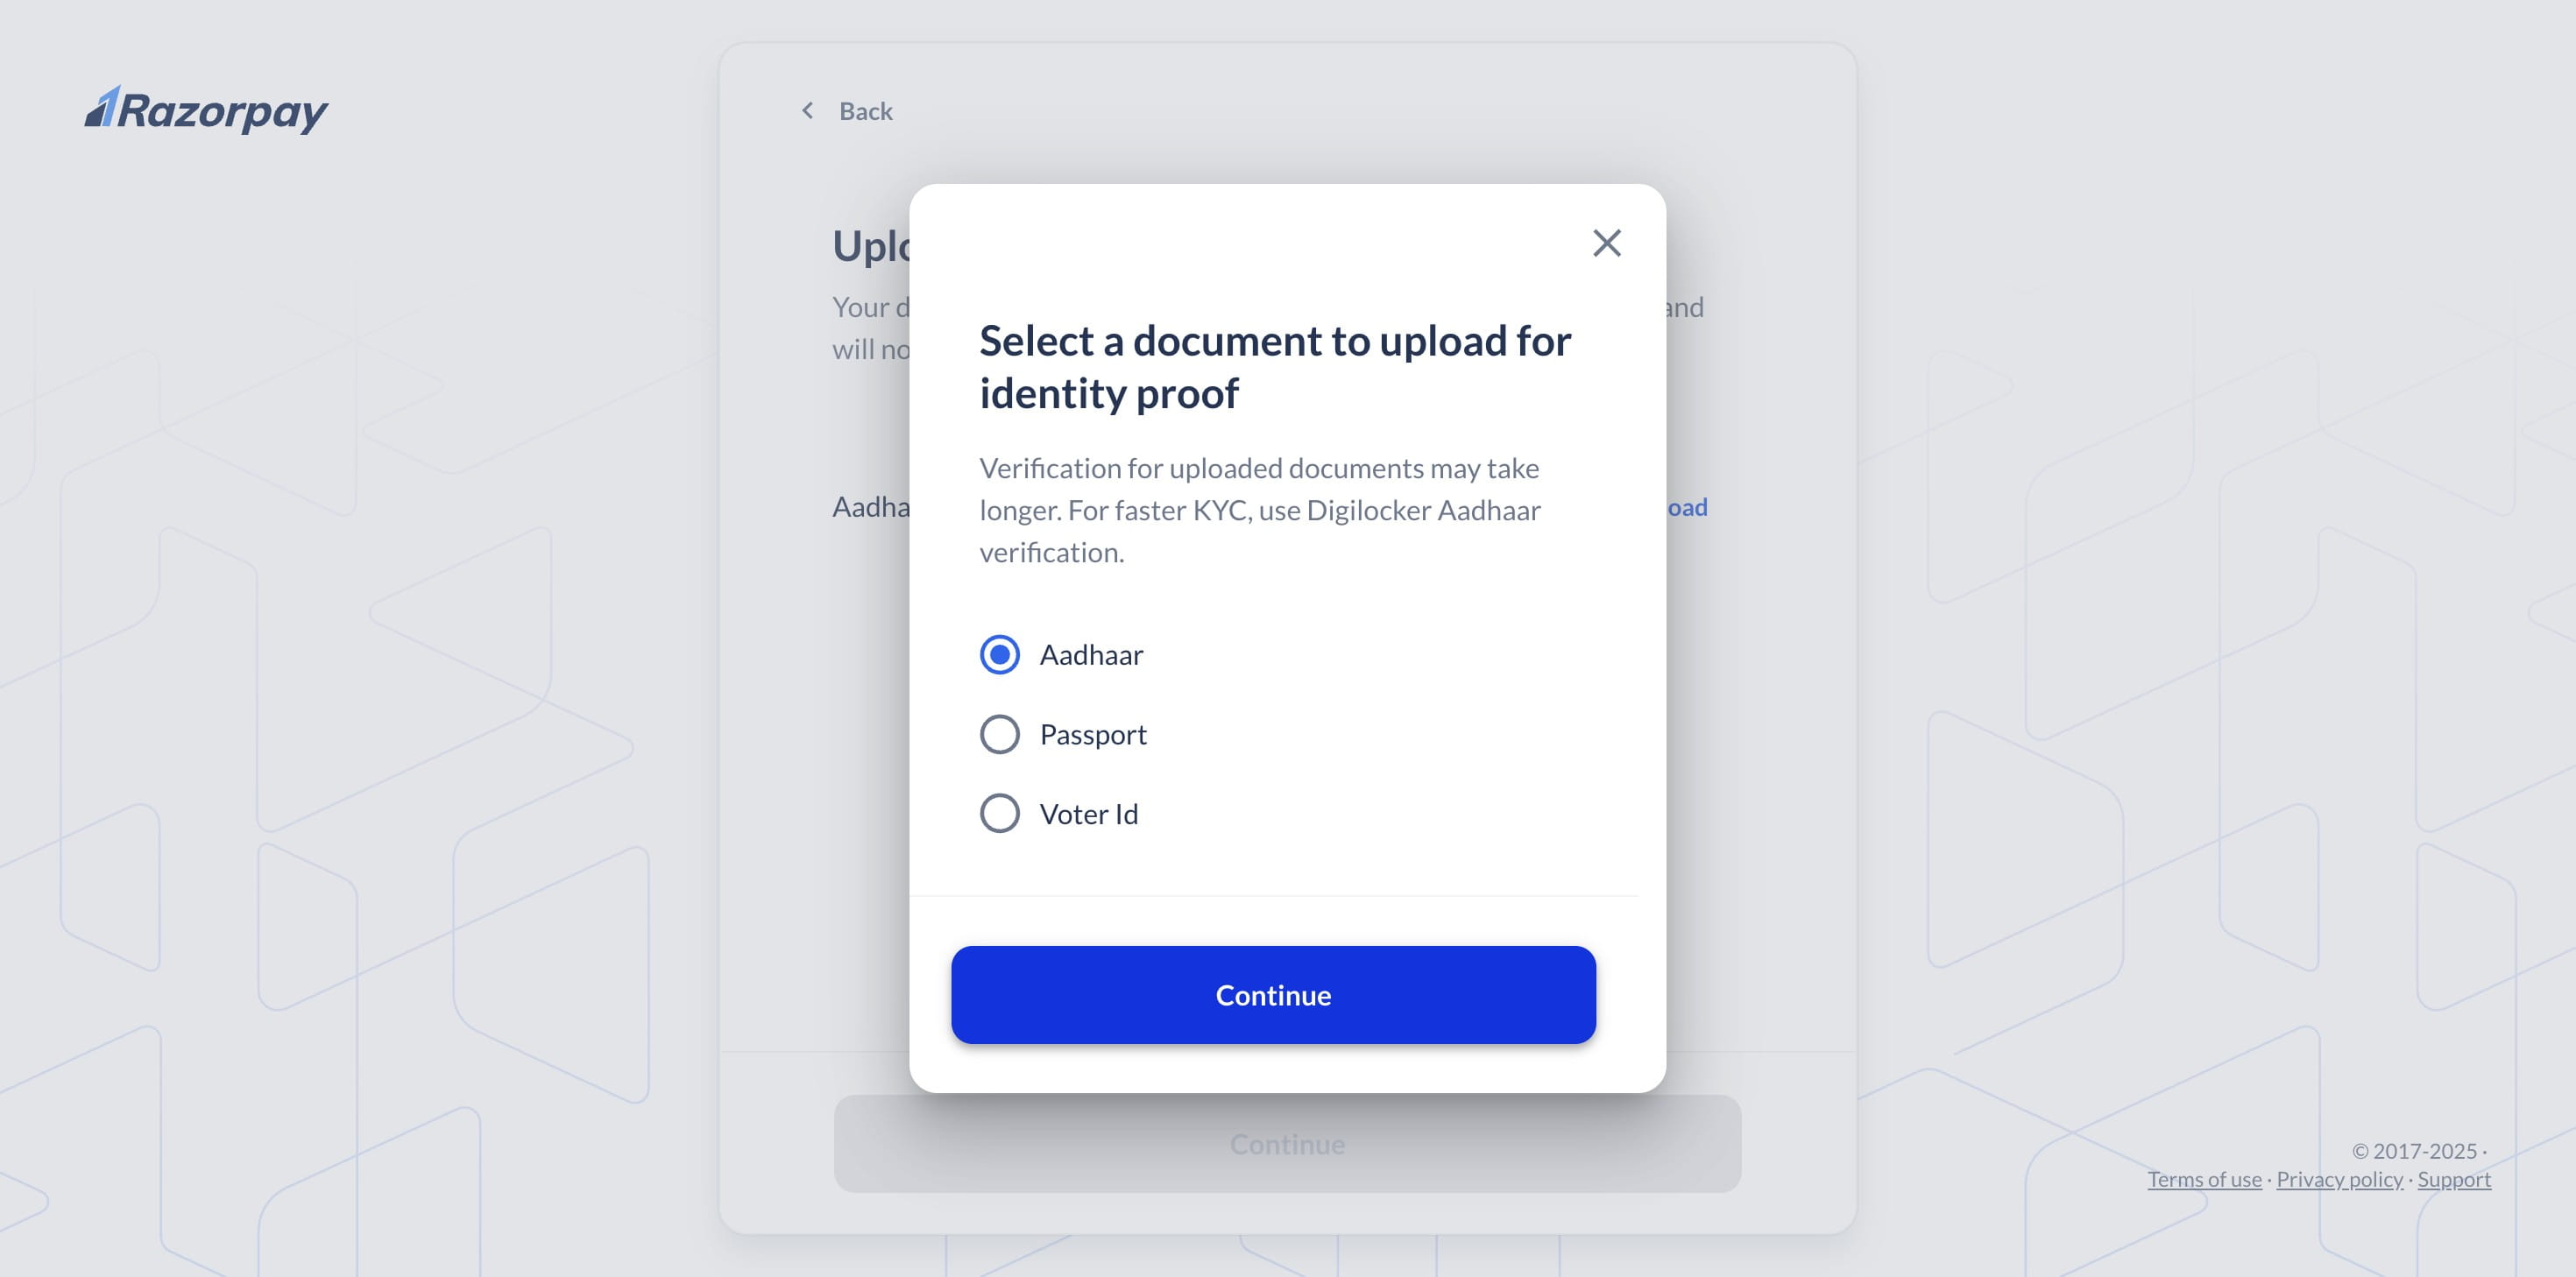
Upload your Document and click on "Continue"
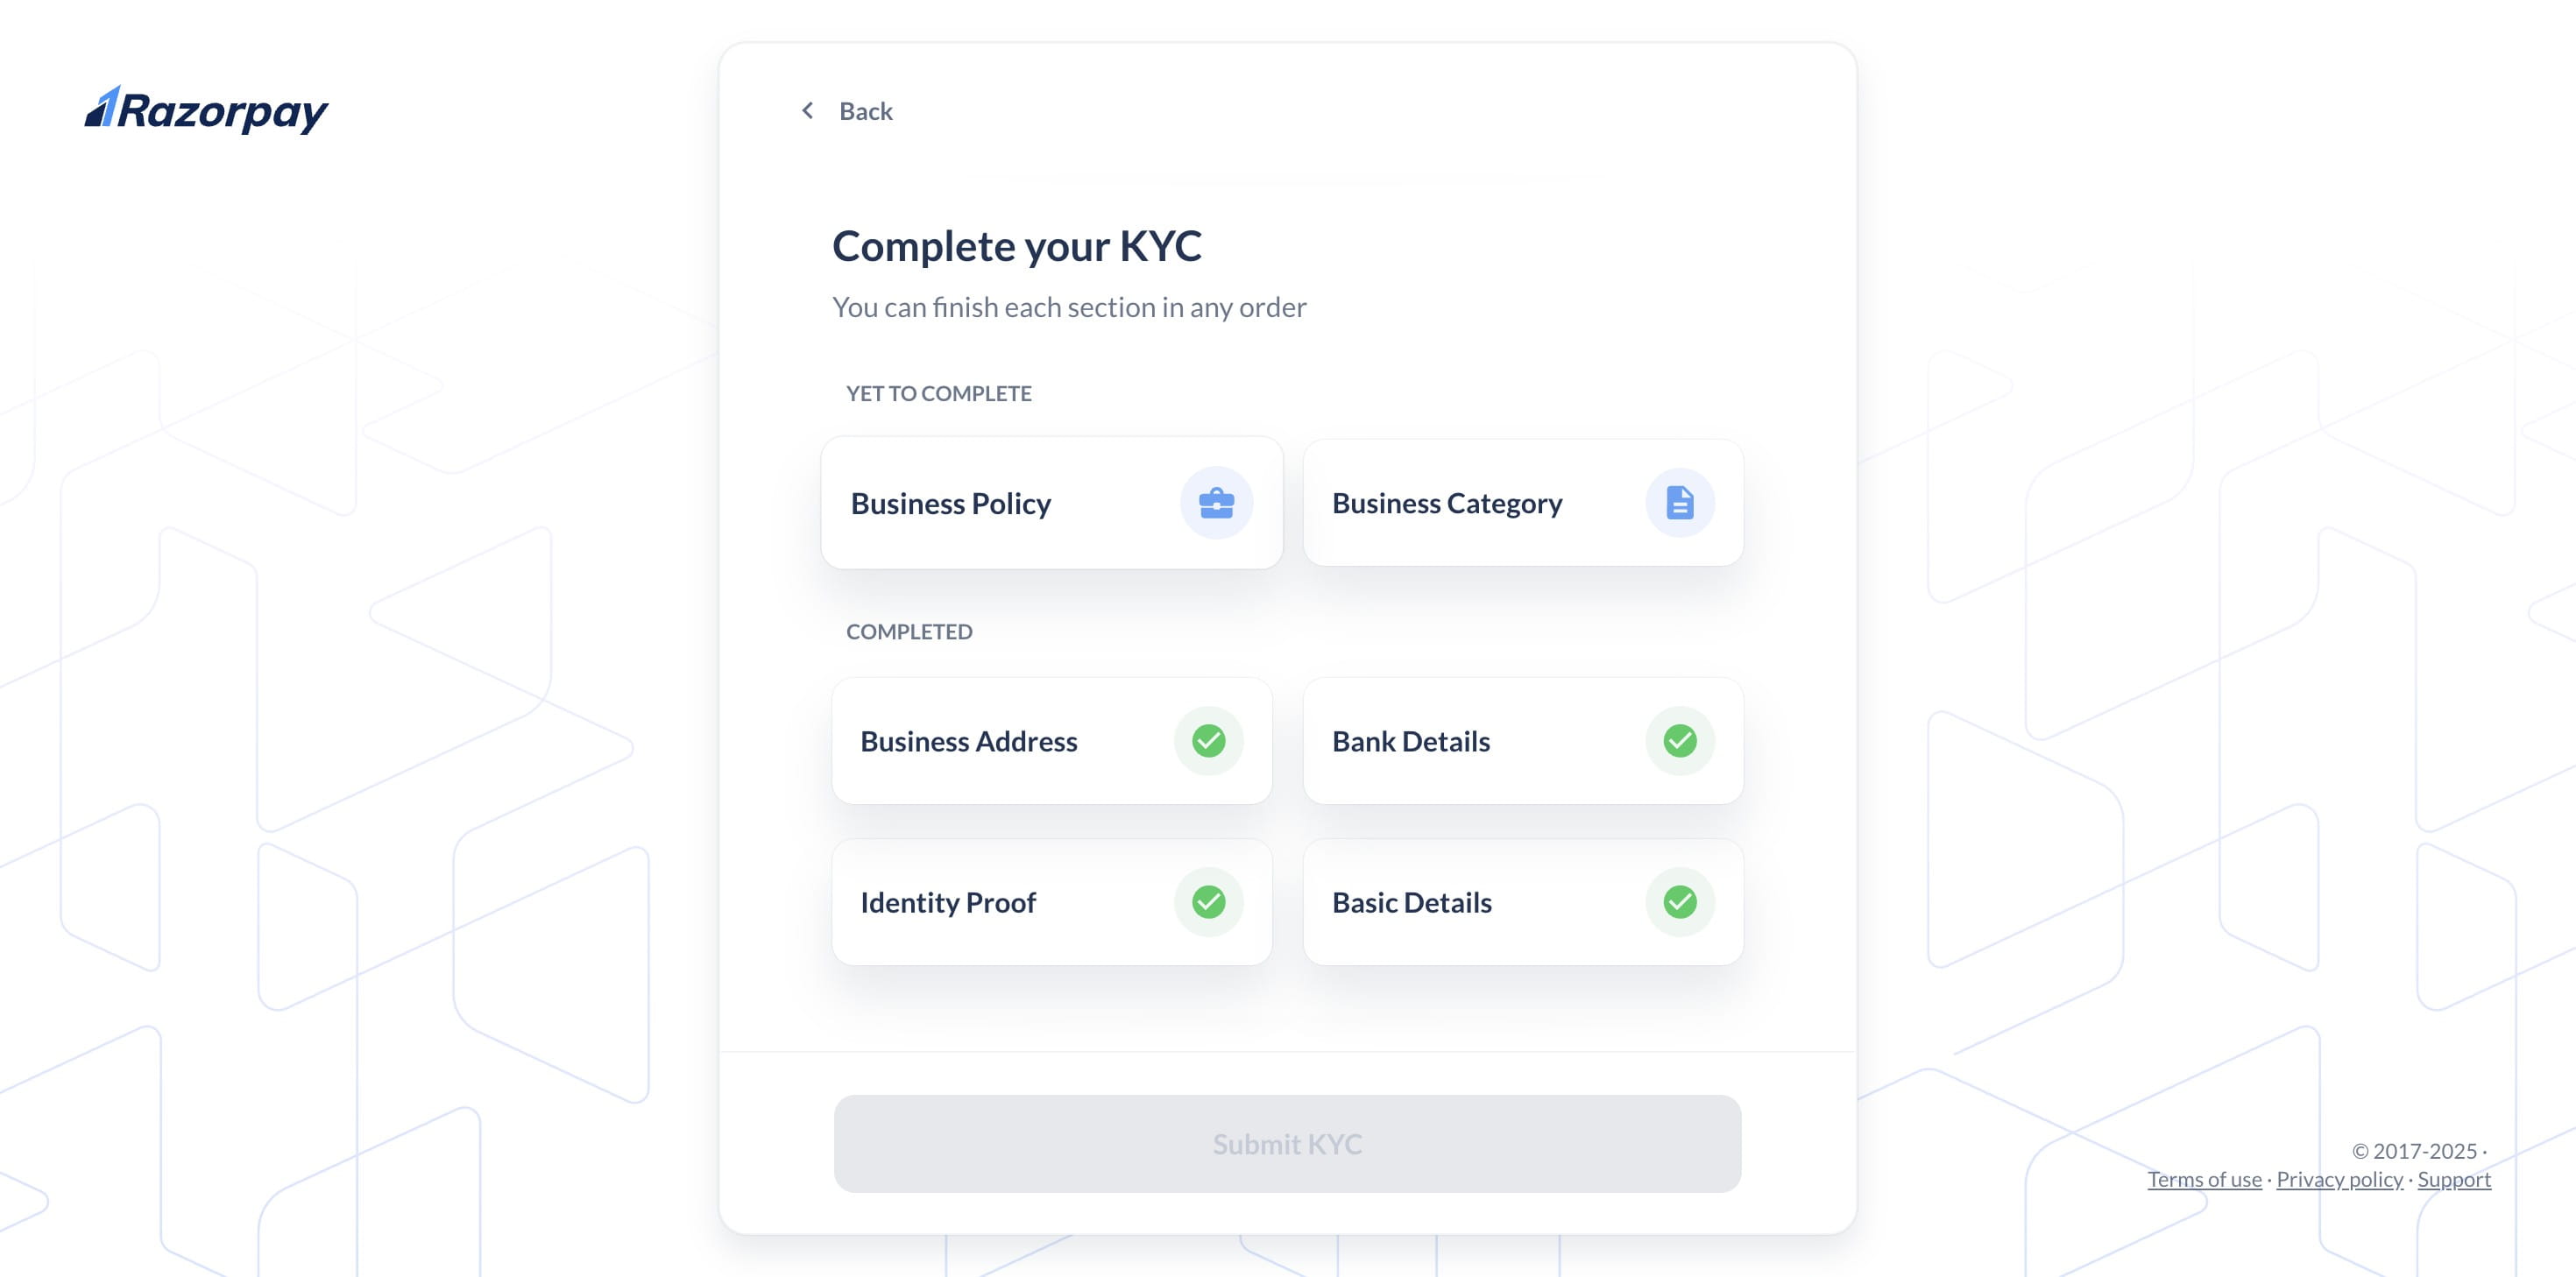
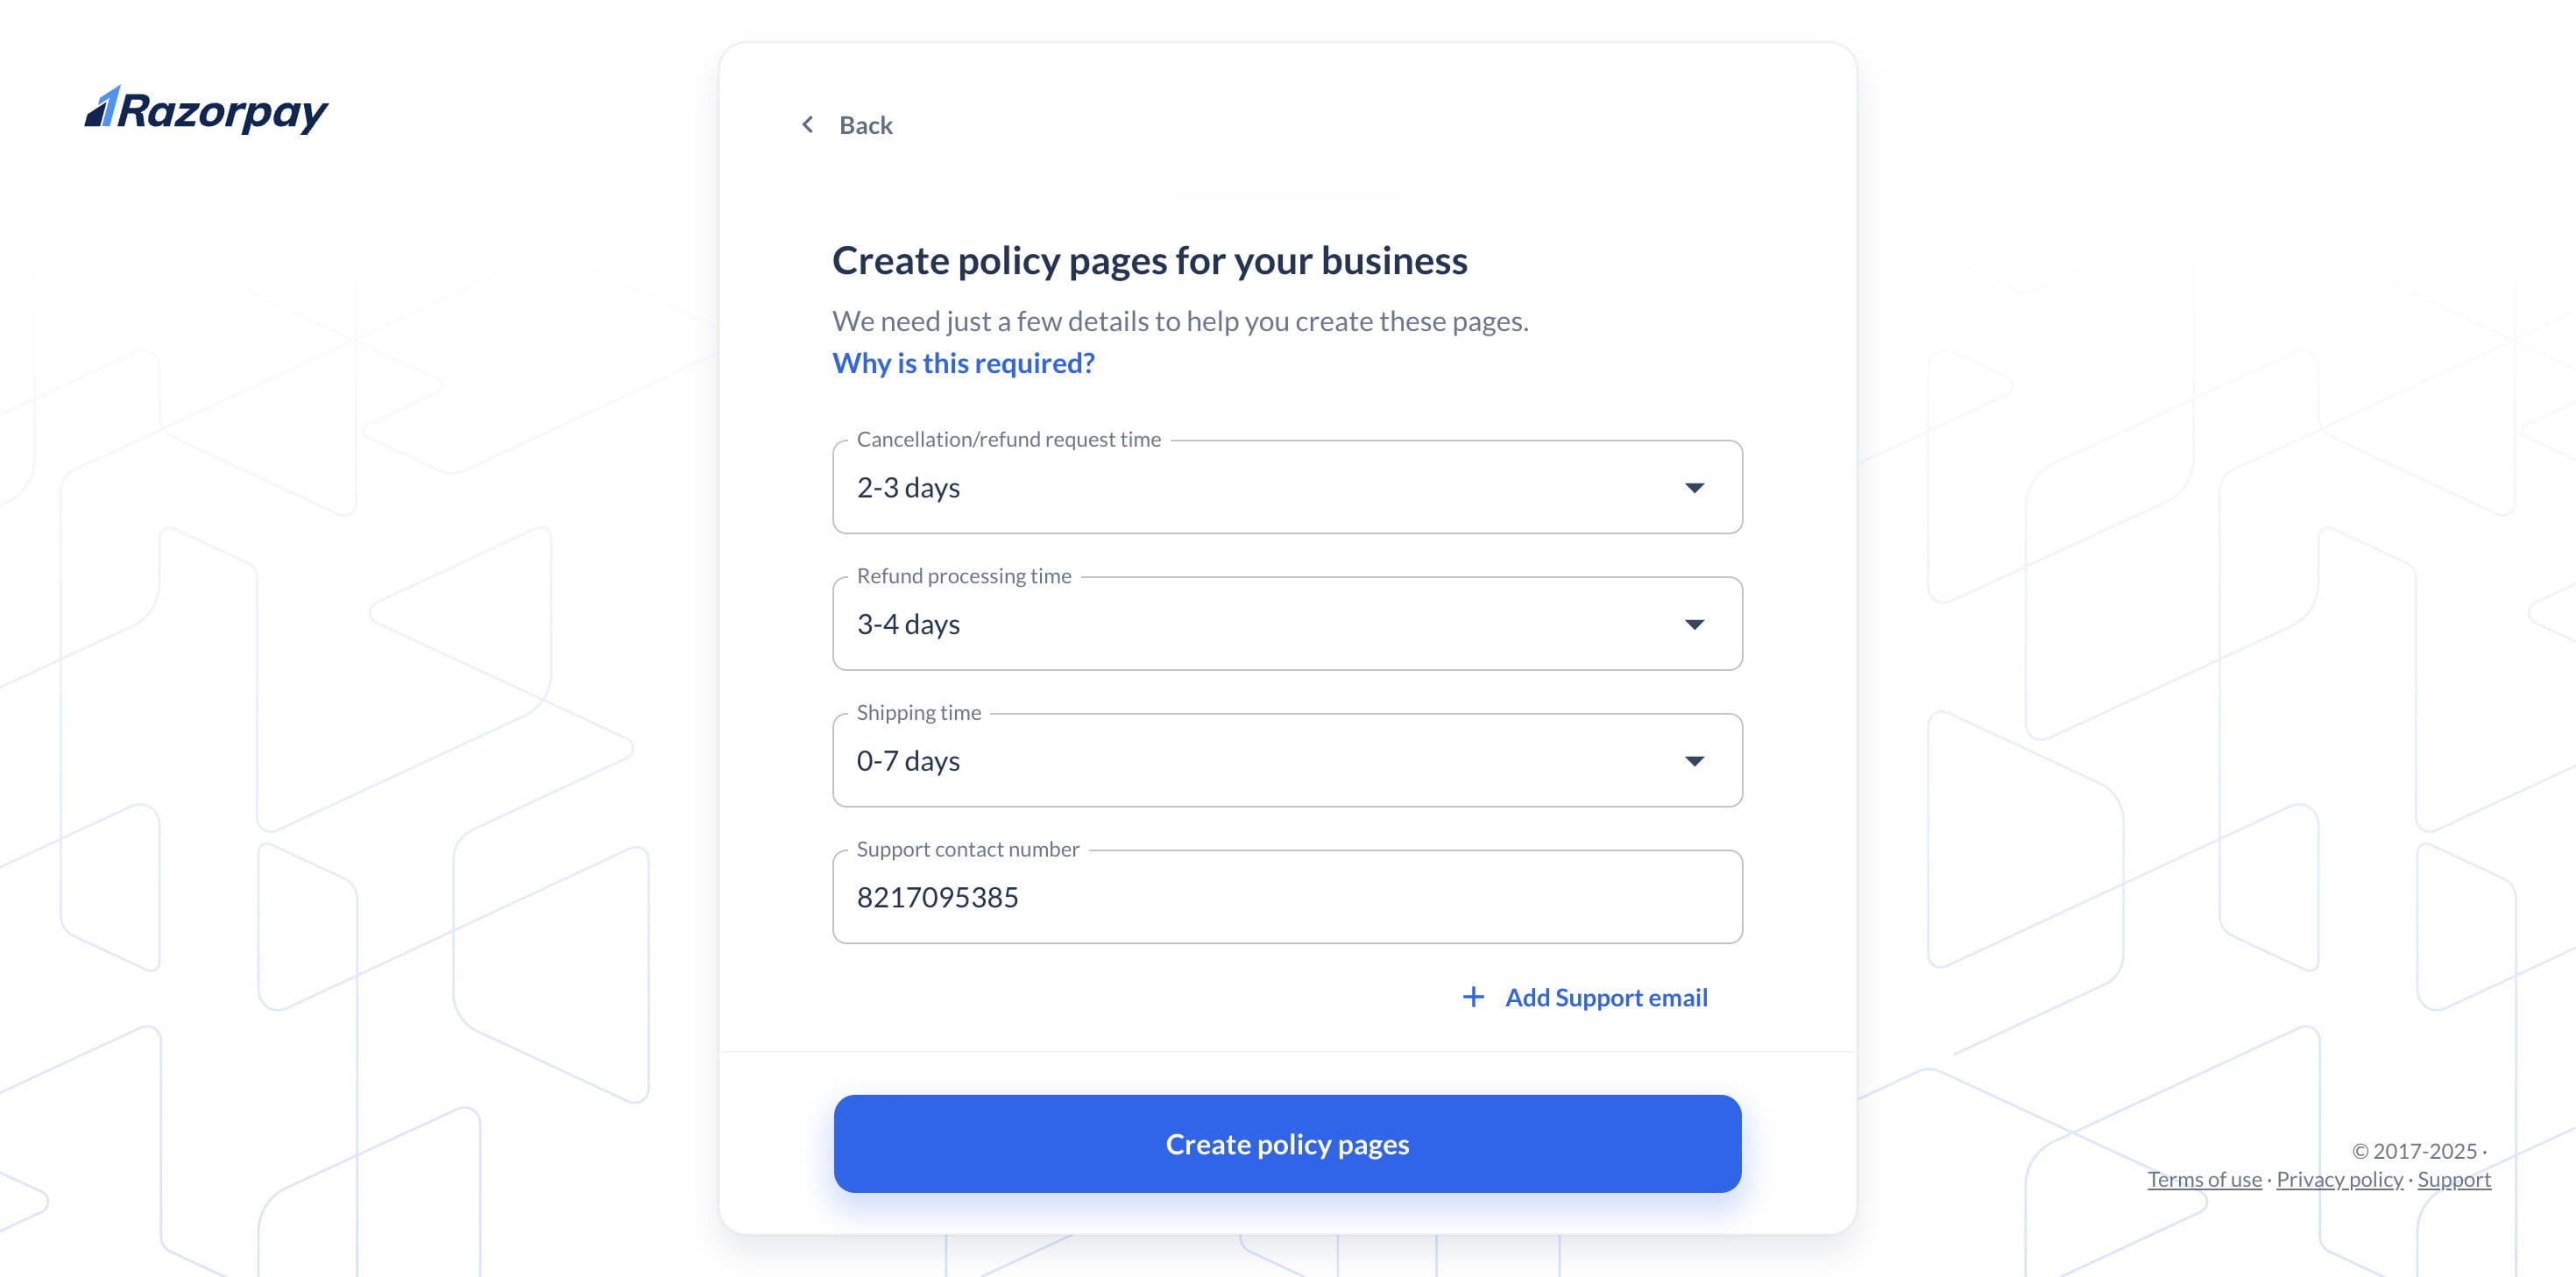
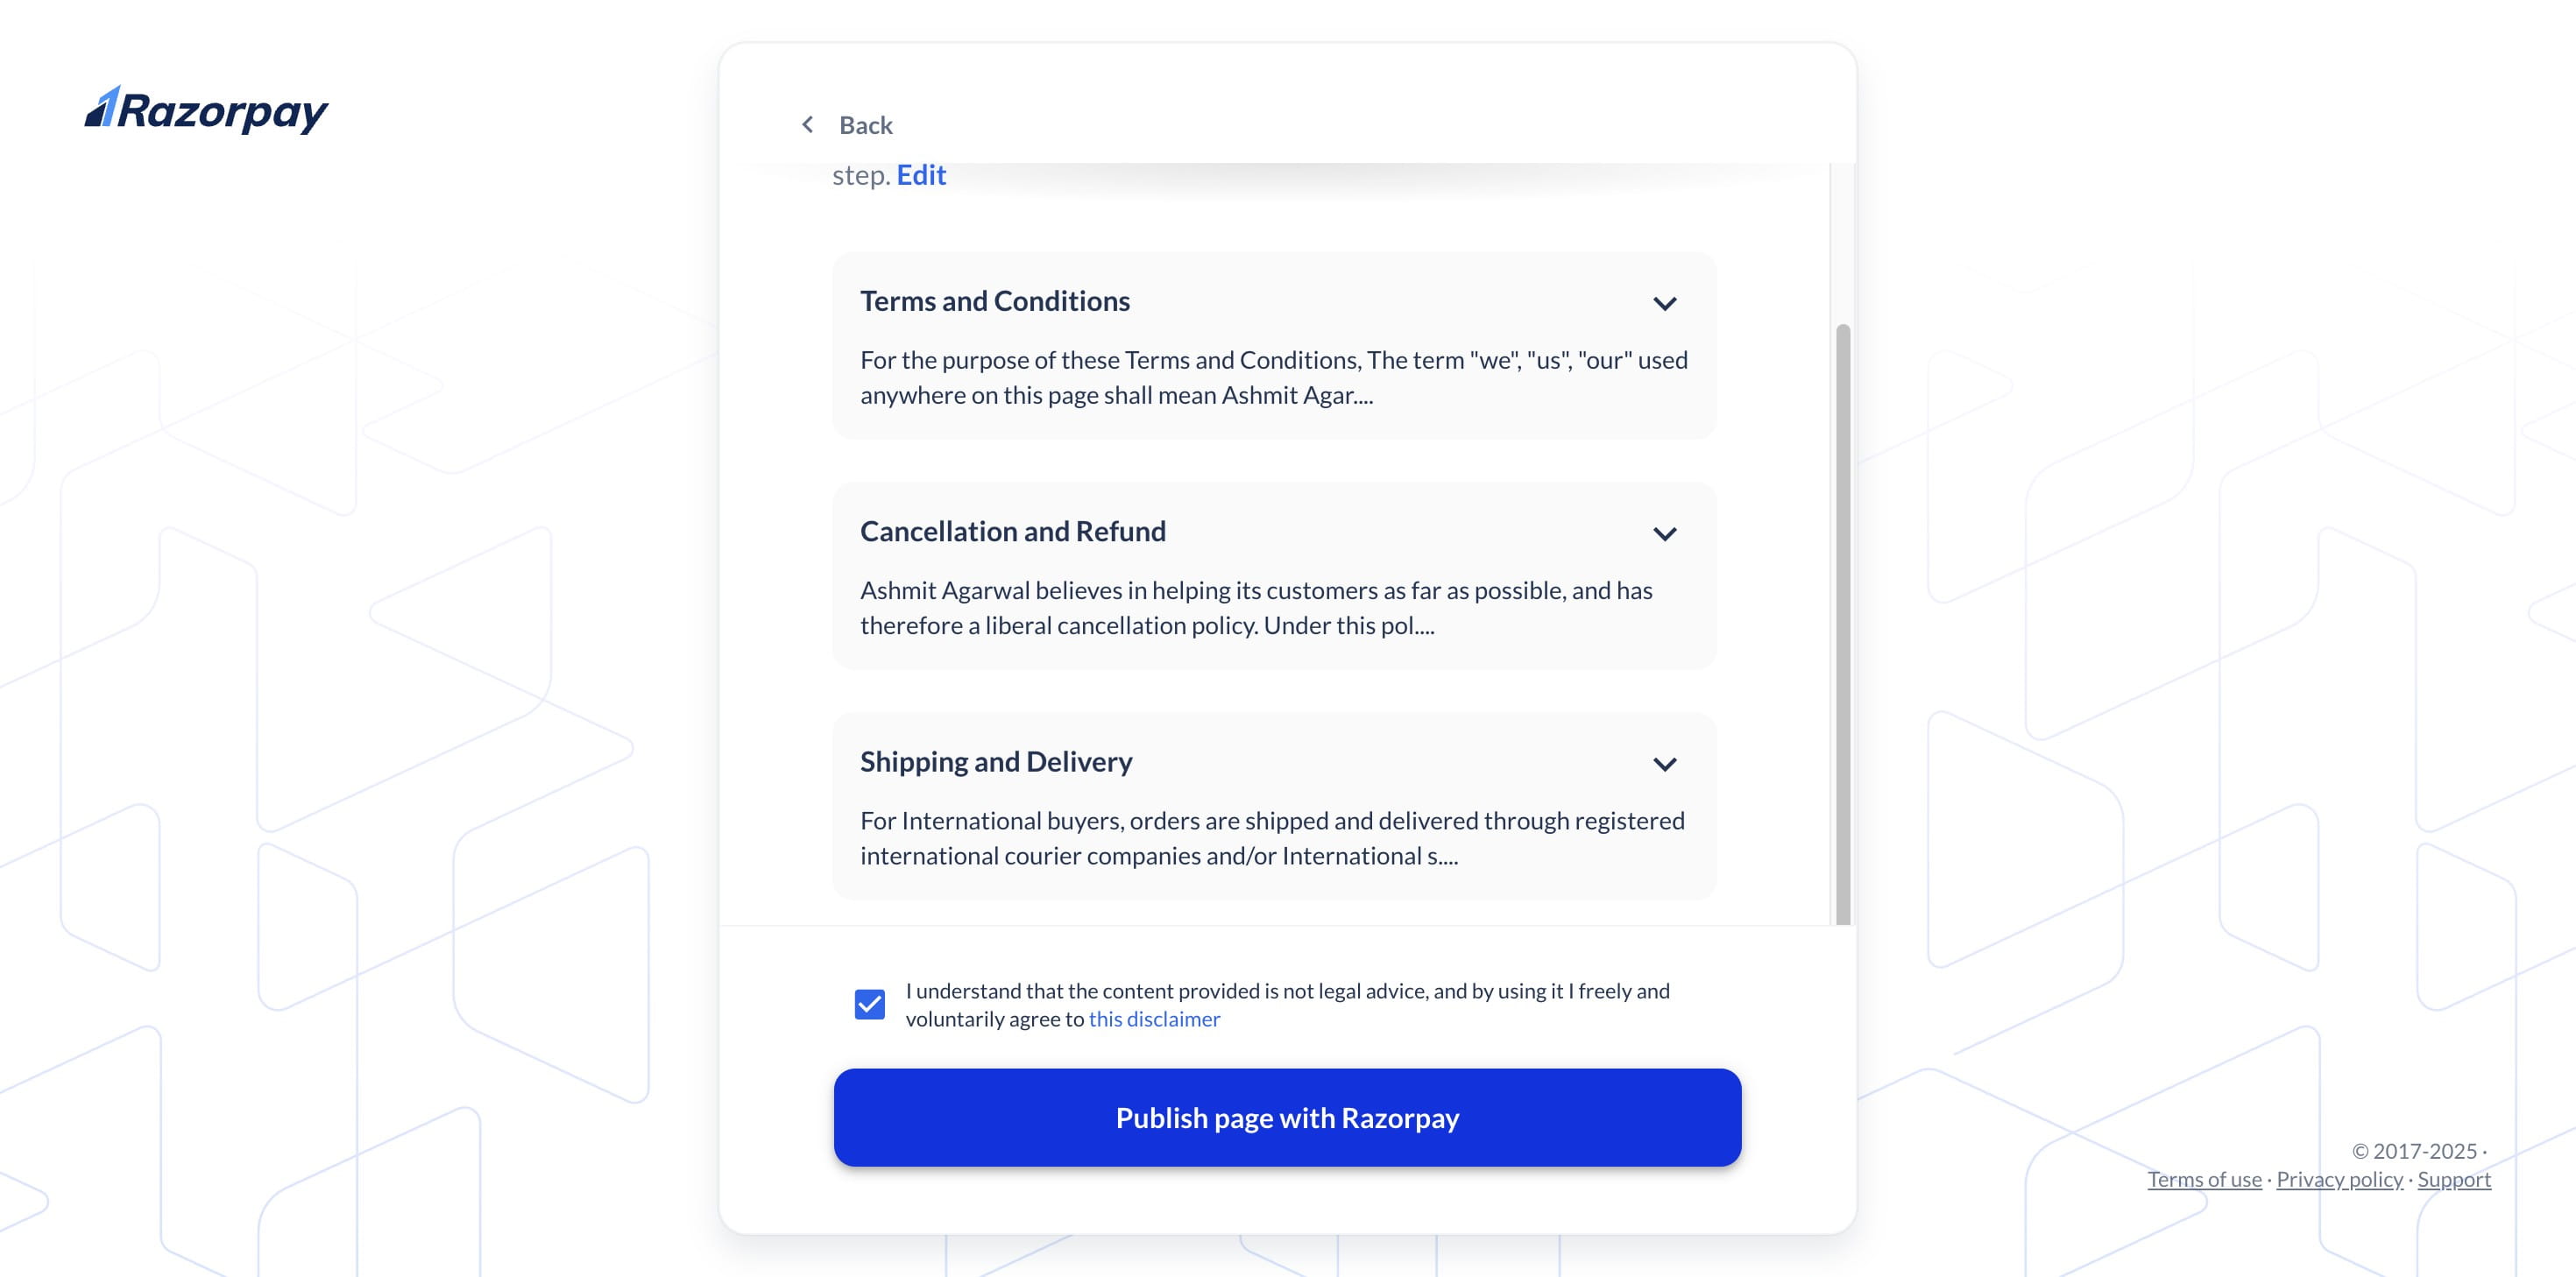
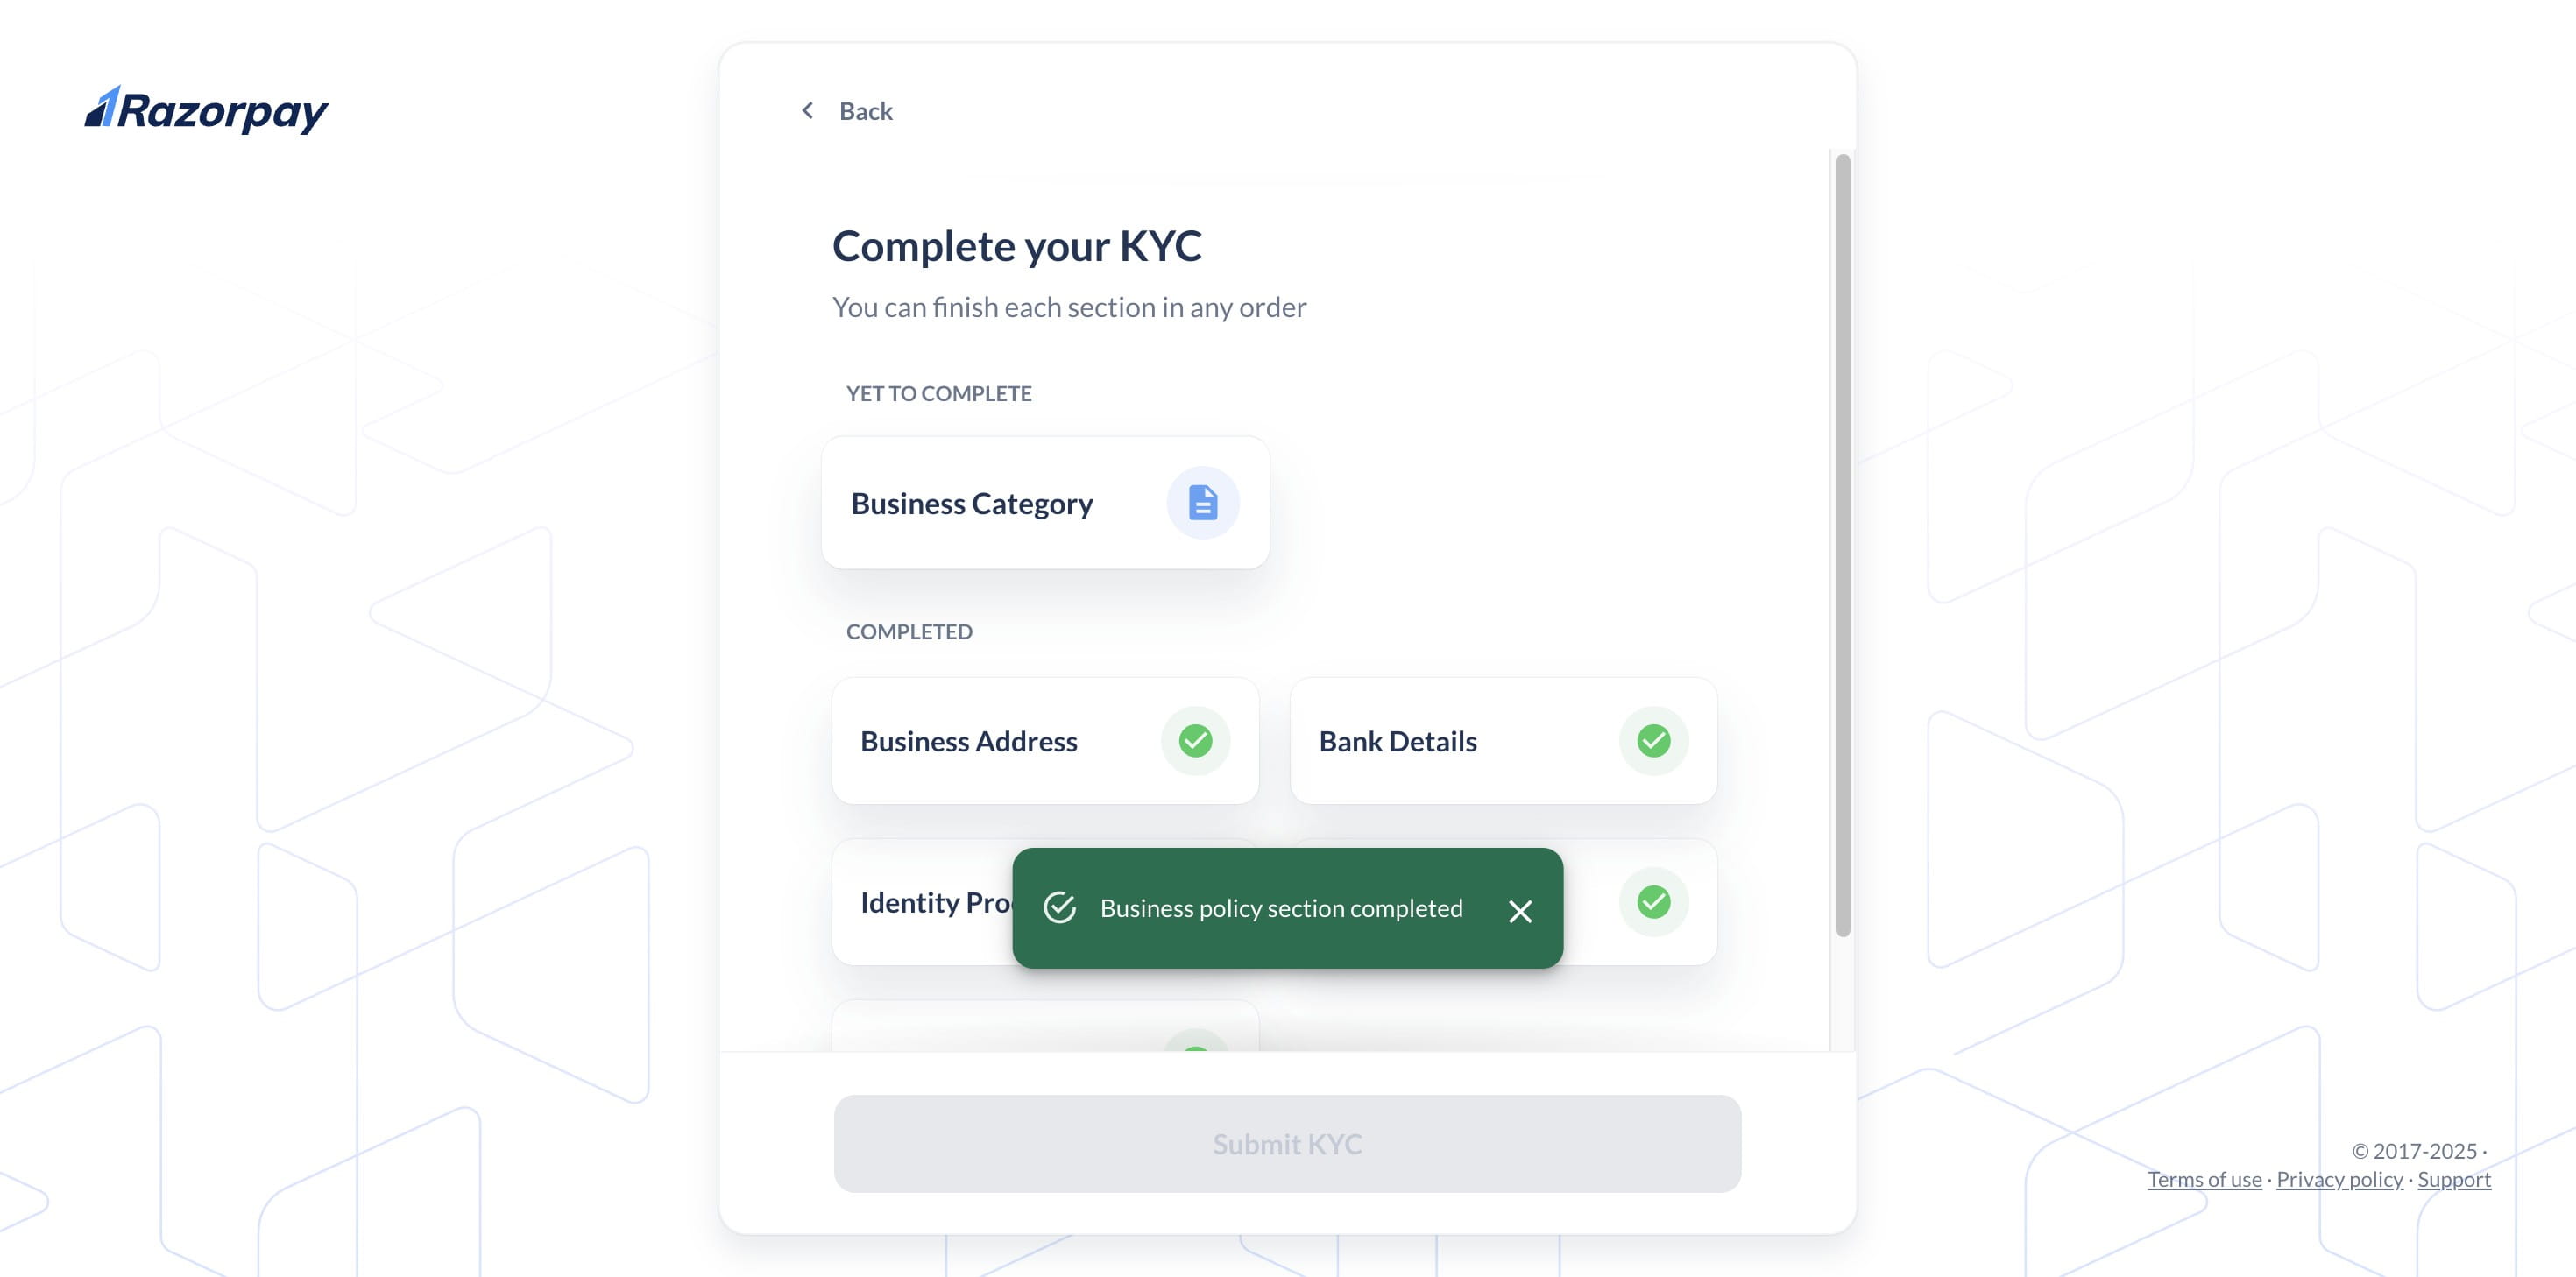
Click on "Business Policy" to complete your policies for refunds, returns, privacy etc
Please enter your information and click "create policy page".
Click on "Publish page with Razorpay"
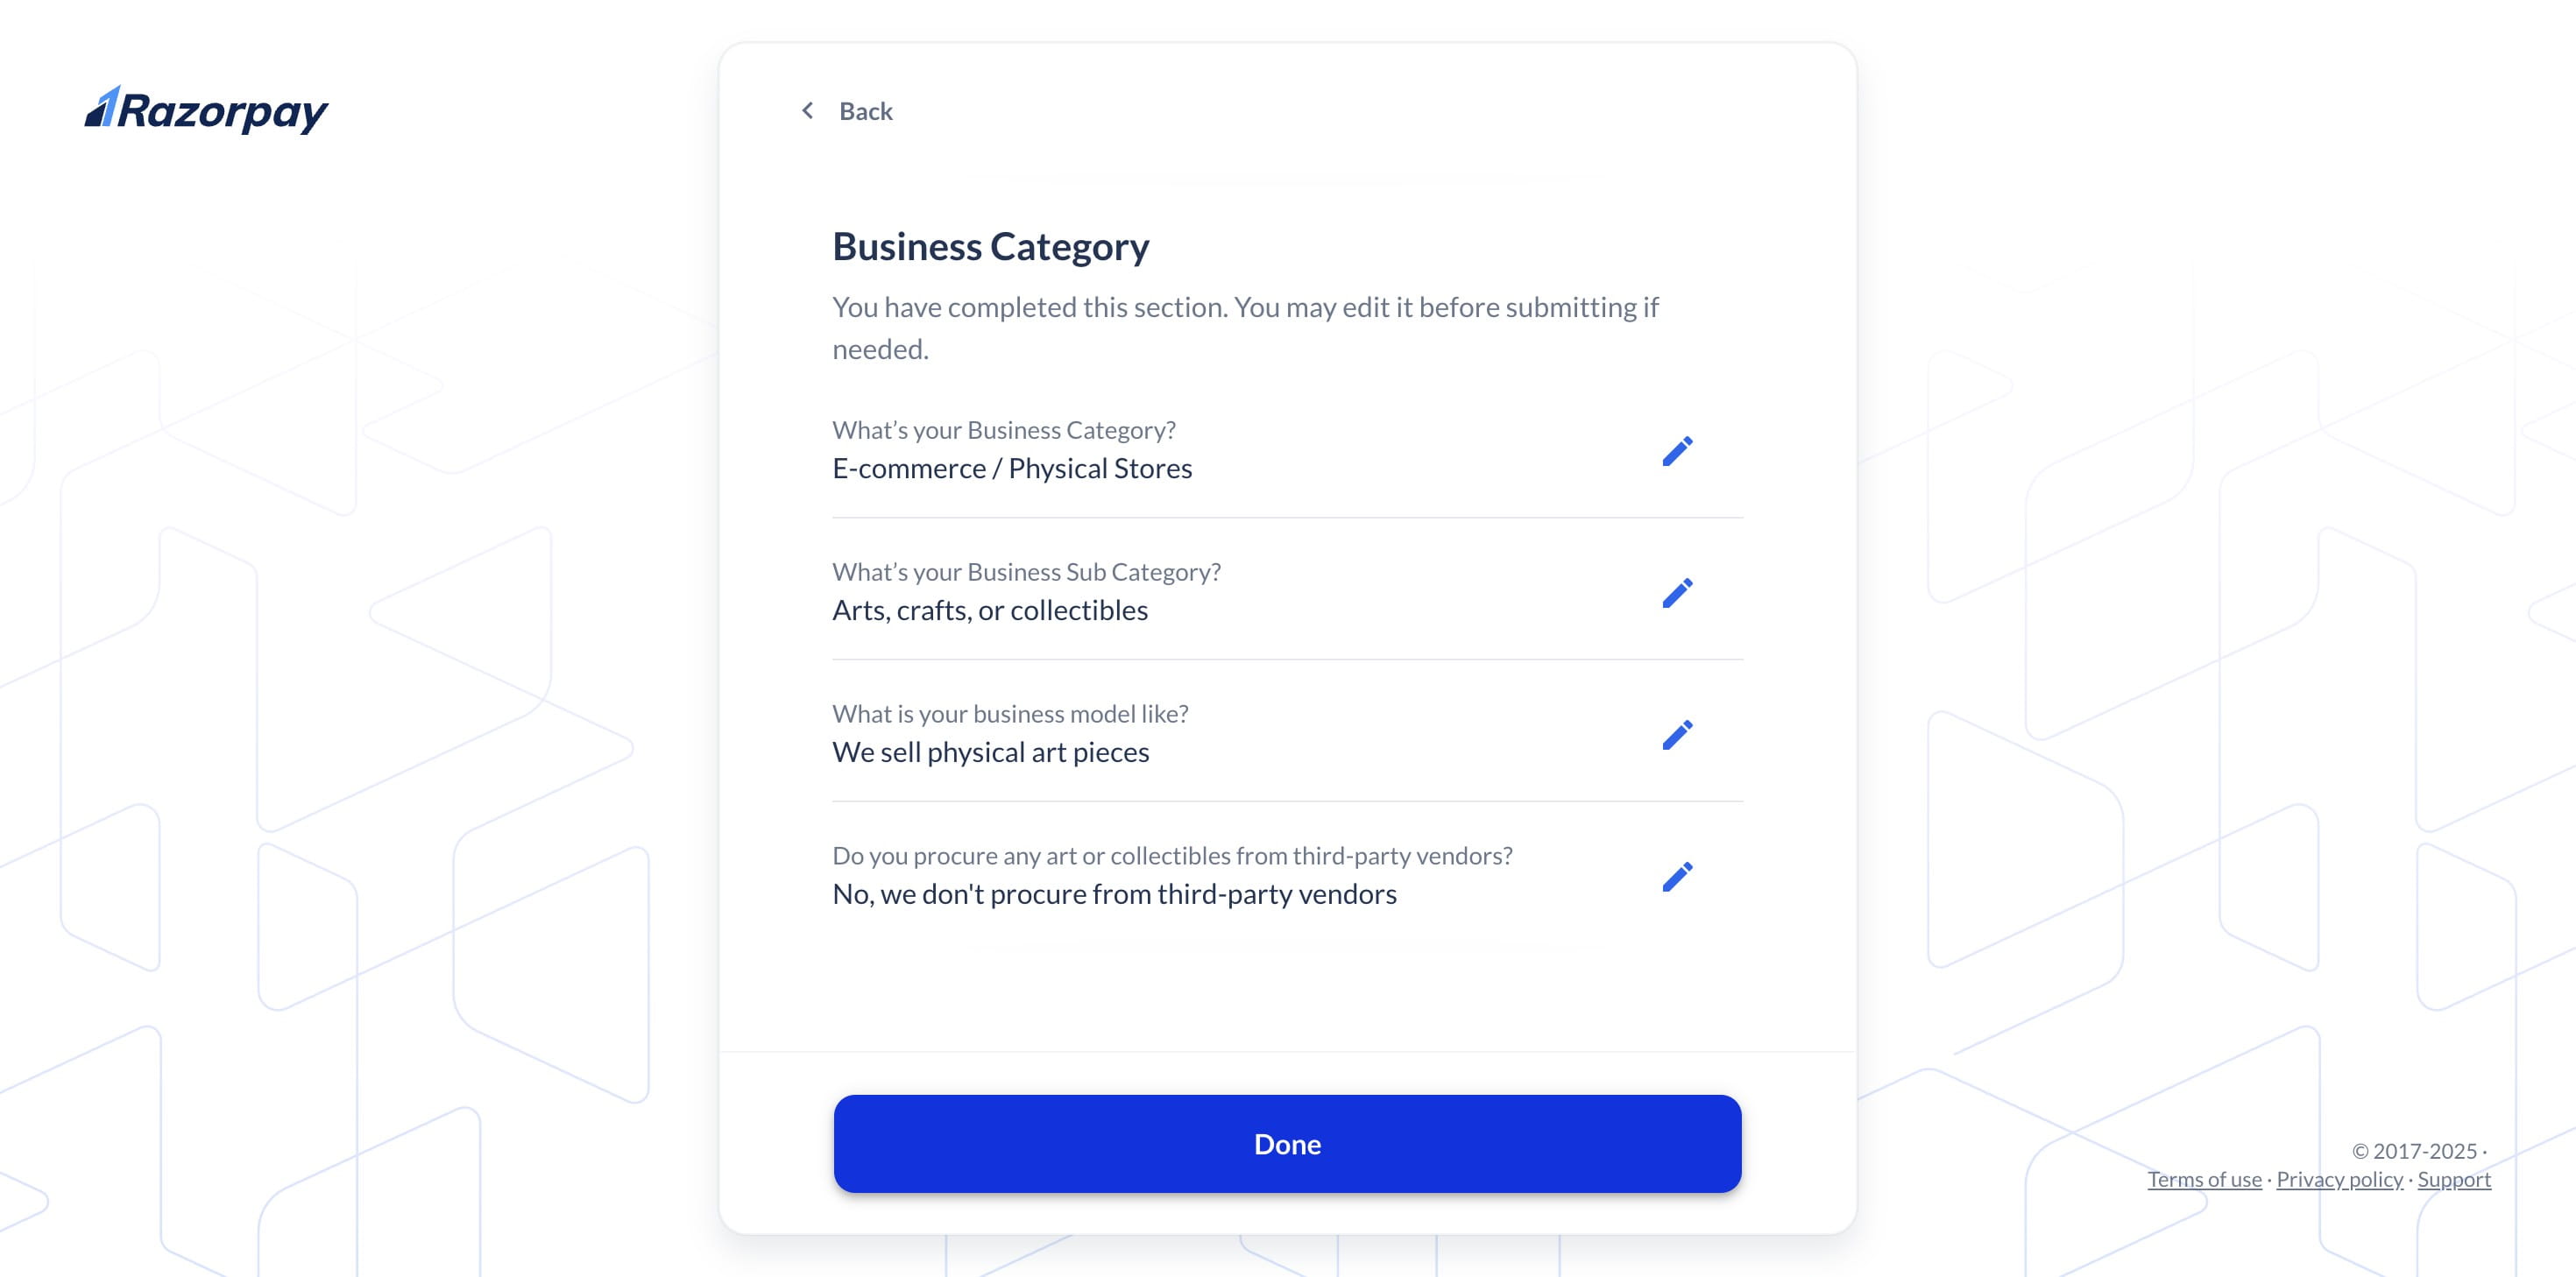
Click on "Business Category"
Select your preferred business category
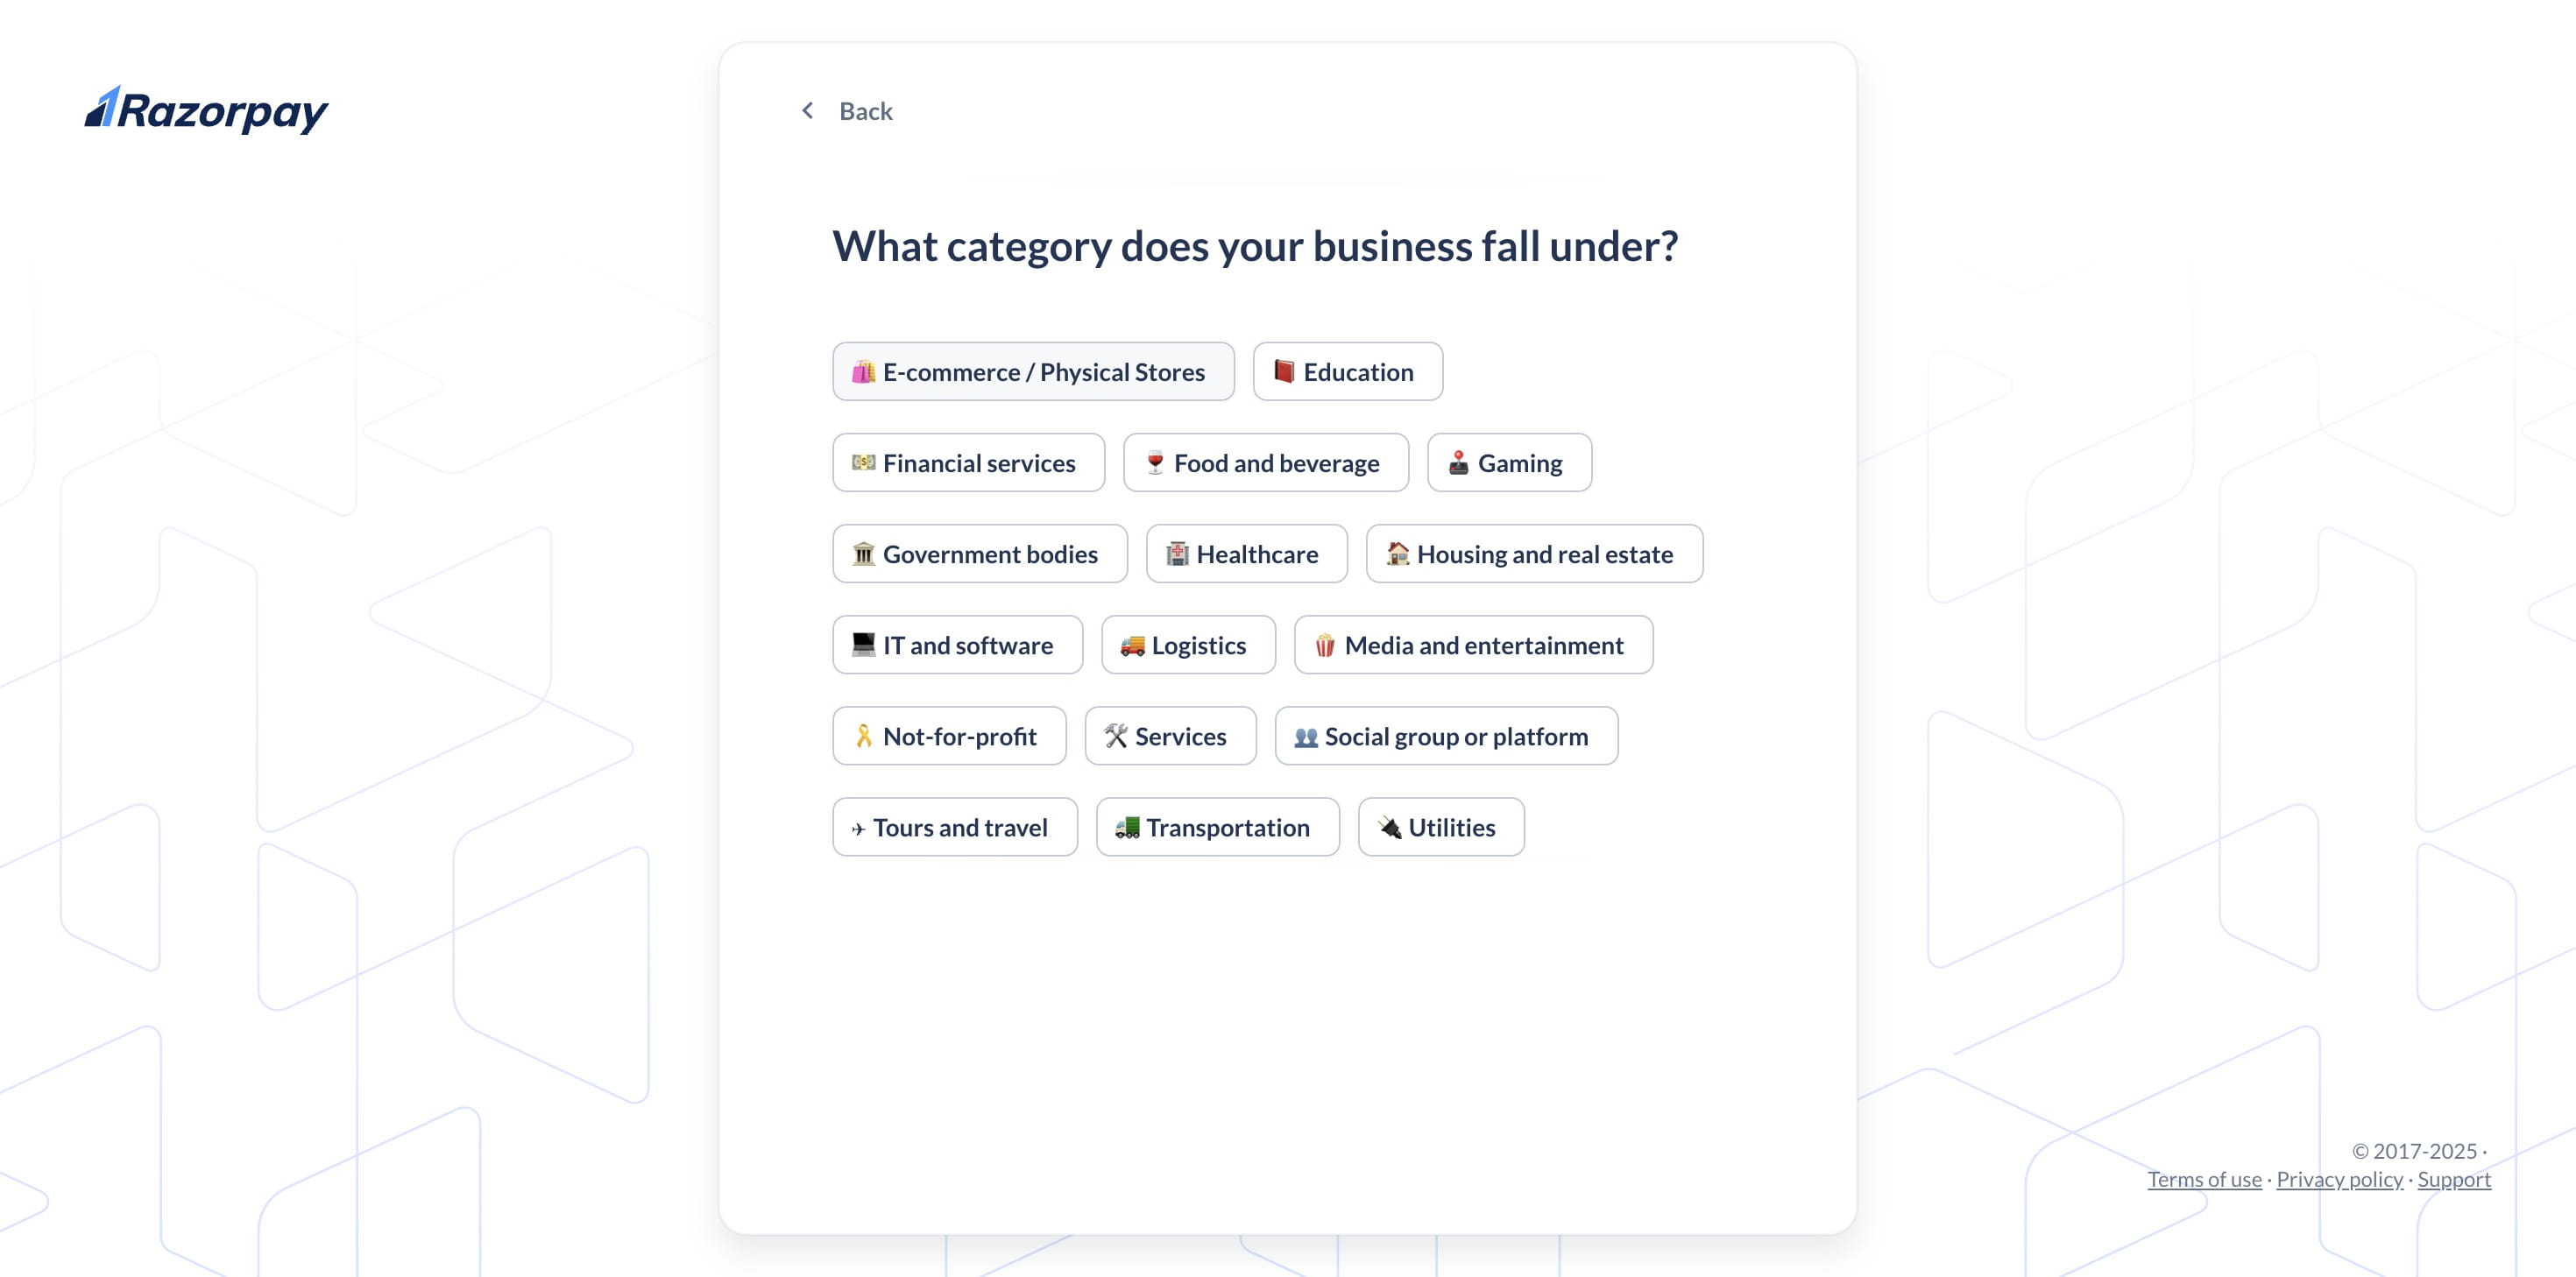
Choose your subcategory accordingly.

Click "Done" after entering all the required information.
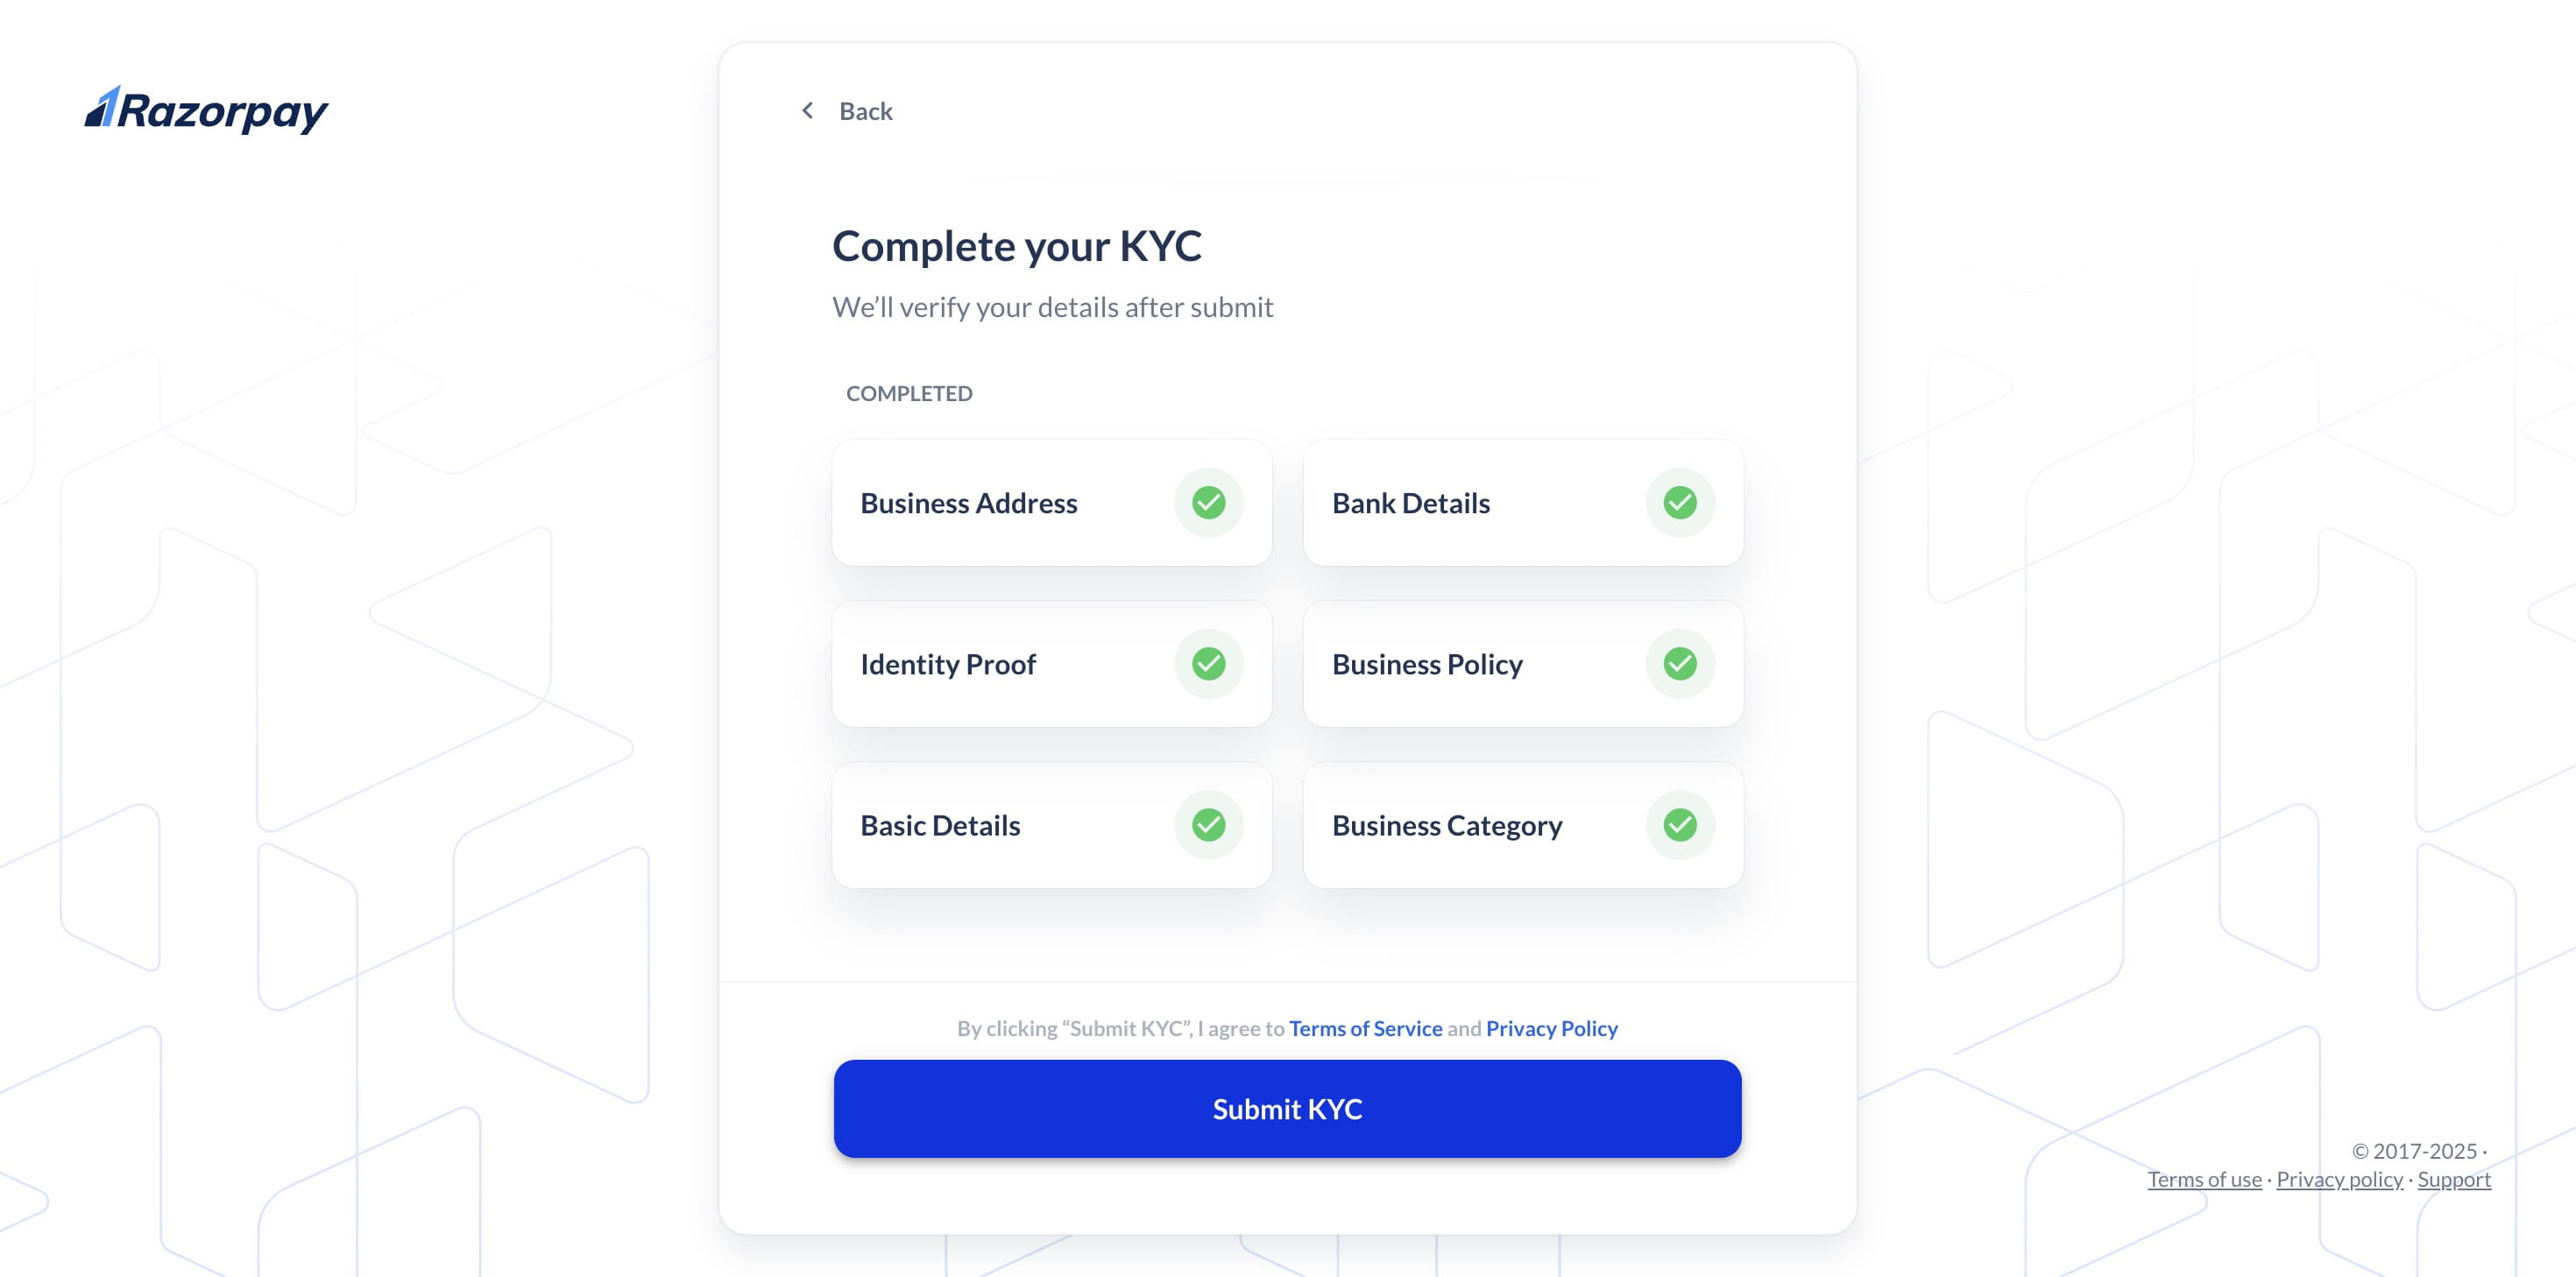
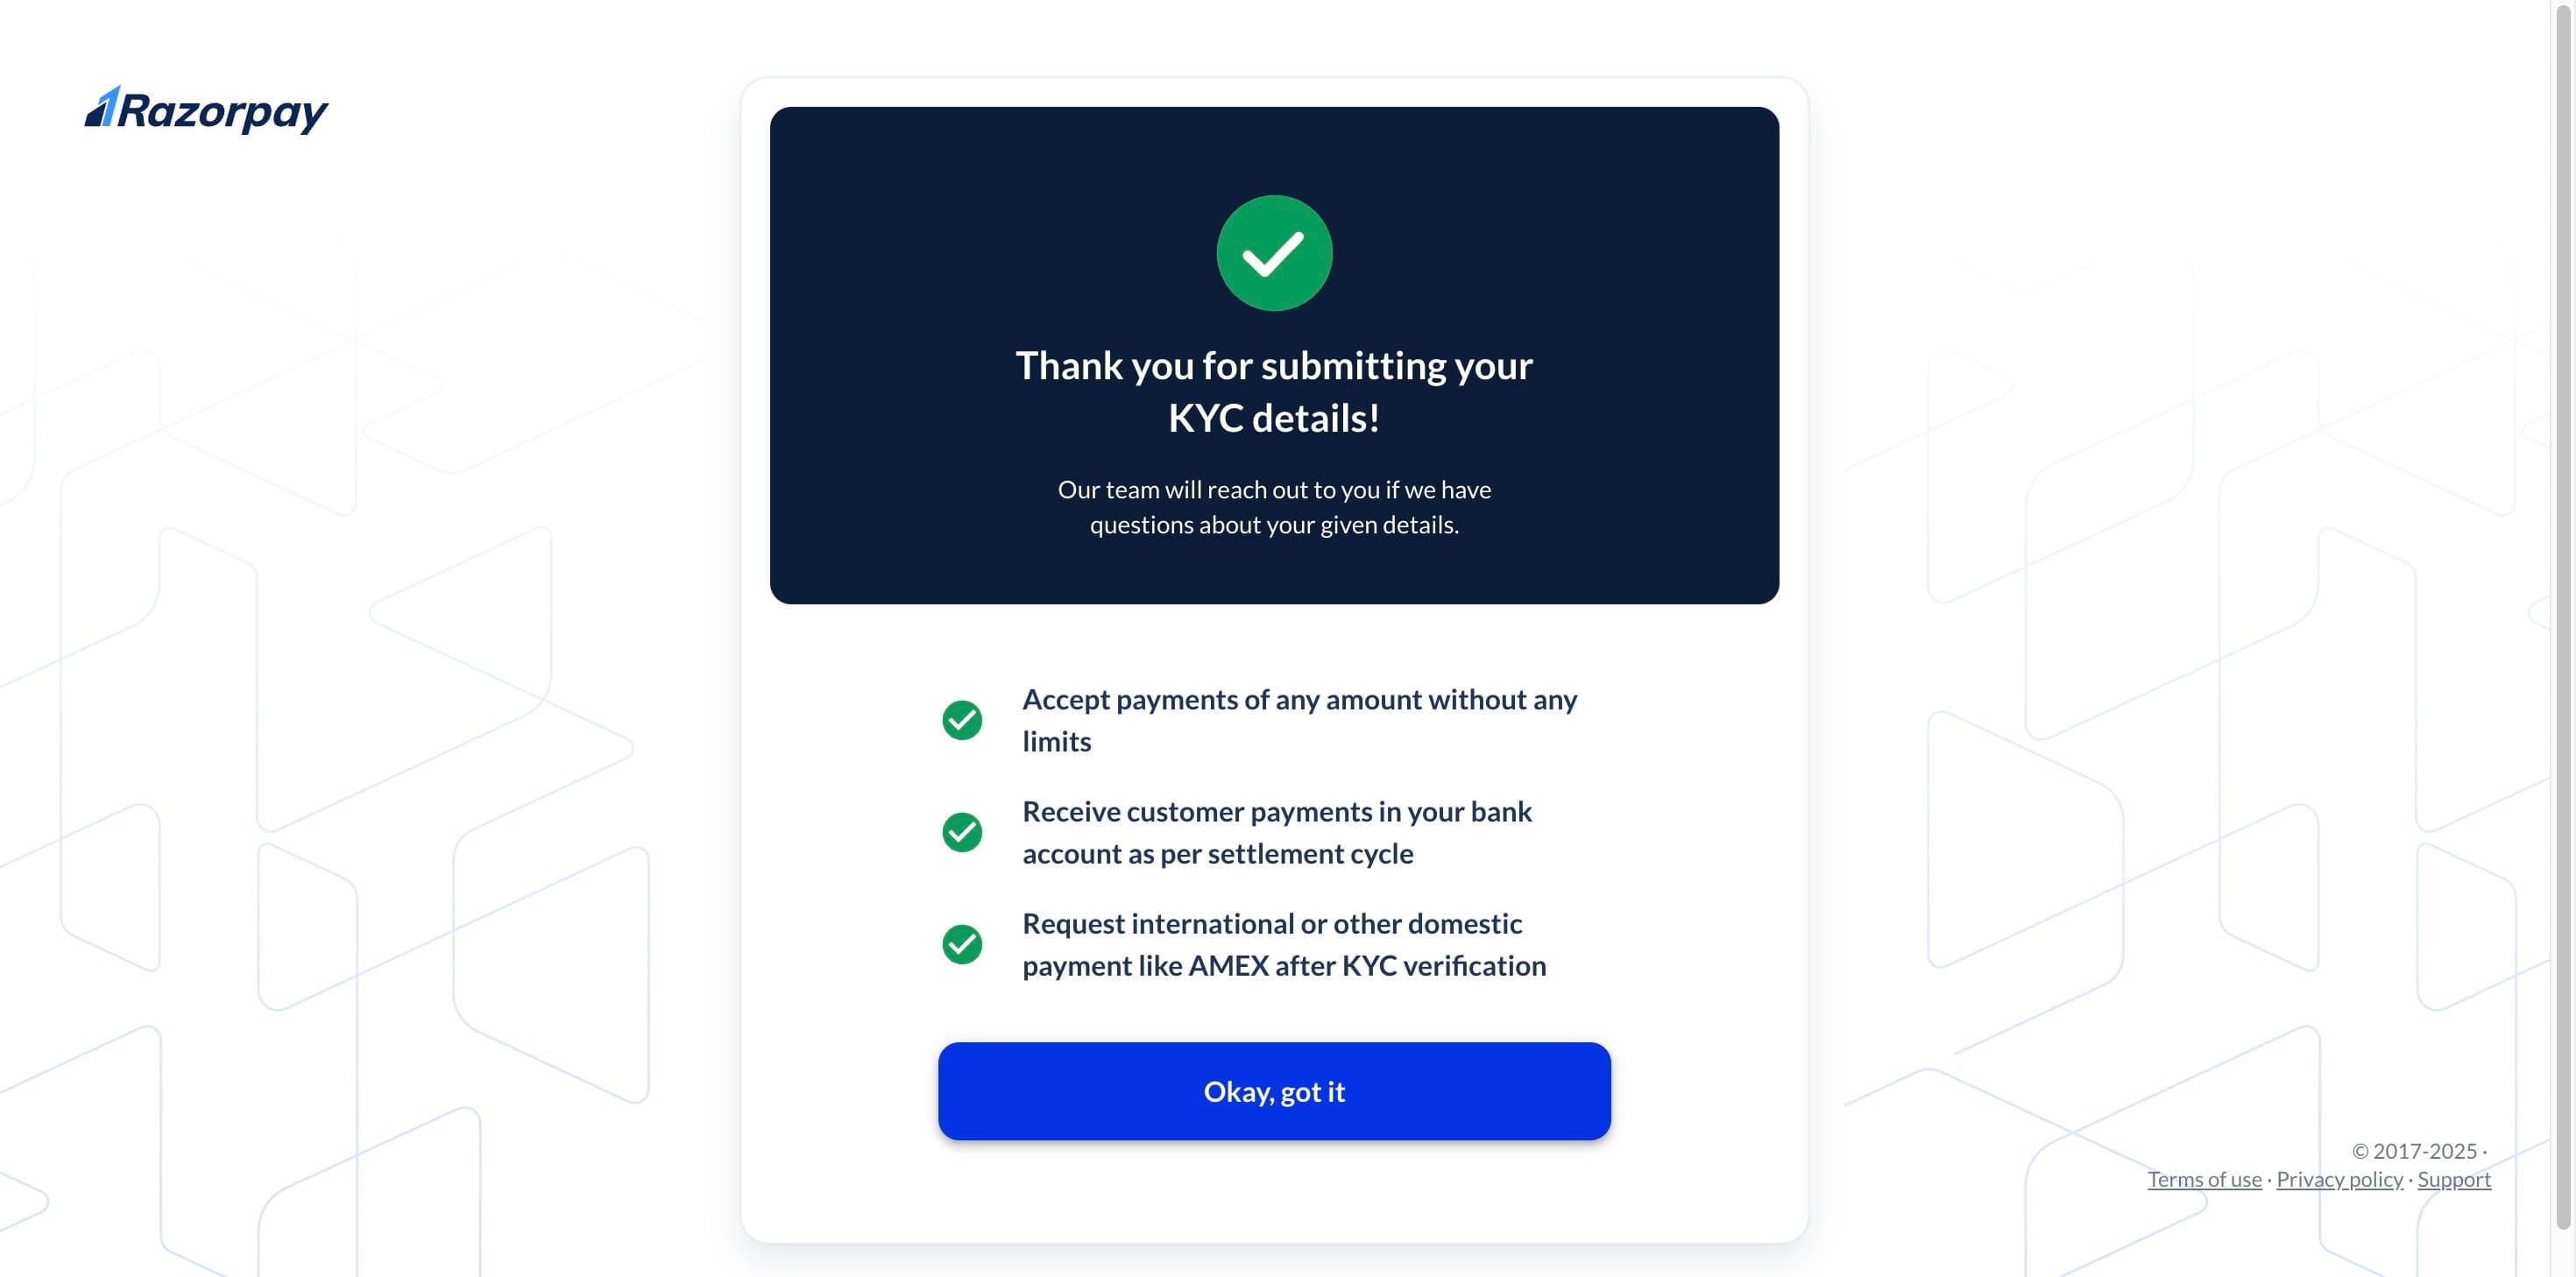
After completing all sections, click "Submit KYC."
Click on "Okay, got it"
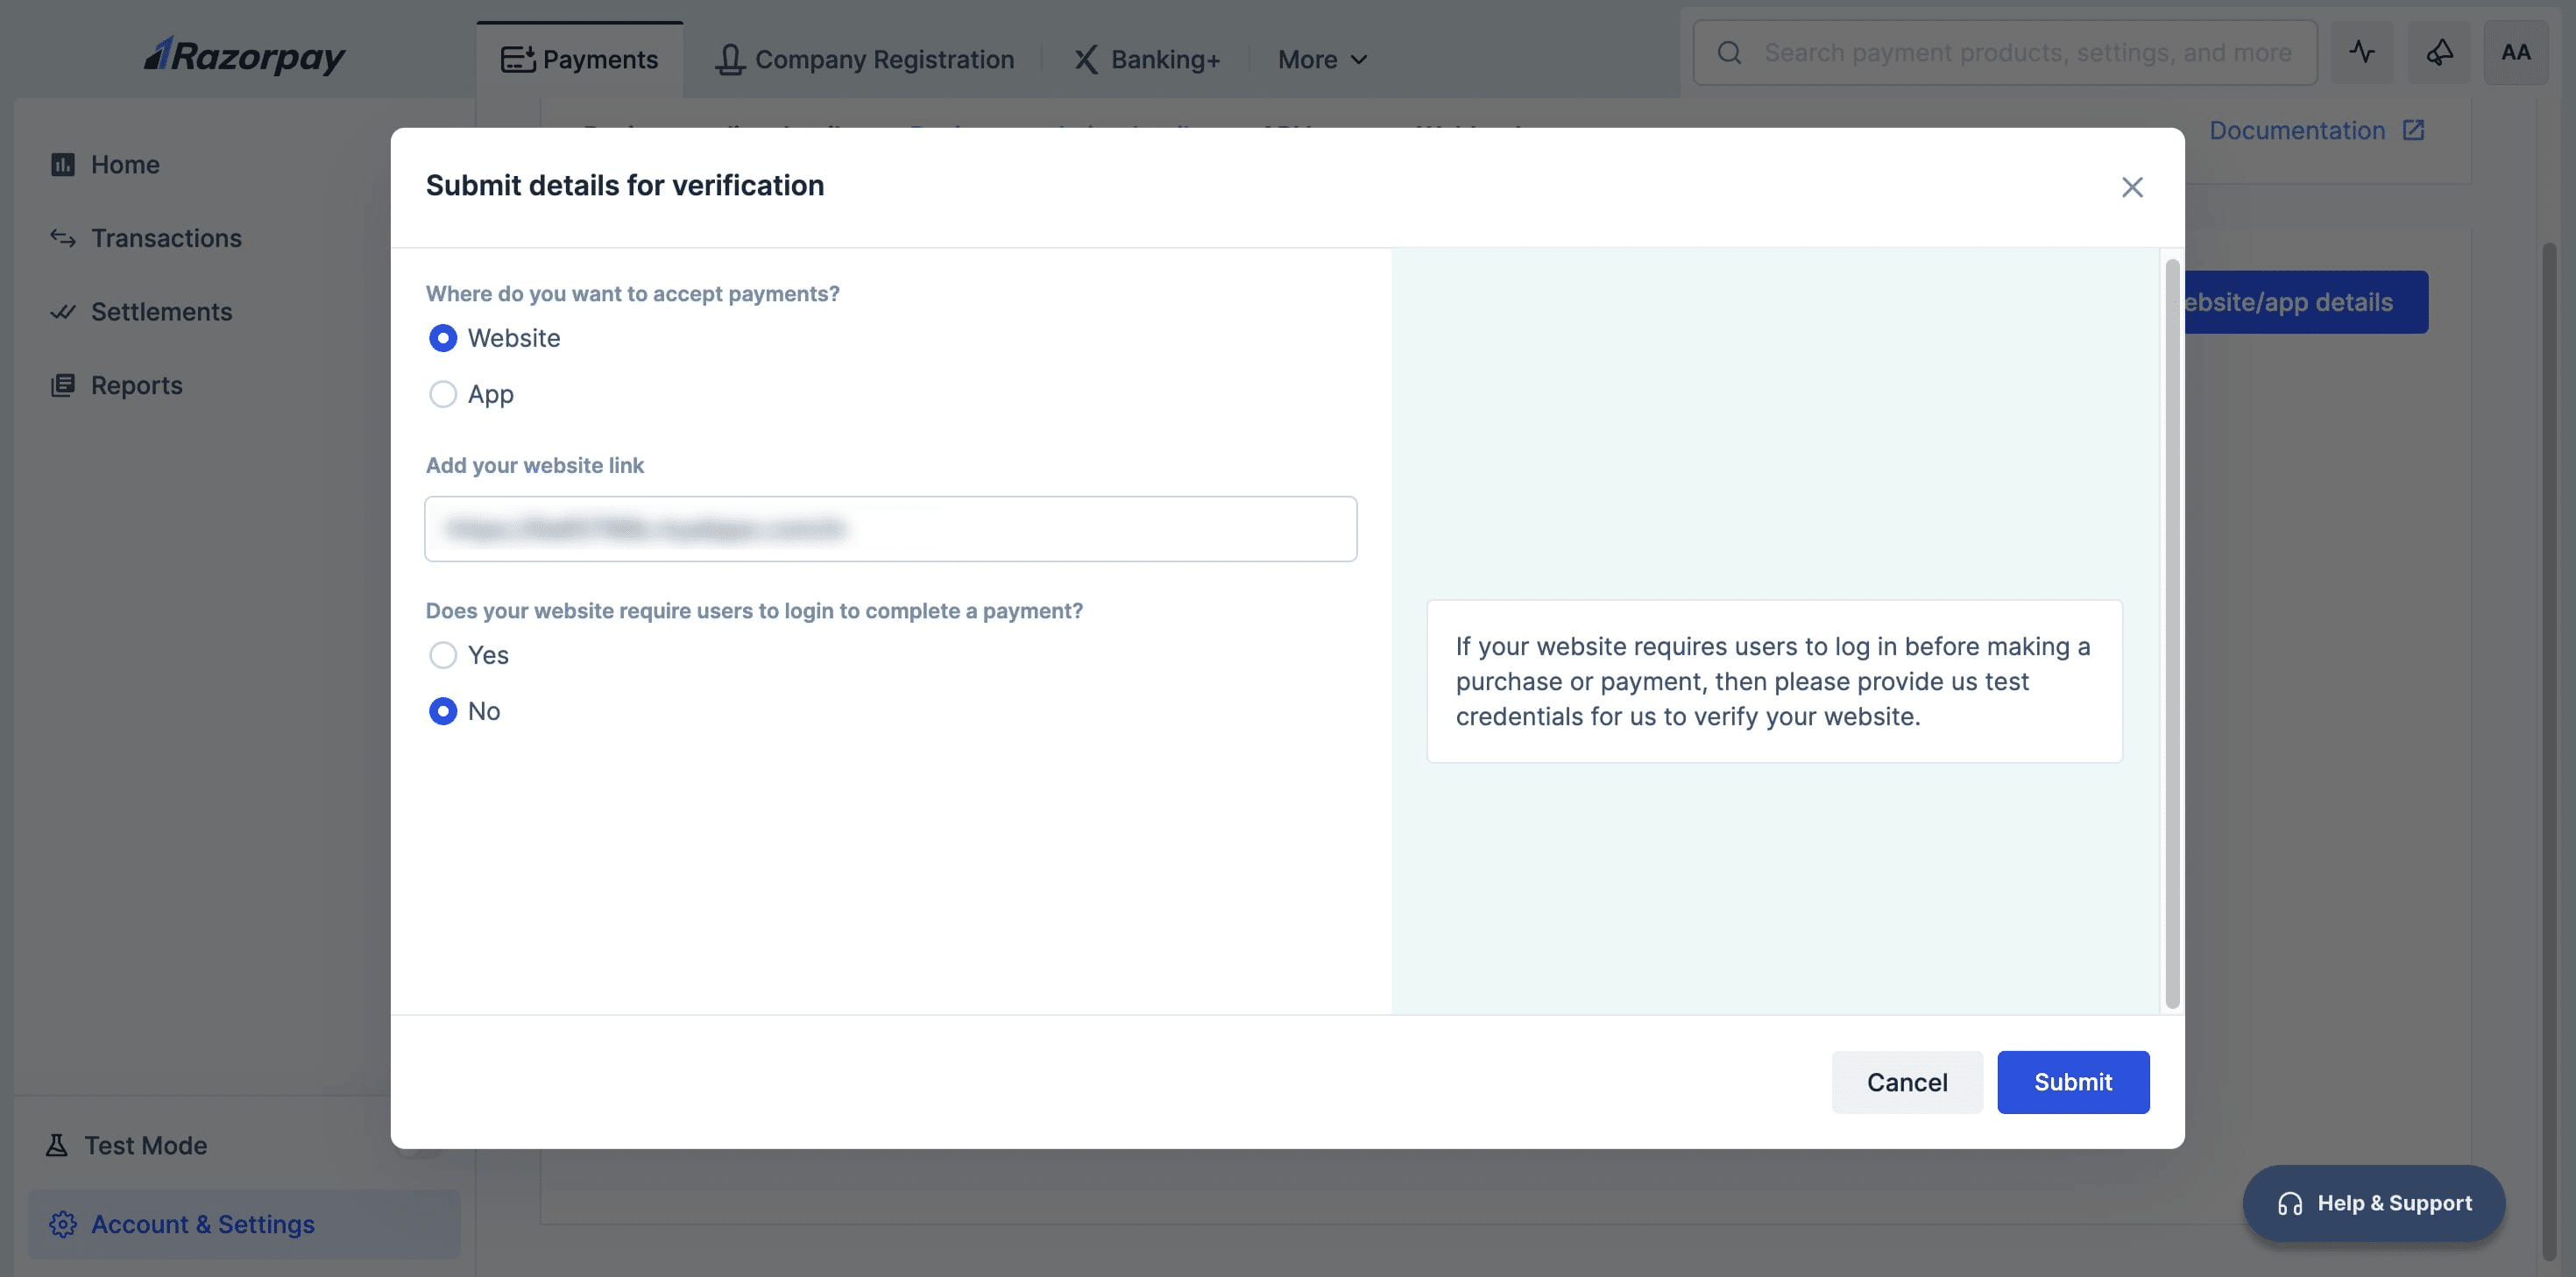
Website Verification & API Setup
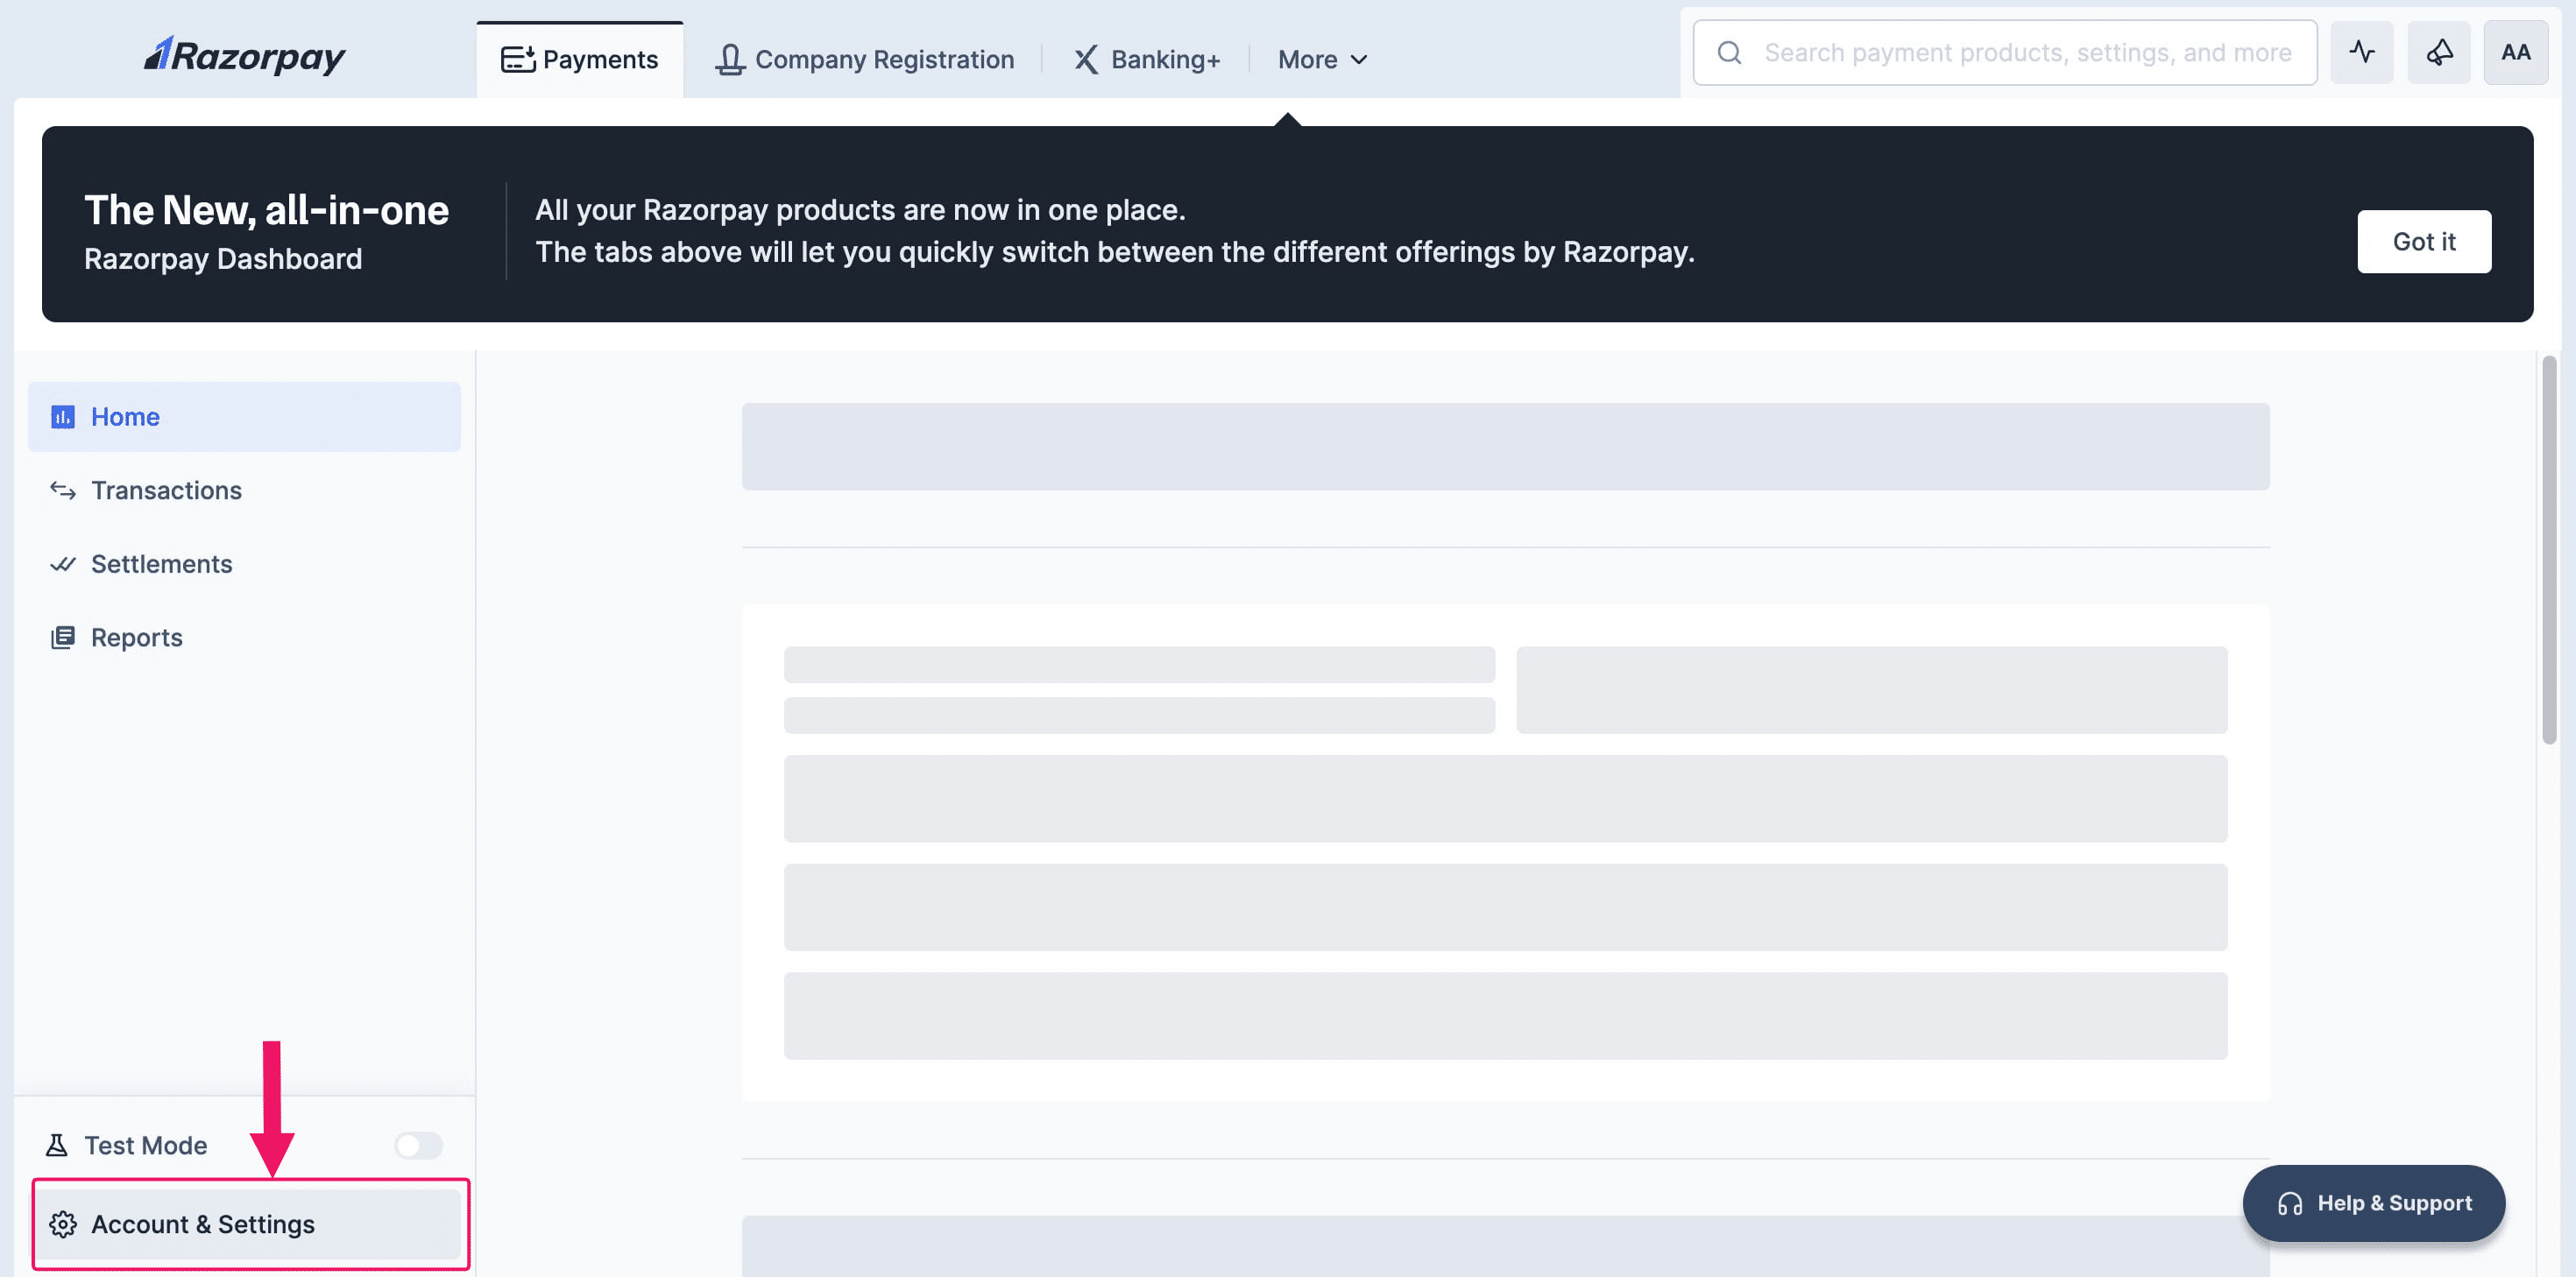
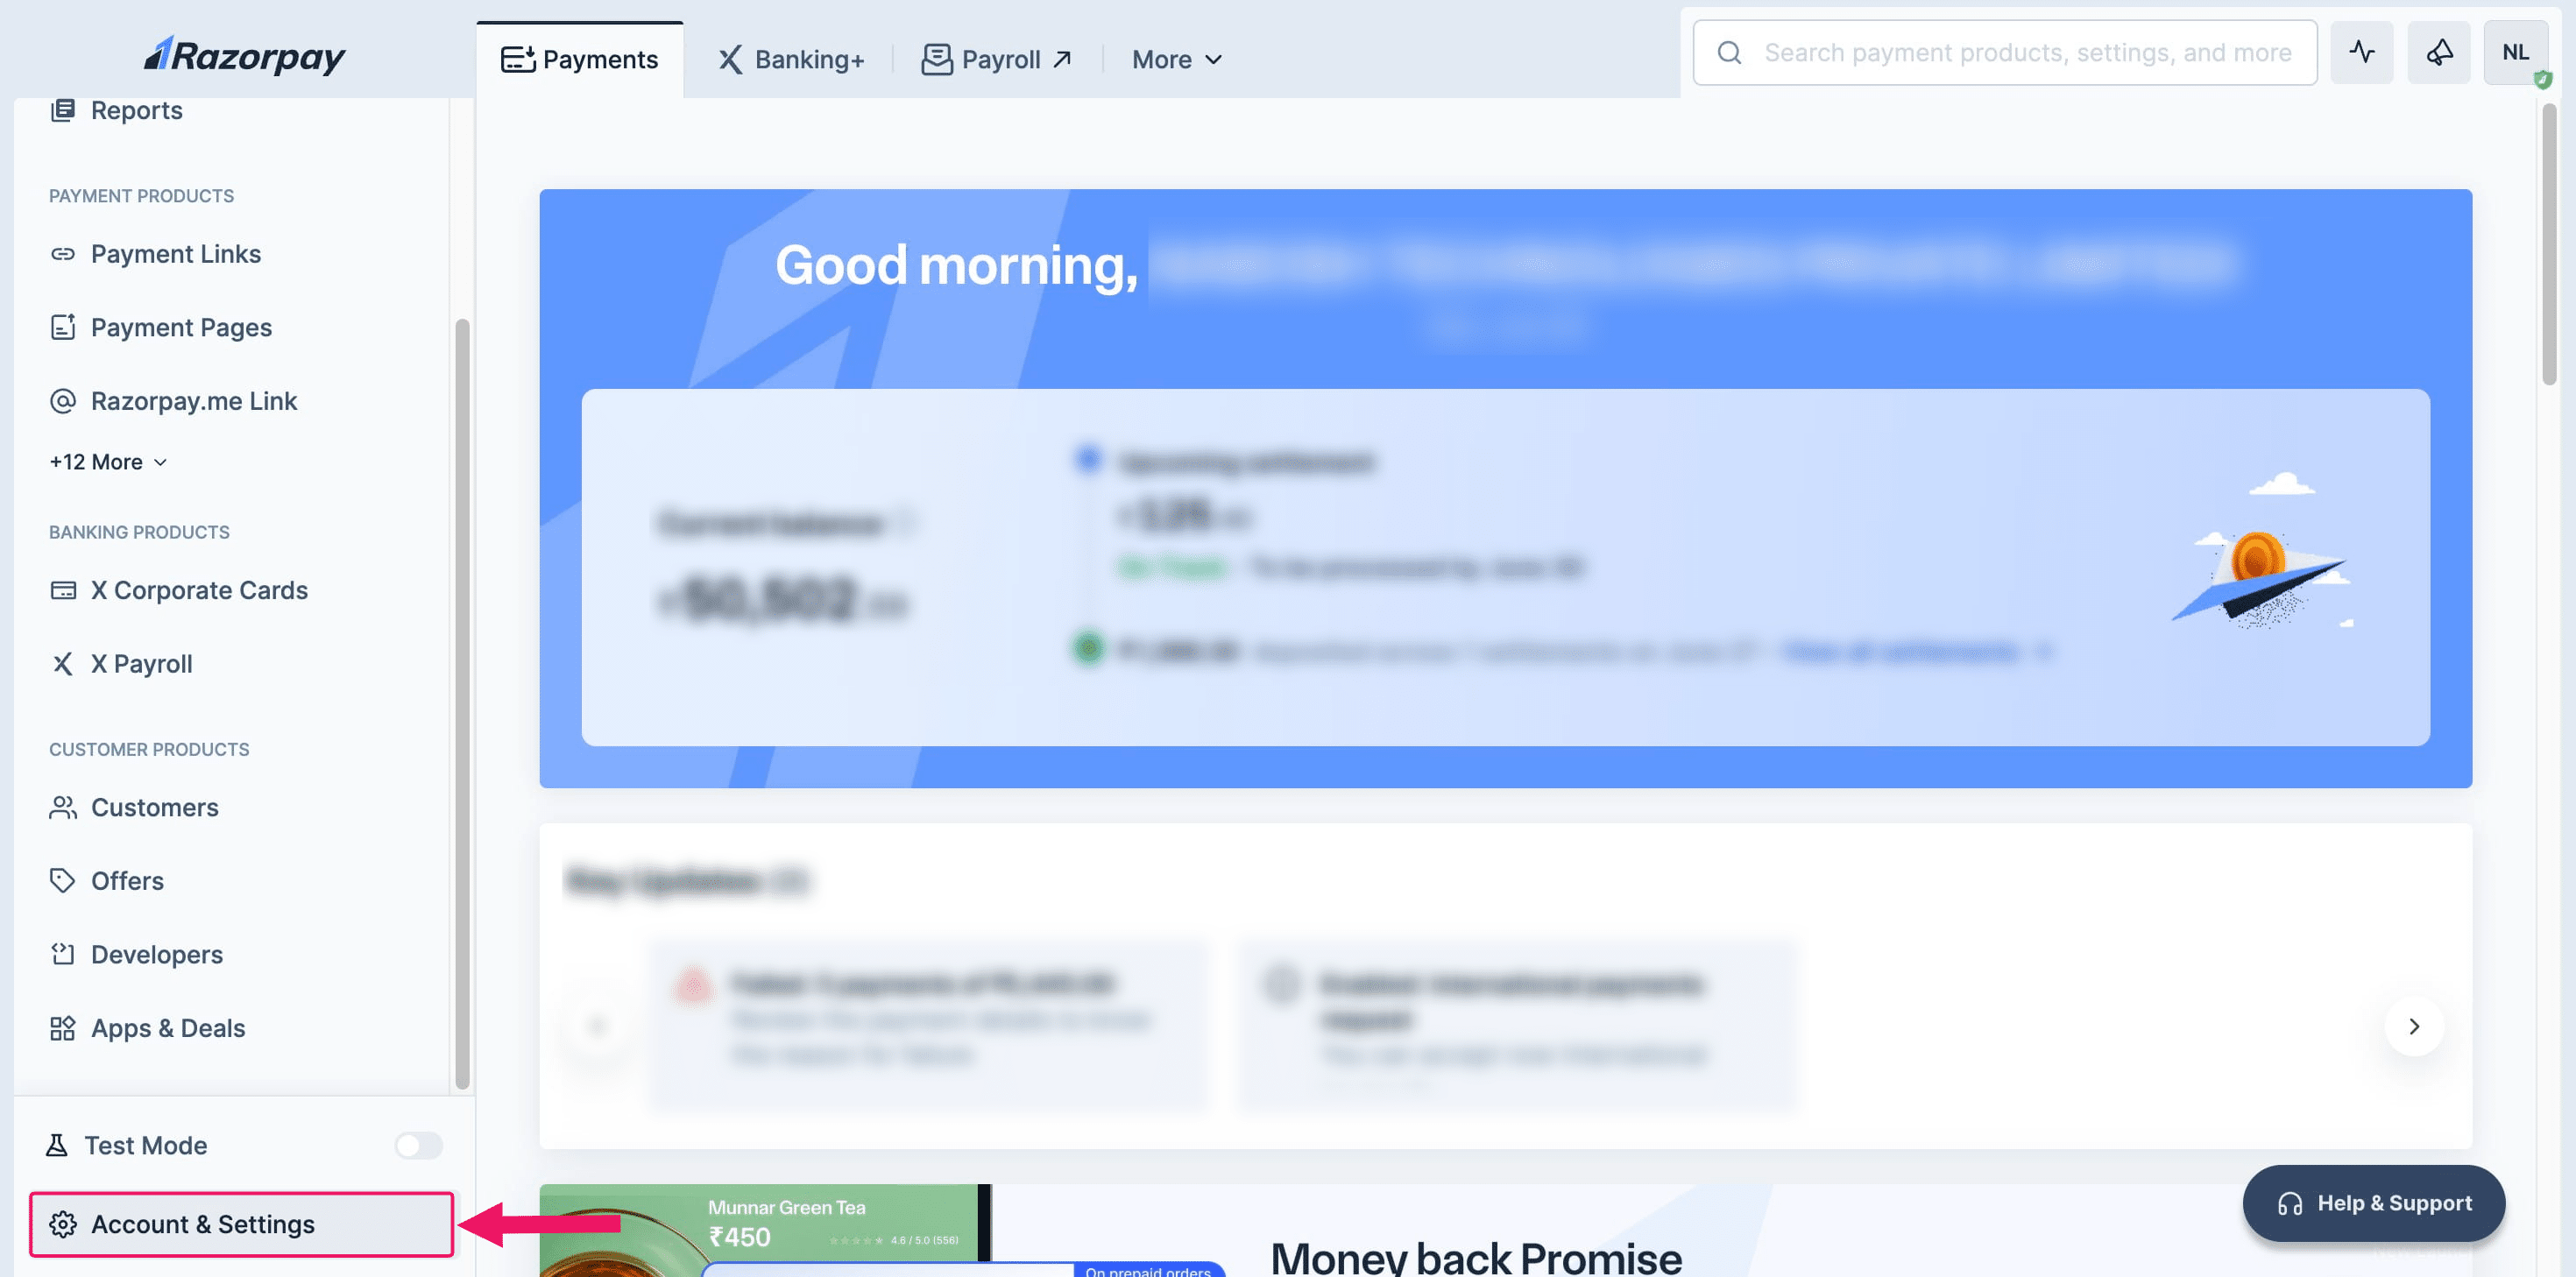
Click on "Account & Settings"
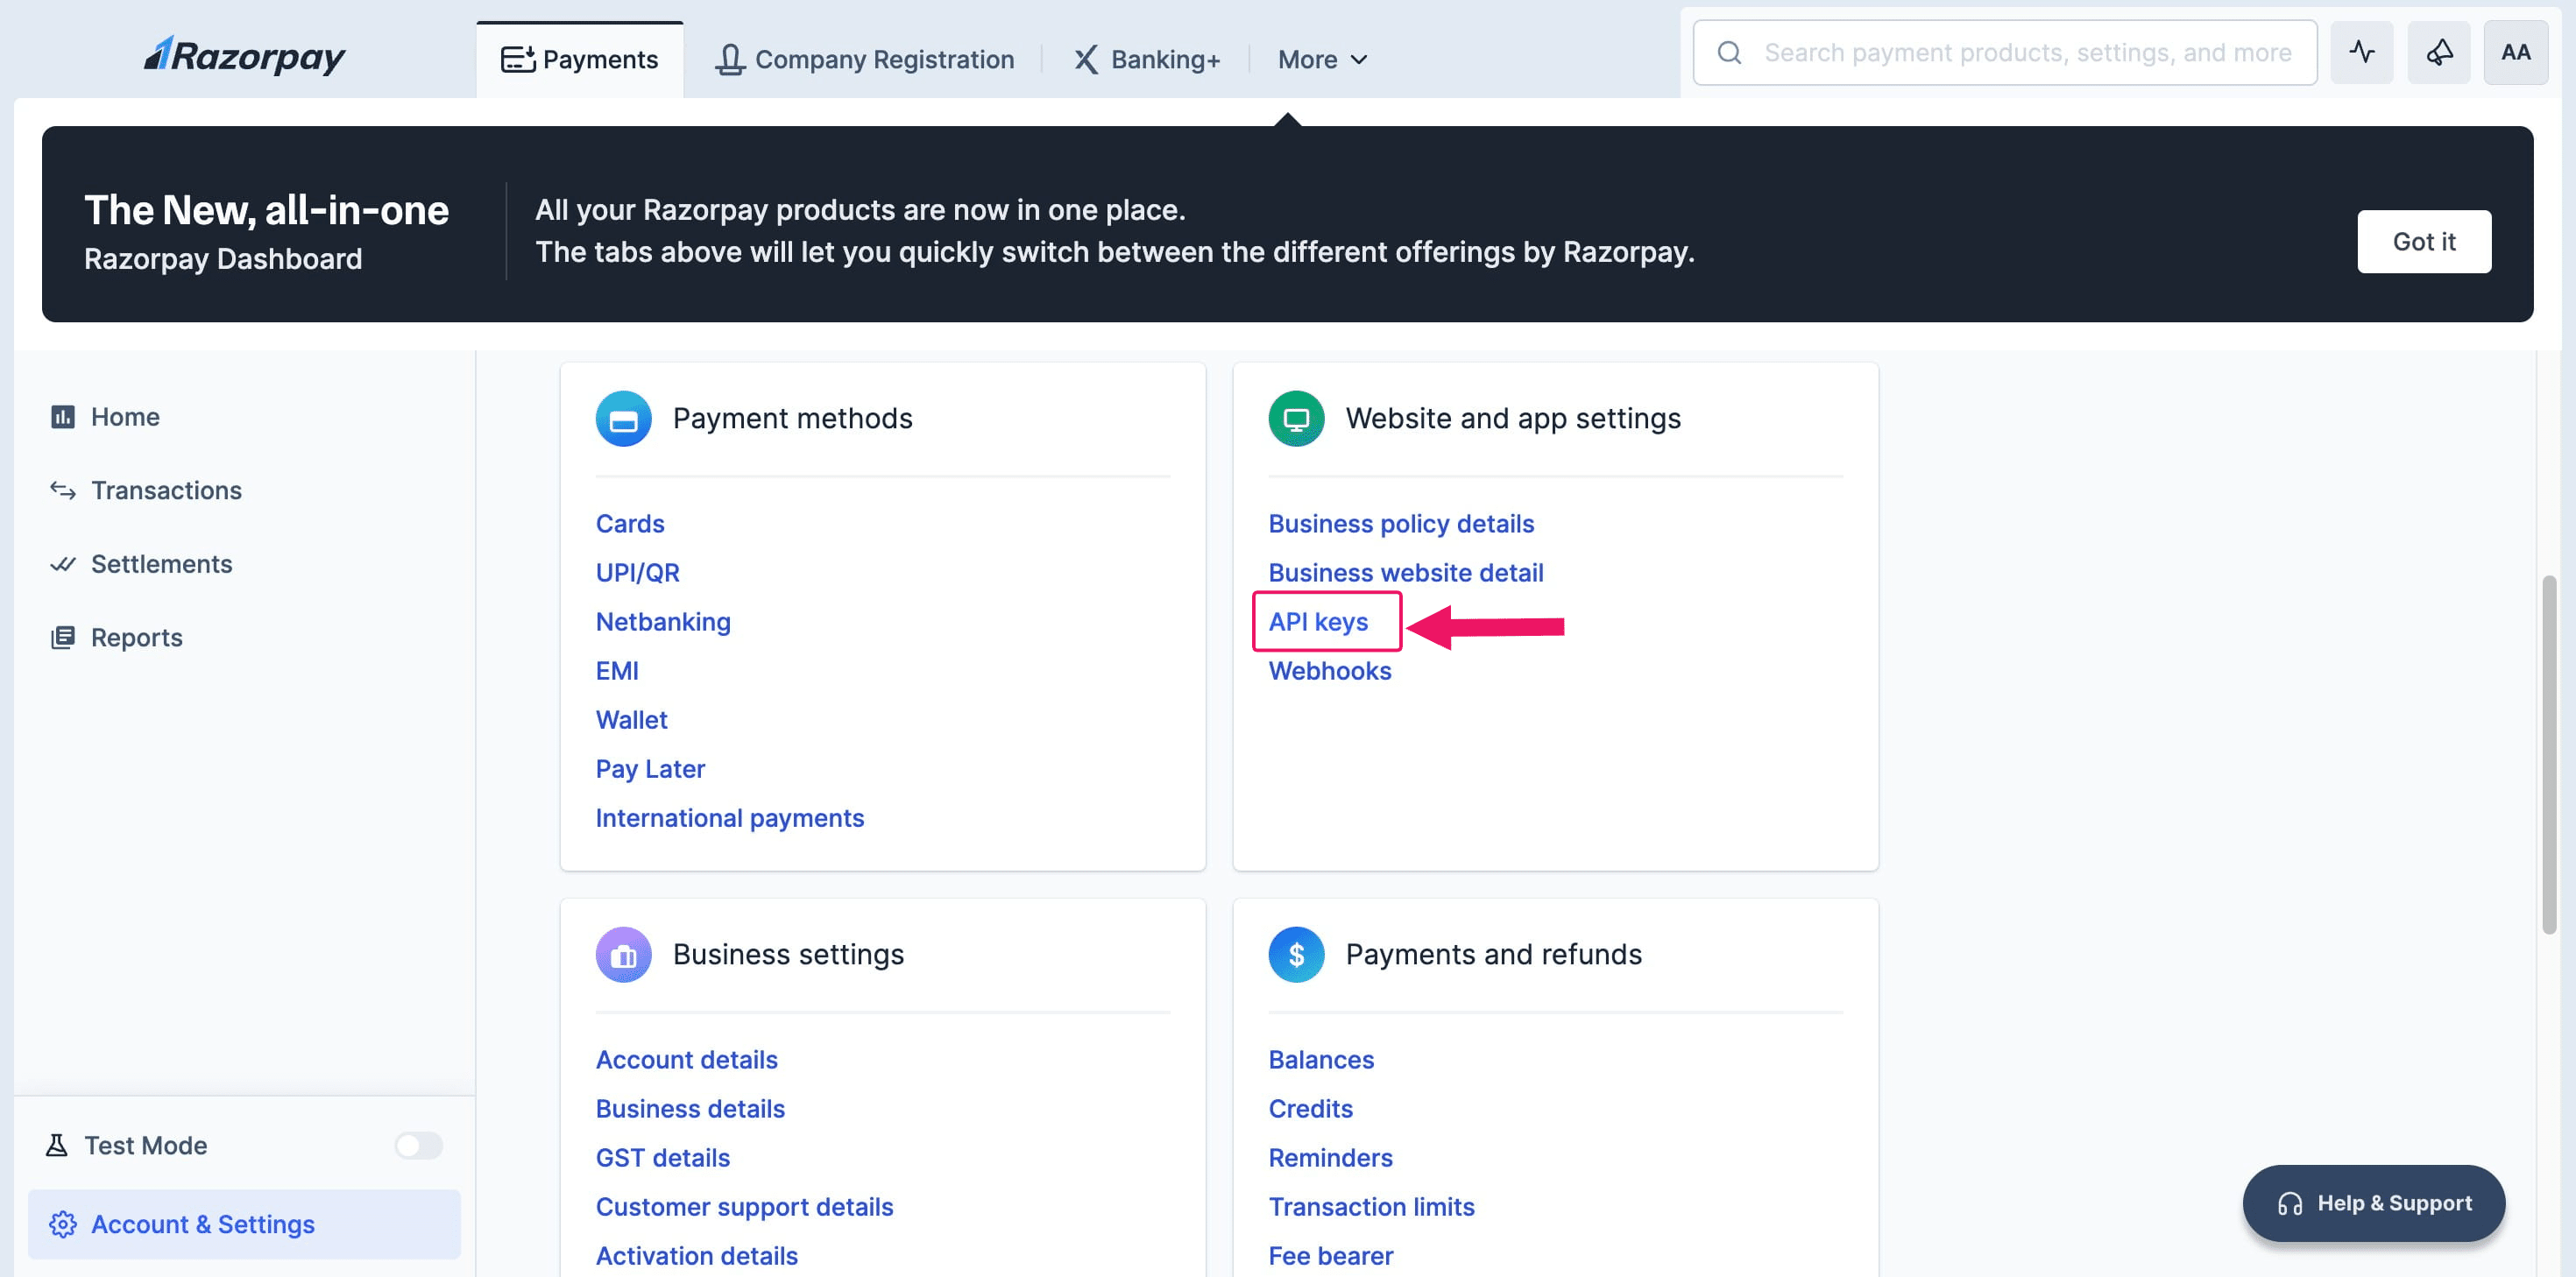
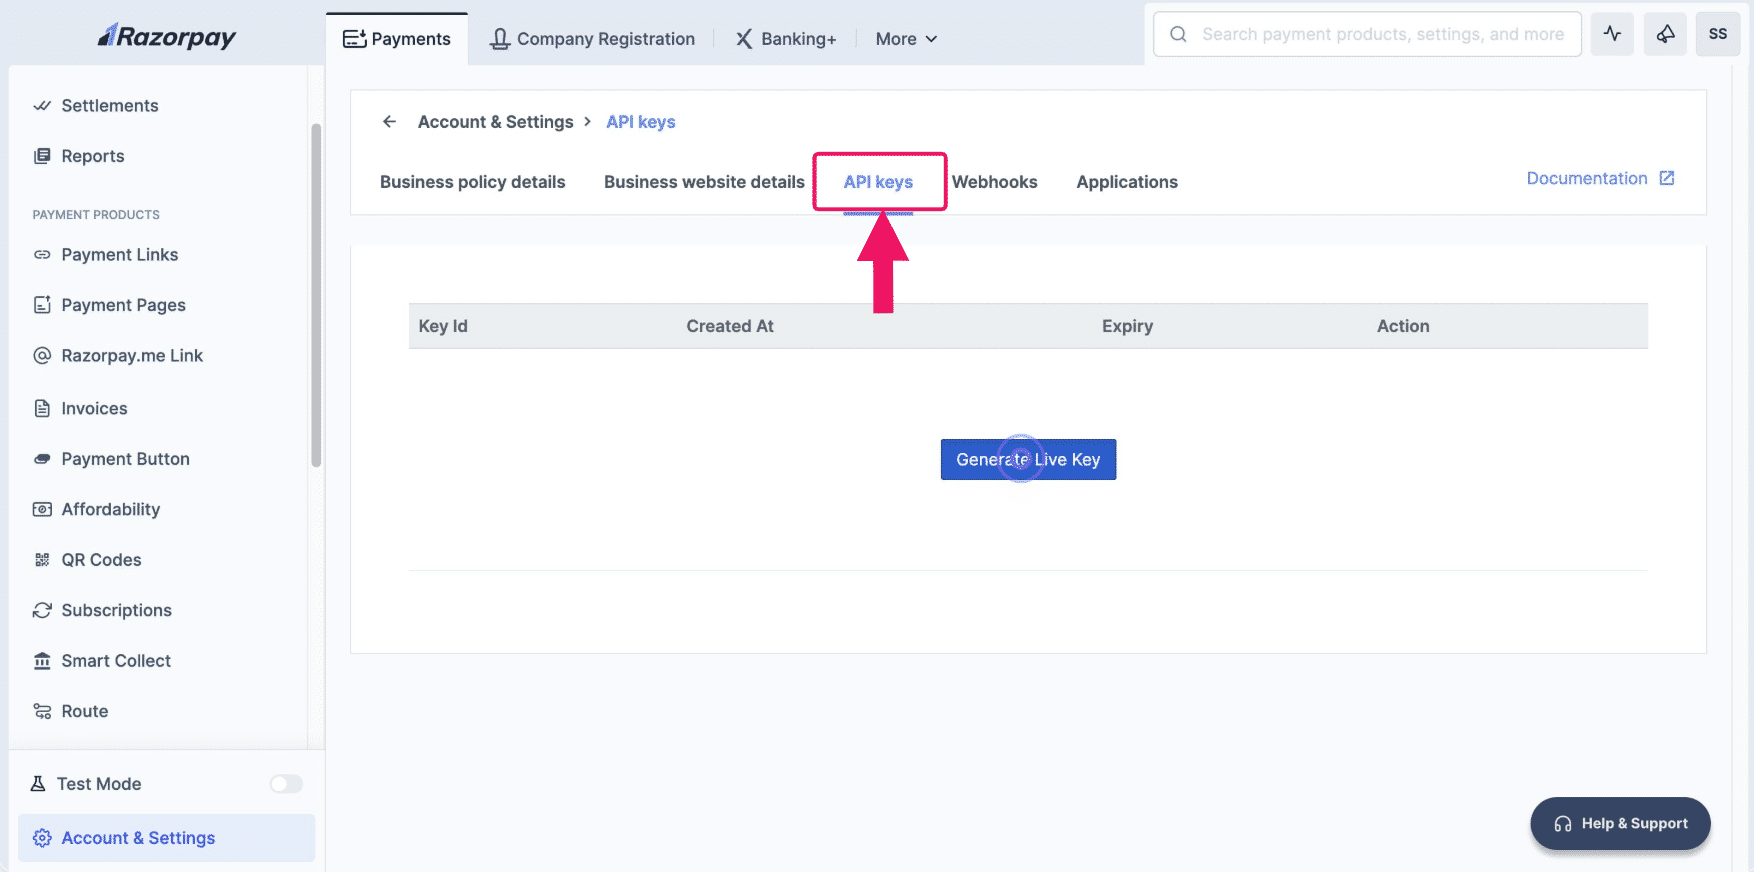
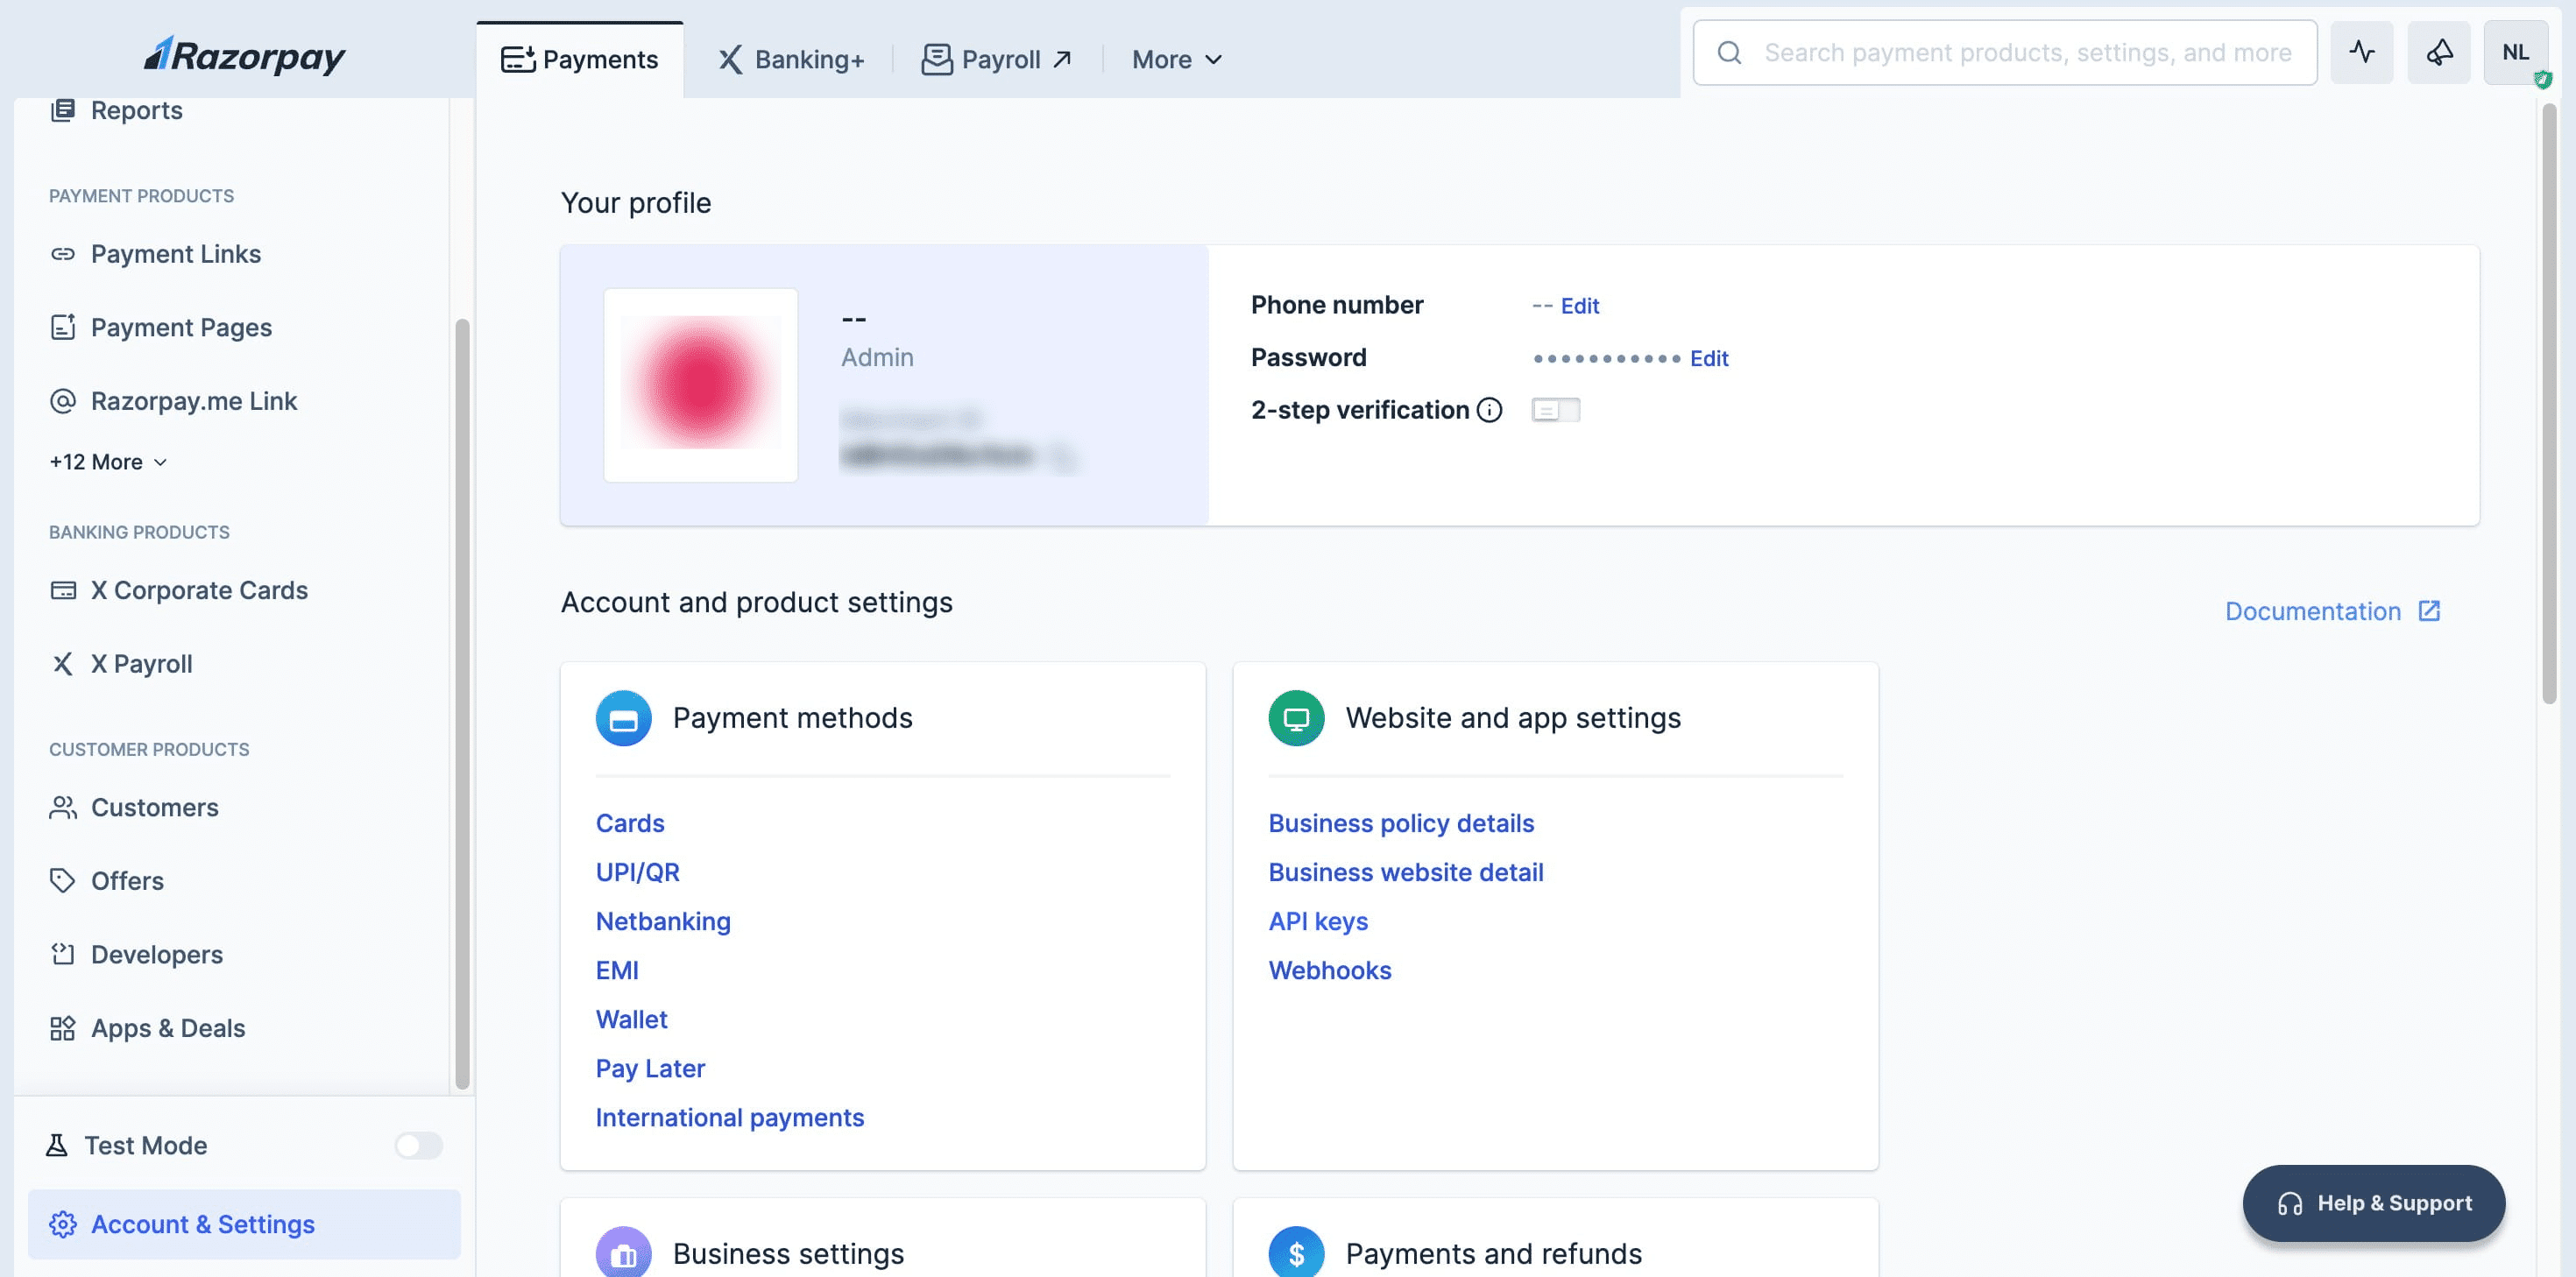
Click on "API keys"
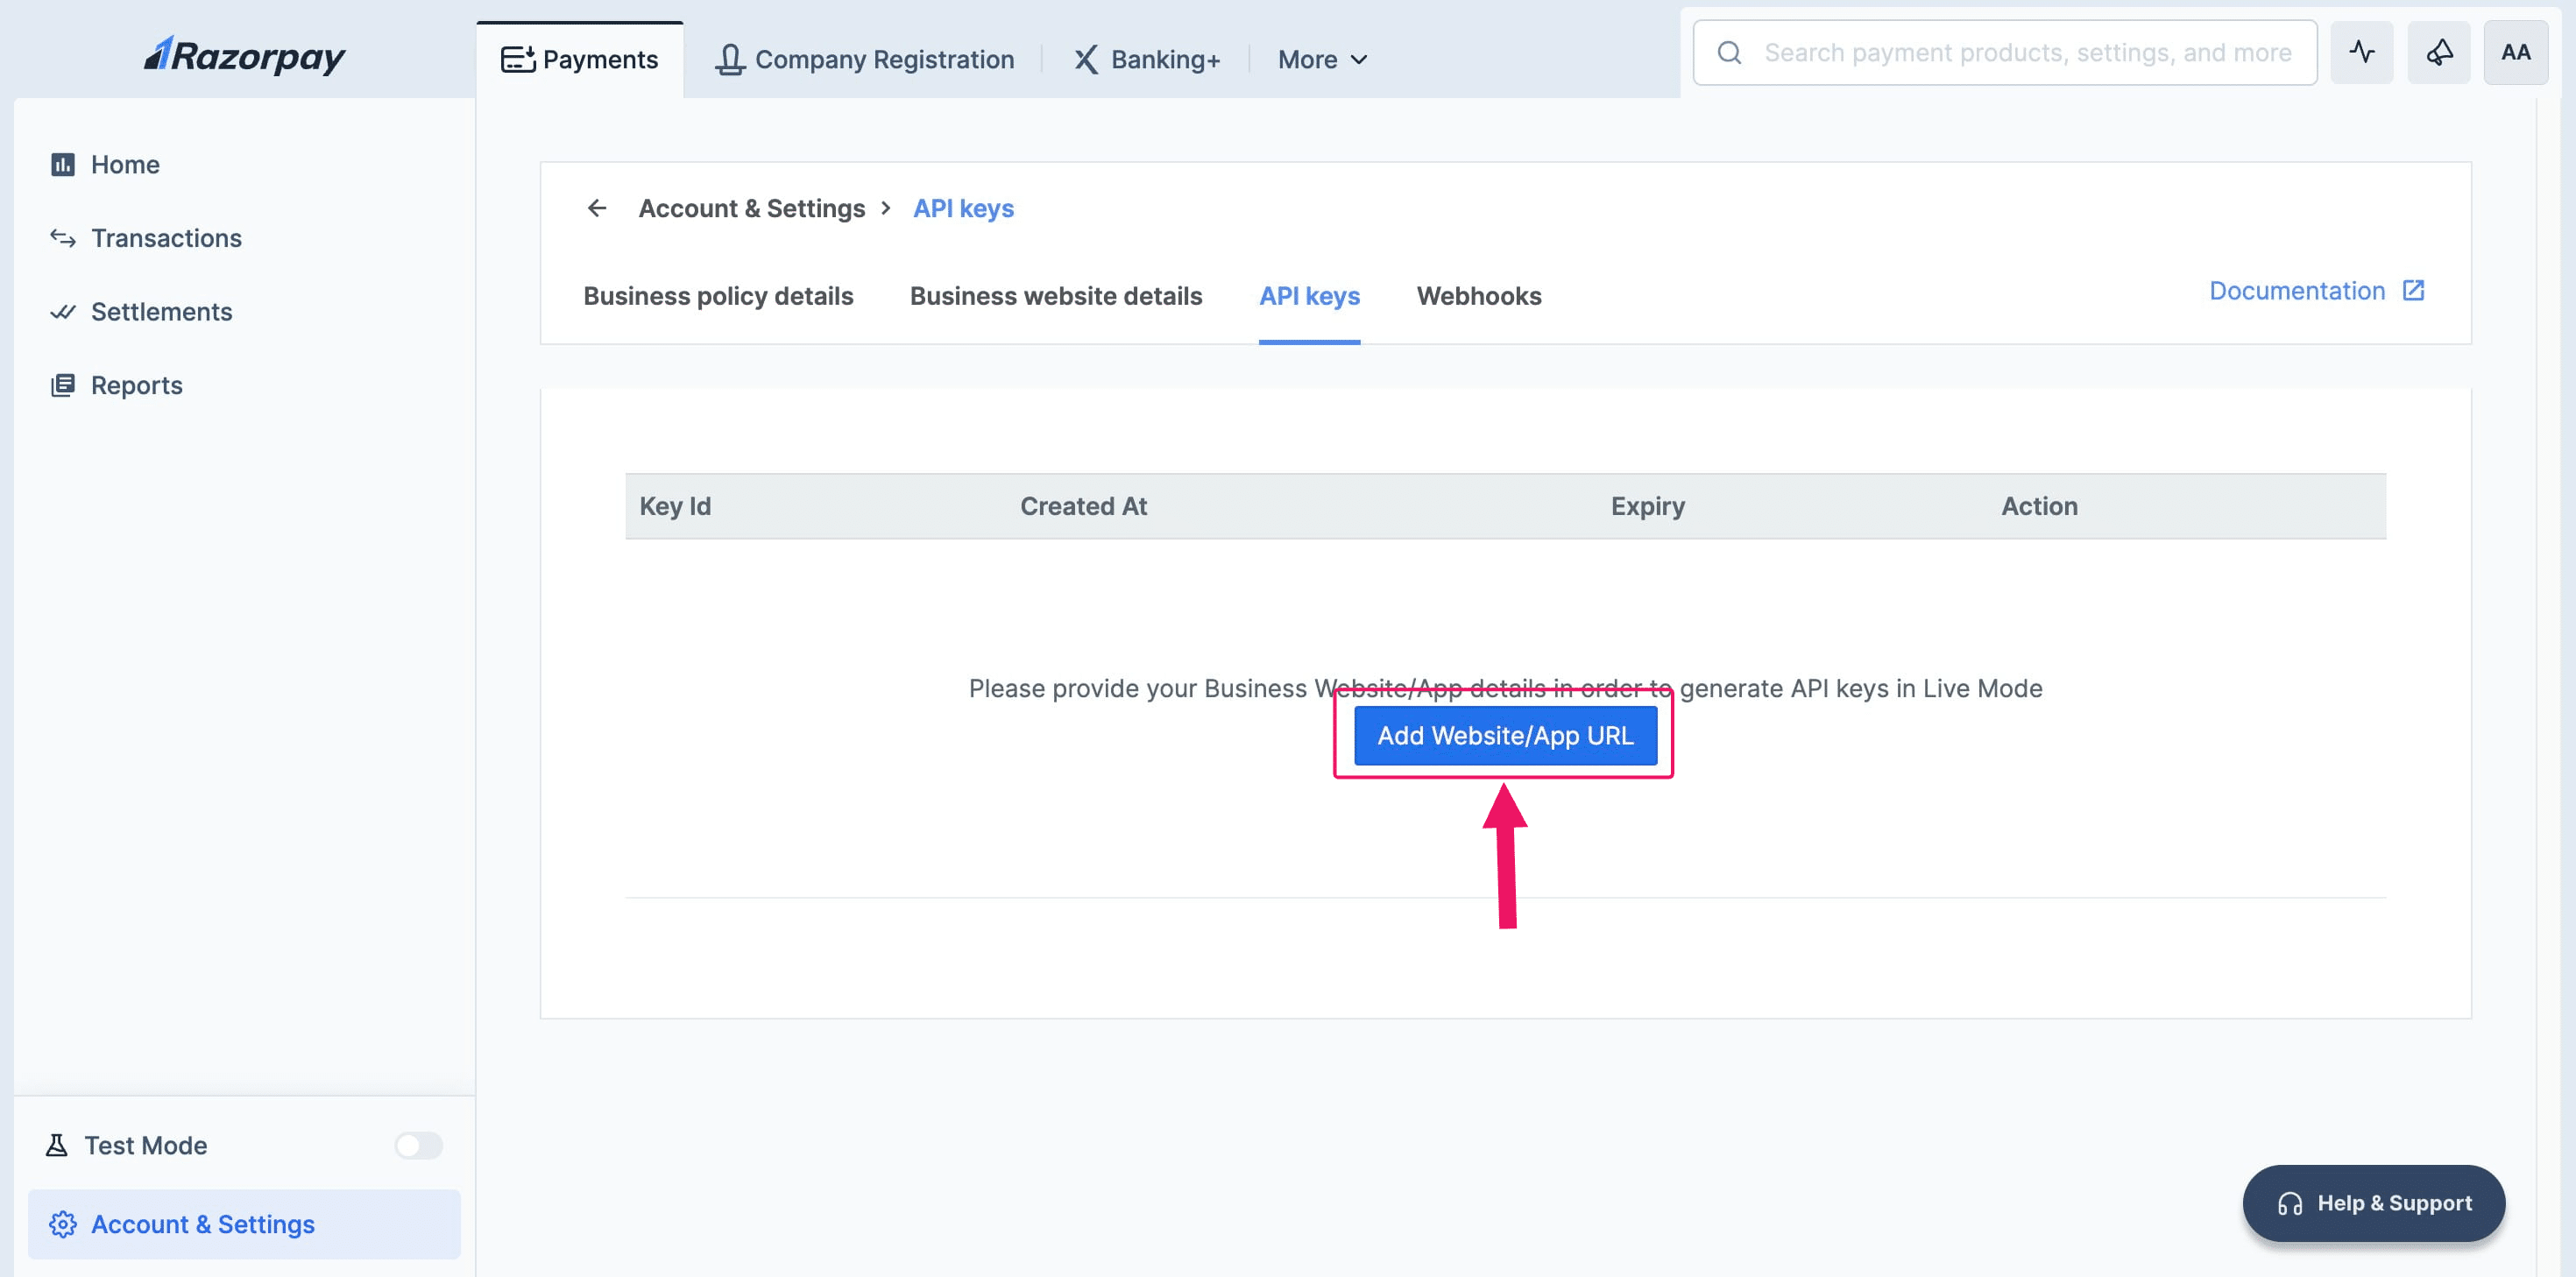
Click on "Add Website/App URL"
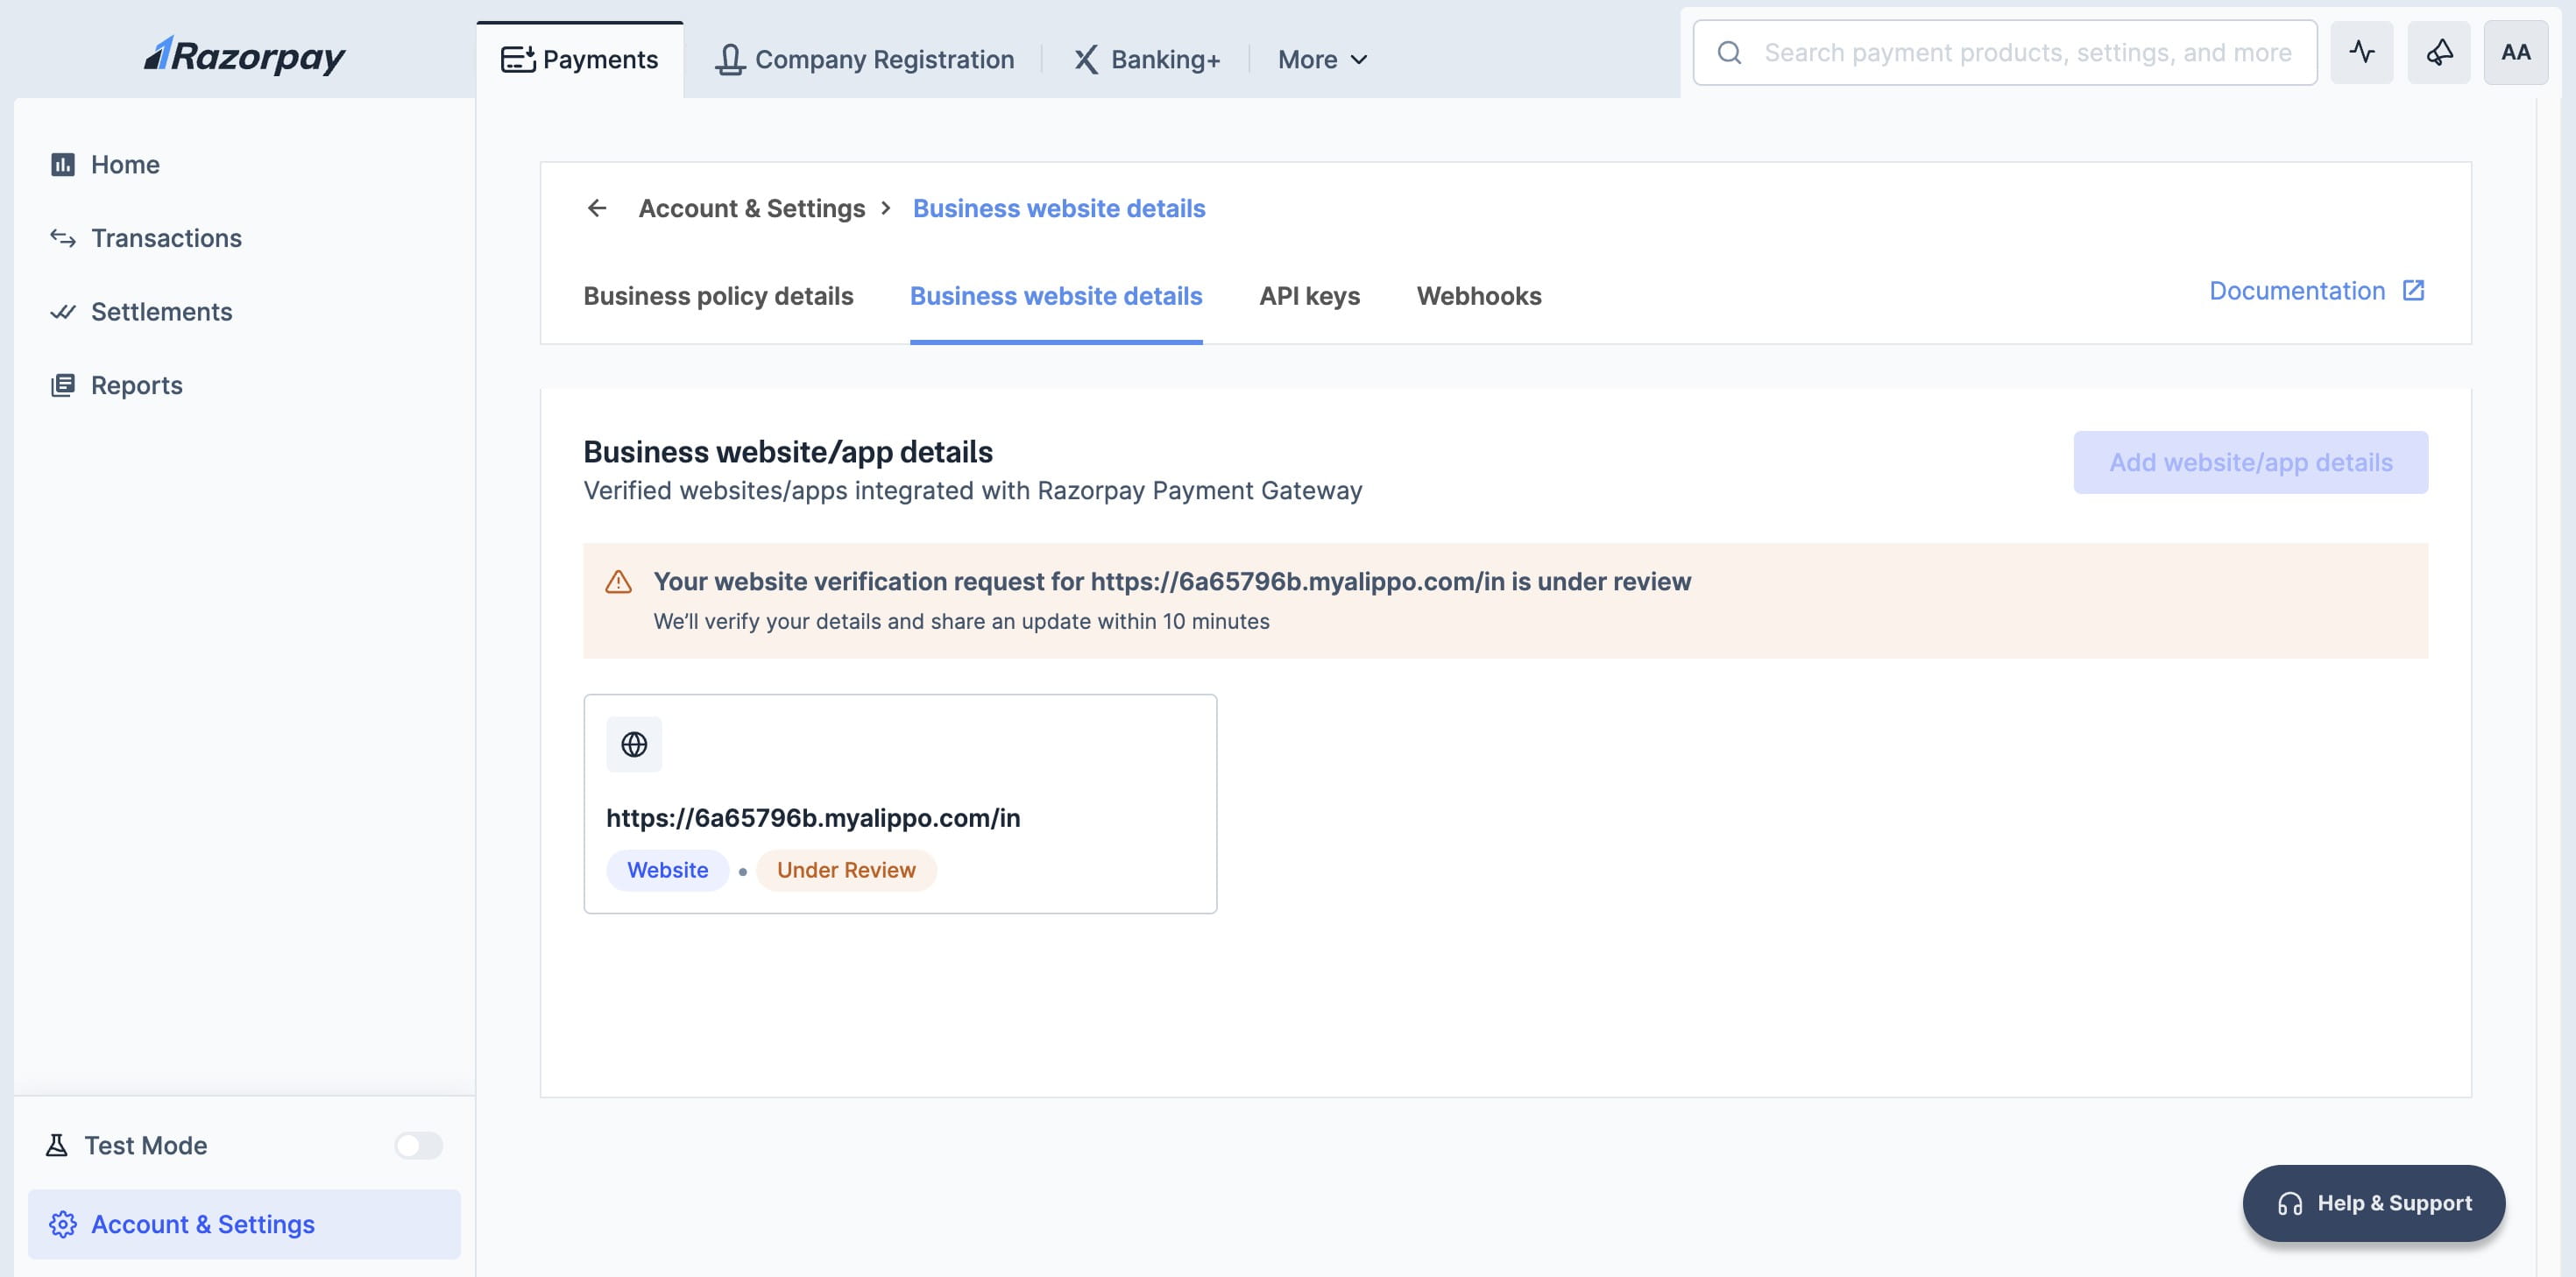
Click on "Business website/app details"
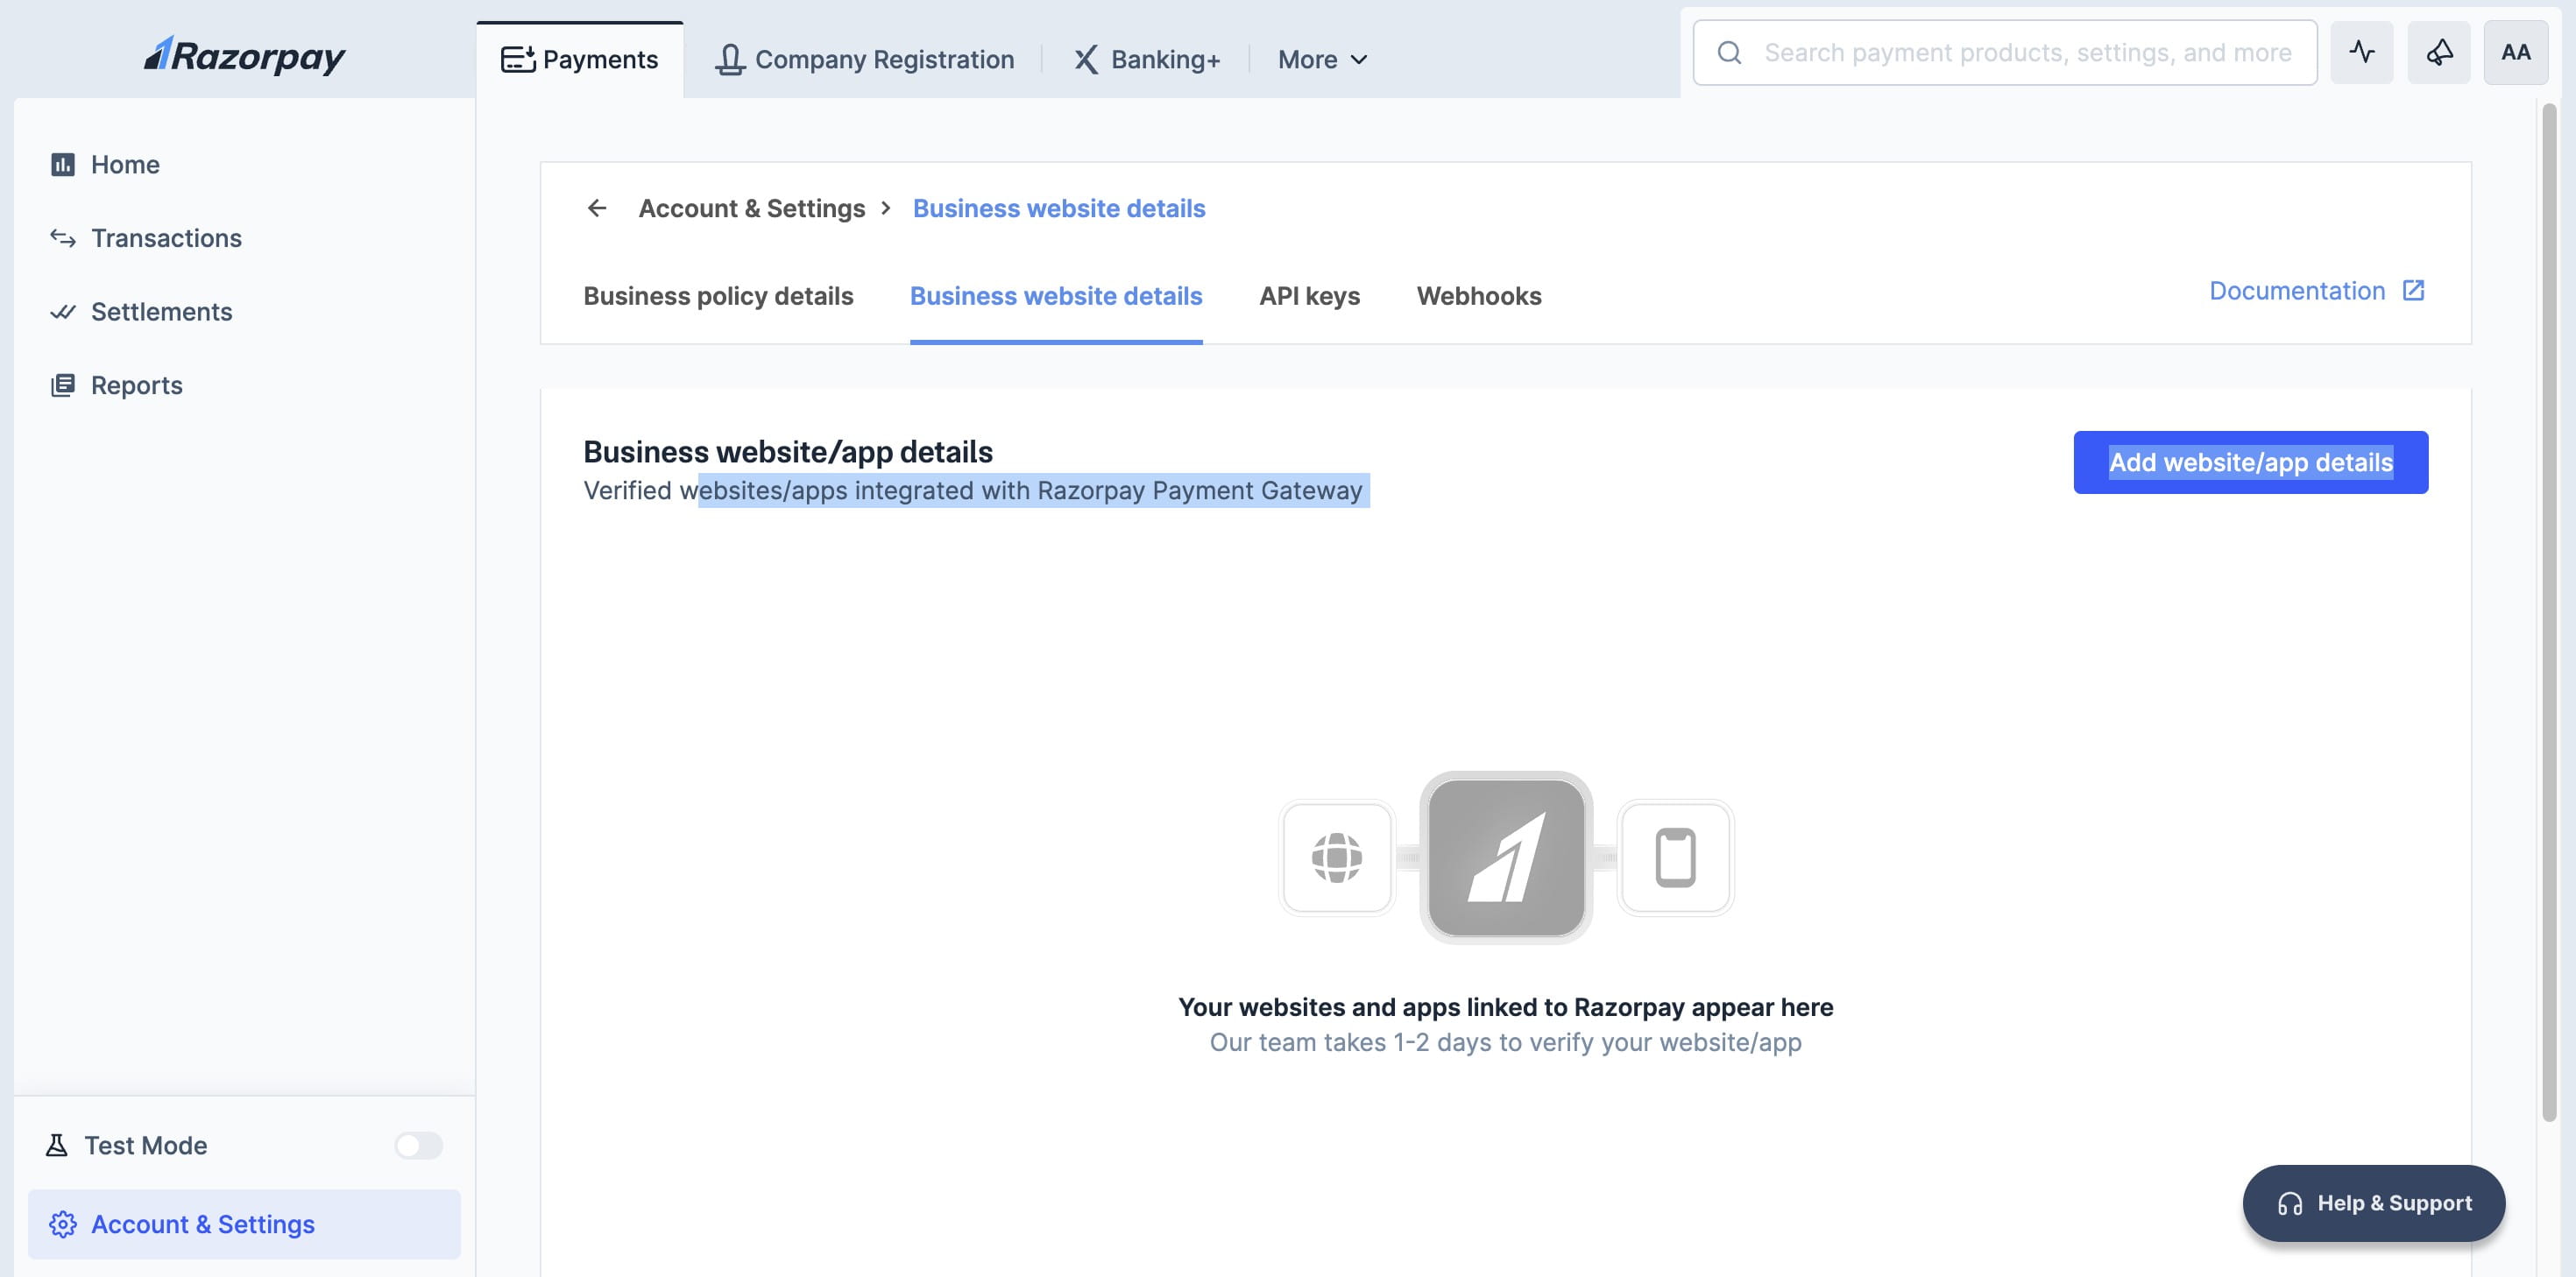
Click on "Proceed to update website/app"

Enter your website link and other relevant details, then click "Submit."
Click on "Okay, got it"
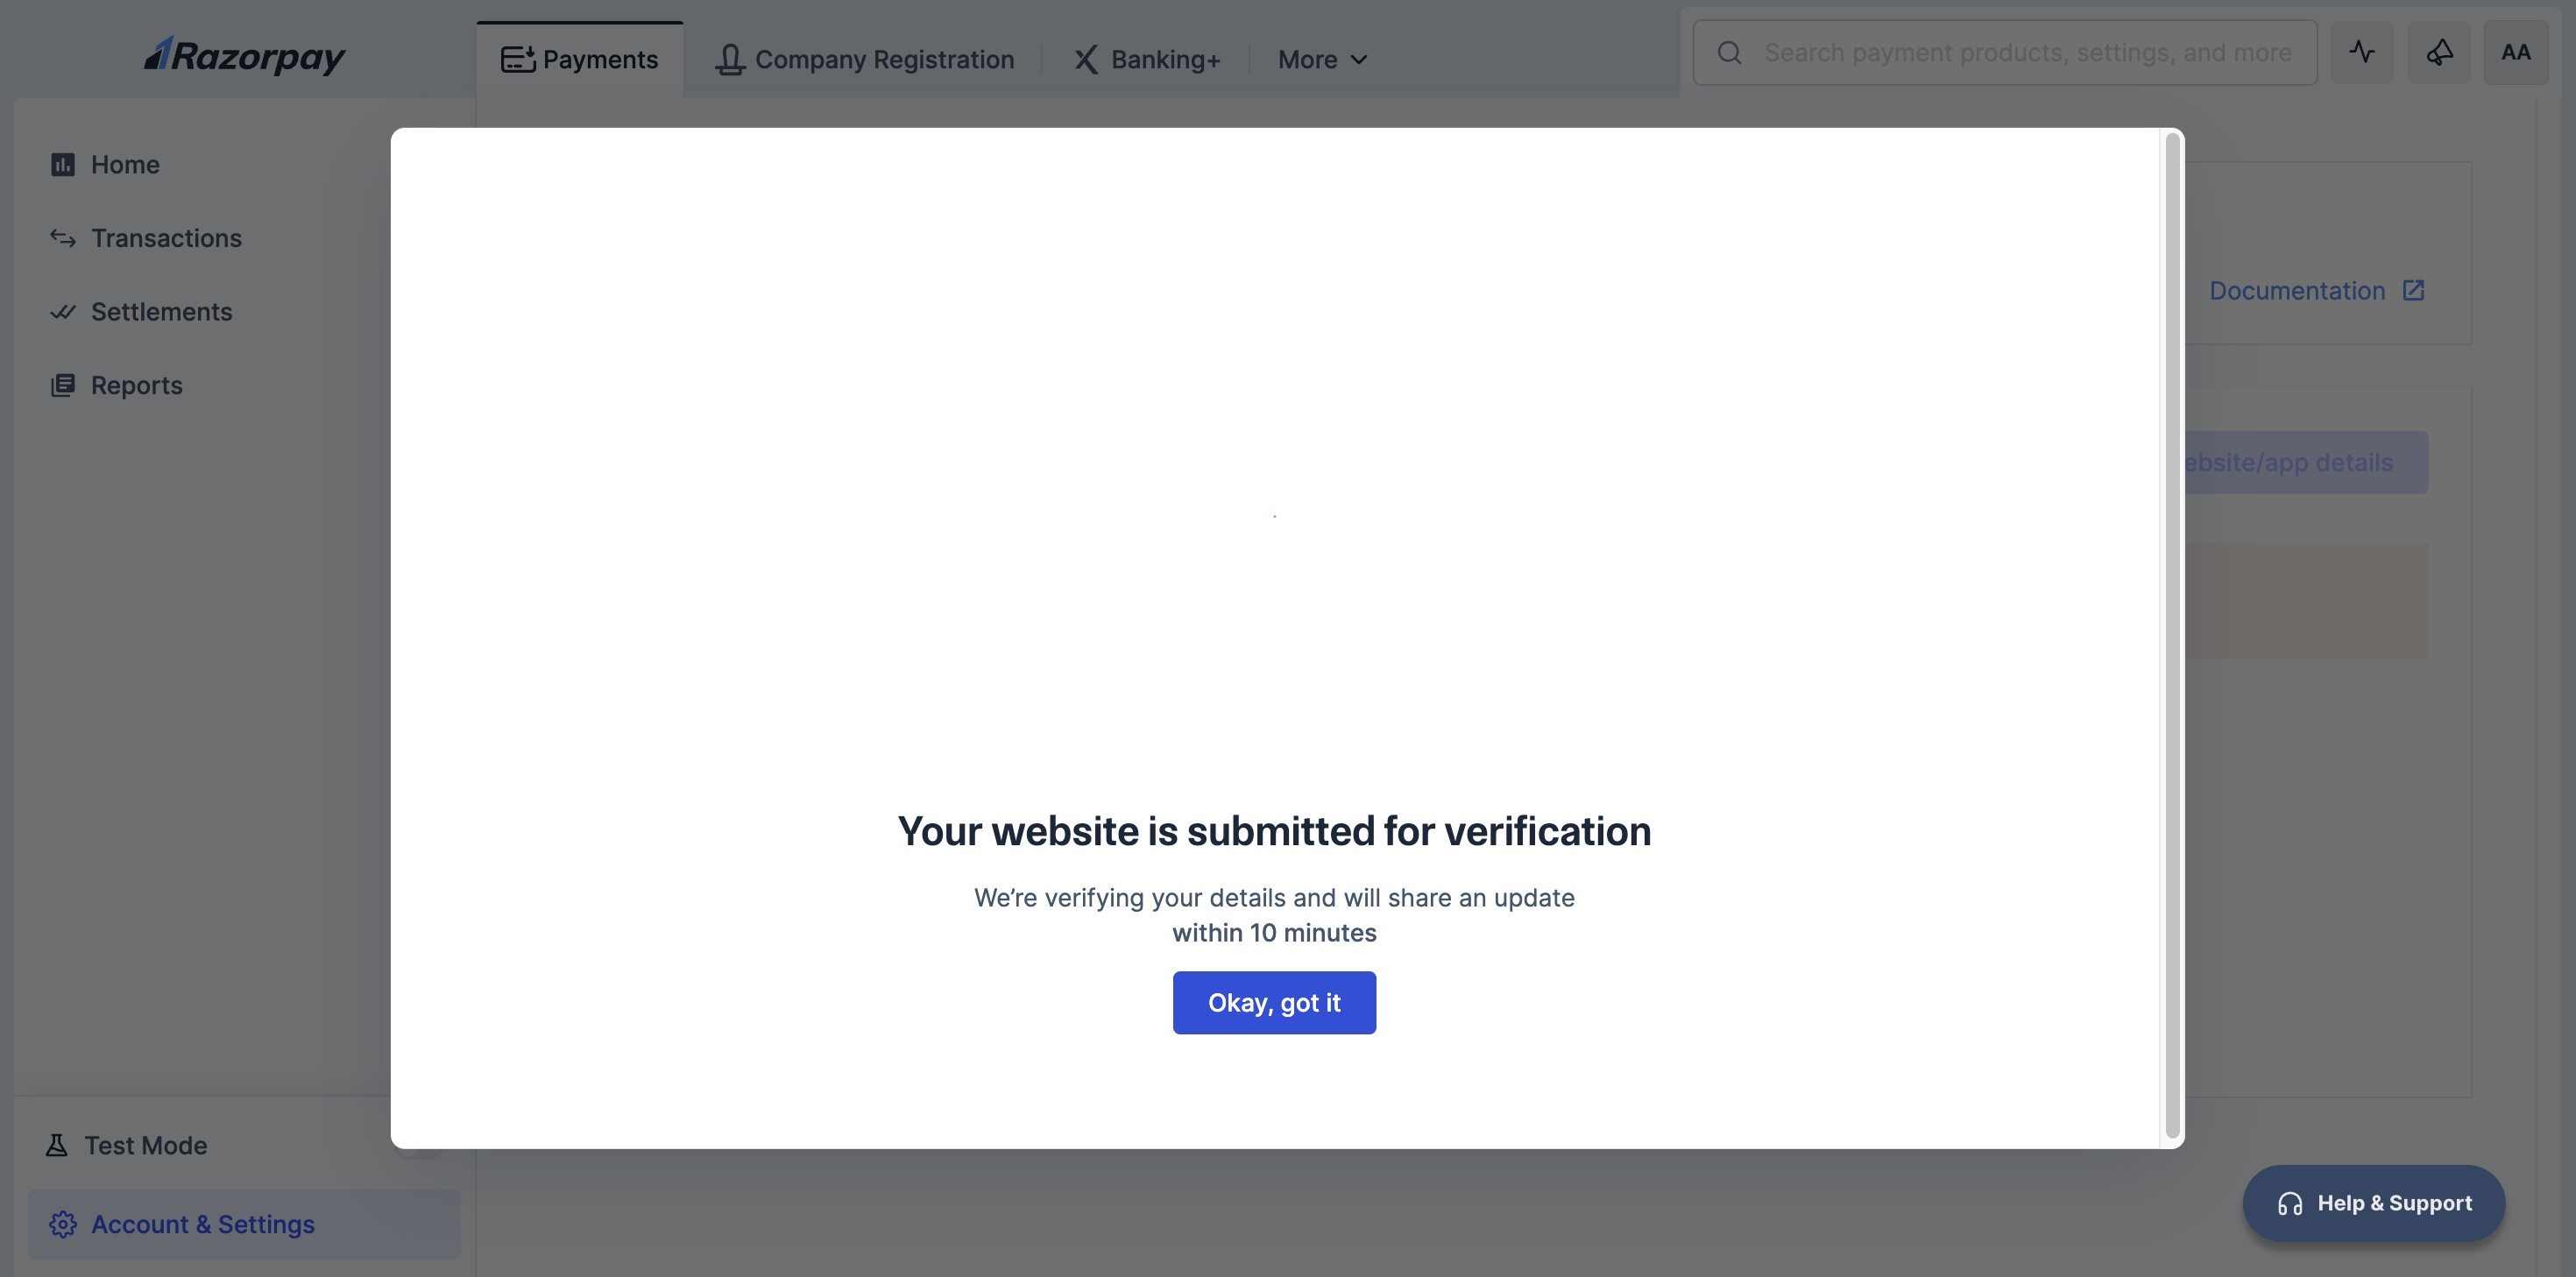
Website verification typically takes 10-15 minutes.
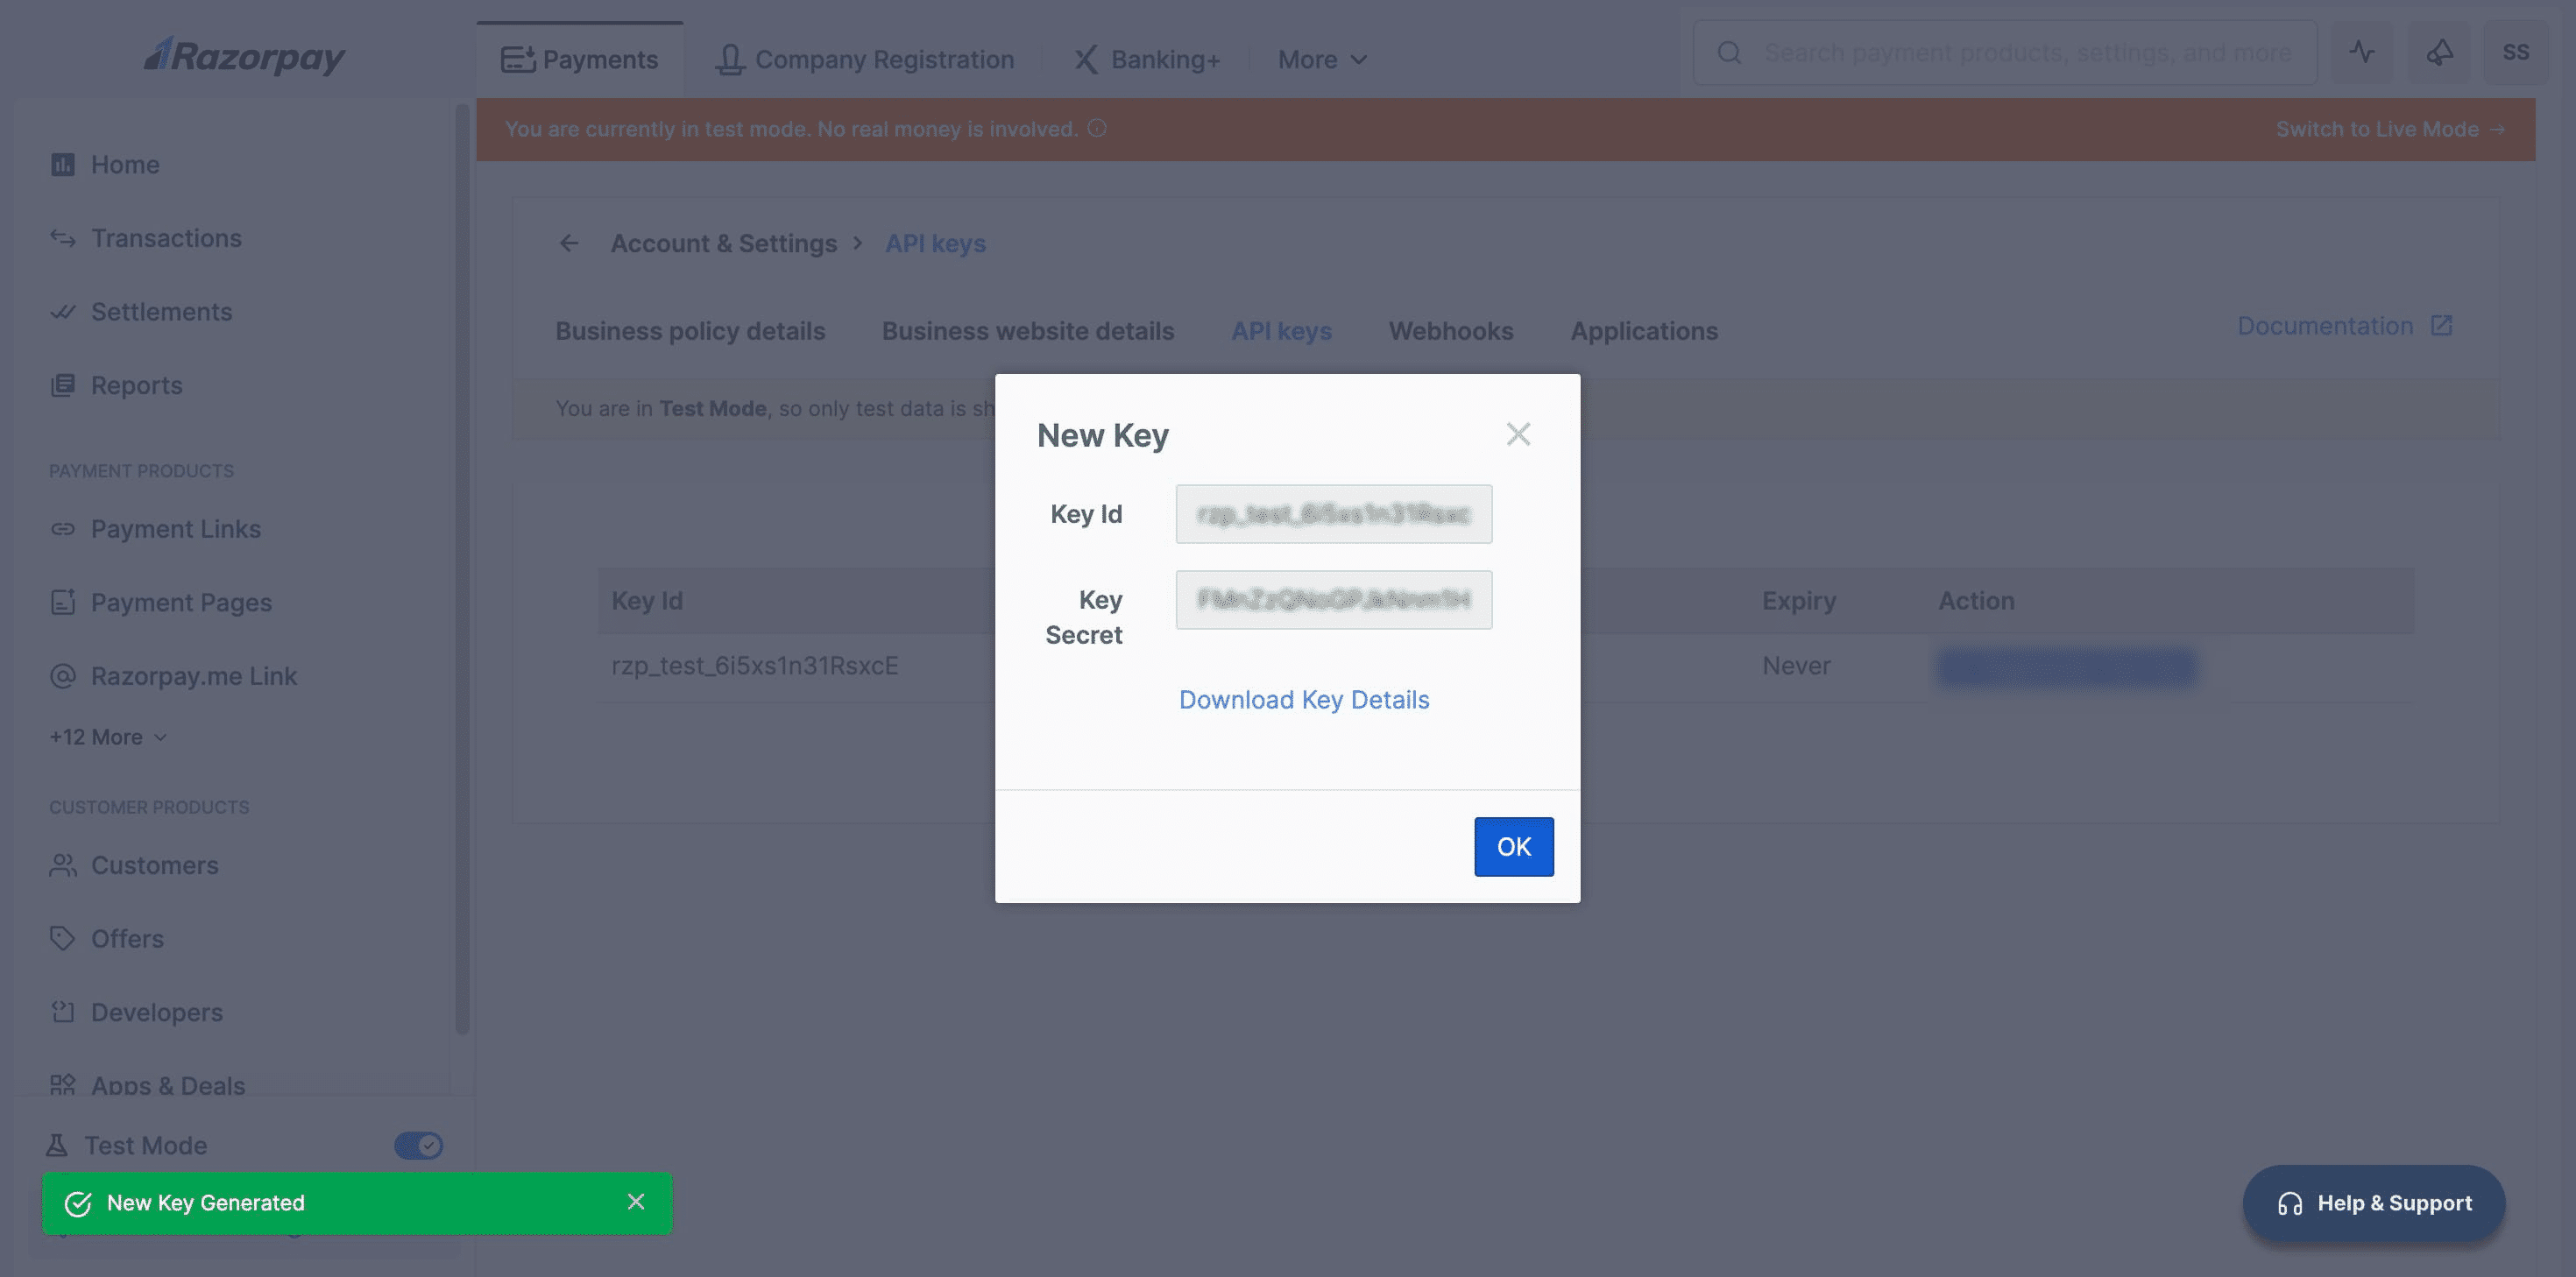
Once your website is verified, click on the "API keys" section, and then click "Generate API keys."
This Process works for both New Users & Old Users
The system will prompt you to enter the OTP. After entering it, click the "Confirm" button.

The Key ID and Key Secret will appear in a pop-up window.
After generation, the Key ID, creation date, and API Key expiry date will be displayed on the screen.
Done 🚀

🧩 IF YOU ALREADY HAVE A RAZORPAY ACCOUNT & your API Keys Already Exist, Follow This Steps for key_id and key_secret
→ Log in to your Razorpay Dashboard 🔗 https://dashboard.razorpay.com
→ Click on Settings in the left menu → Select API Keys
If keys have been generated before, you'll see your key_id. If you still have your key_secret, use both keys for integration.
→ Copy both key_id and key_secret immediately → Paste them into your integration field (e.g., AI Cofounder dashboard)
If you have a Razorpay account but haven't generated API keys yet, click on "Account & Settings."
Click on "API keys"
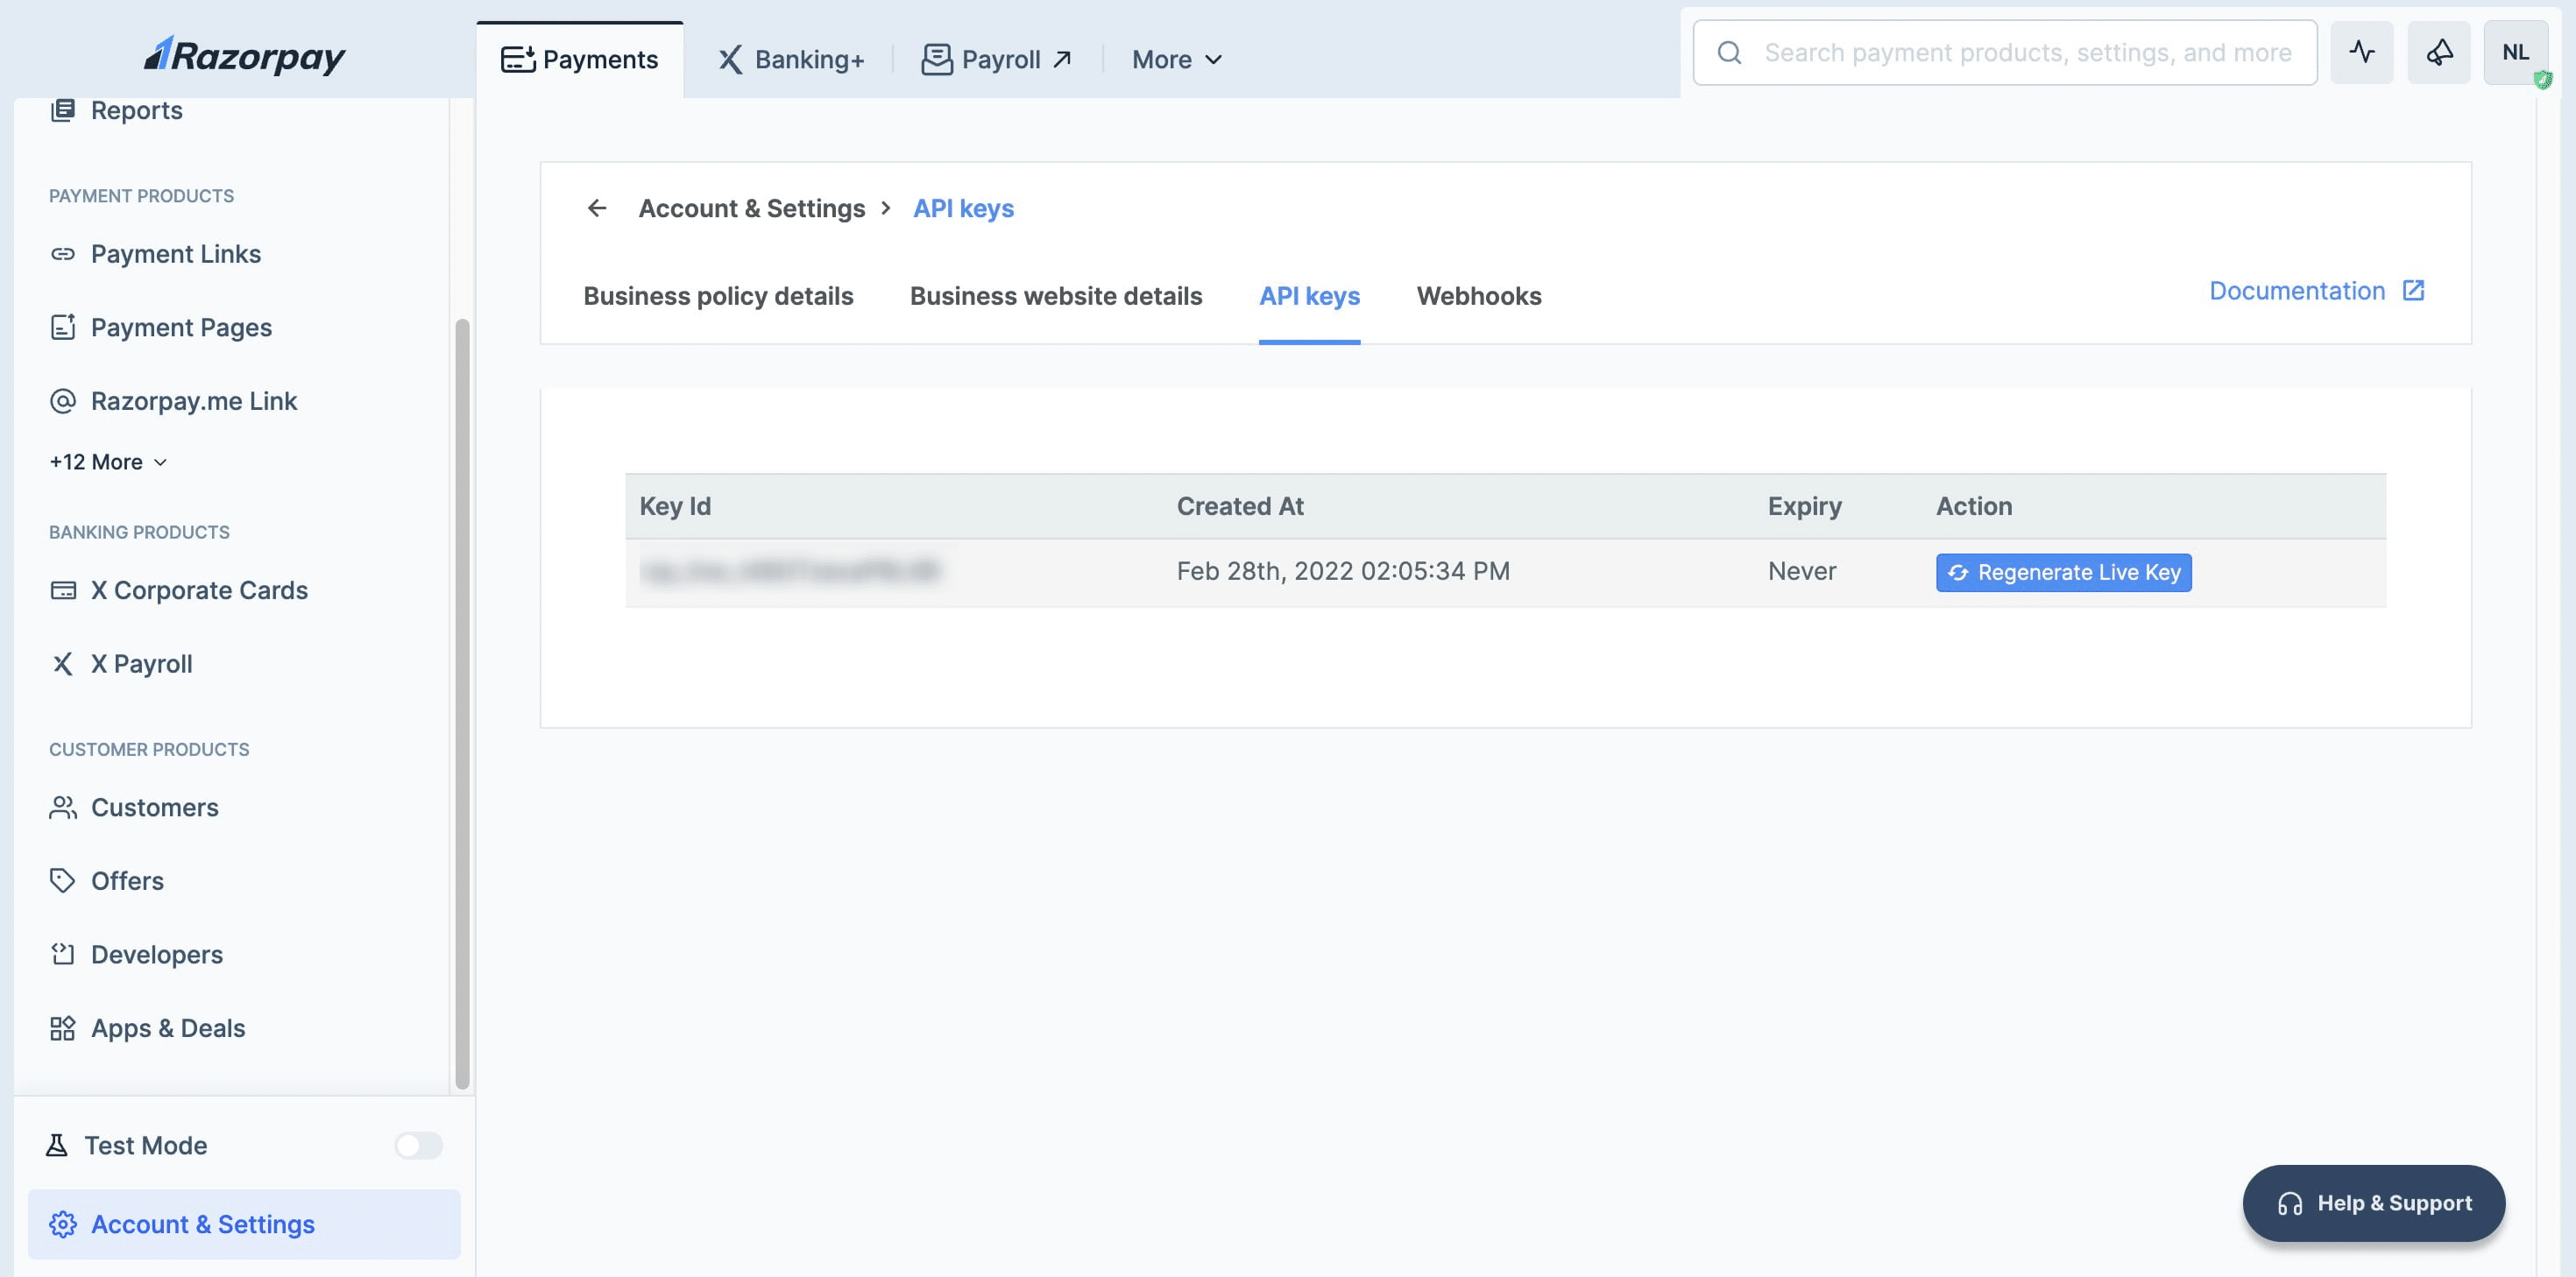
Click on "Regenerate Live Keys". A pop-up window will then appear, displaying your Key ID & **Key Secret **
Frequently Asked Questions
- What are API keys, and why do I need them?
API keys are a combination of a key_id and key_secret used to securely connect your application to Razorpay’s payment services. They act like passwords that allow your app to communicate with Razorpay to process payments and access other services securely.
- How can I generate my Razorpay API keys?
To generate your API keys, log in to your Razorpay Dashboard, select your mode (Test or Live), navigate to Account & Settings → API Keys, and click Generate Key. You’ll get the Key ID and Key Secret in a pop-up window.
- What is the difference between Test Mode and Live Mode?
"Test Mode" is a simulation environment where you can test your integration without real payments. Customers cannot make actual payments in Test Mode whereas in "Live Mode" Once your integration is complete and ready, you can switch to Live Mode and generate Live API keys to start accepting real payments from customers.
- Do I need to verify my identity to generate API keys?
Yes, if you have two-factor authentication (2FA) enabled on your Razorpay account, you will need to verify your identity via OTP when generating or regenerating API keys.
- How do I regenerate my API keys?
To regenerate API keys, go to the API Keys section in Account & Settings and select Generate New Key. You will need to verify your identity via OTP before regenerating the keys.
- Do I need to provide my website details for Live Mode keys?
Yes, to generate Live Mode keys, you must provide your website details during the onboarding process. If your website is verified, you can generate the Live API keys. If you haven’t added your website details, you can follow the steps in the onboarding guide.
- What happens if I don’t have my website verified for Live Mode?
If your website isn’t verified, you won’t be able to generate Live Mode API keys. You will need to add your website details during the onboarding process, and Razorpay will verify it within 3 working days. After verification, you’ll be able to generate Live API keys.
- How do I find my API Key ID and Secret?
After generating your API keys, the Key ID and Key Secret will be displayed in a pop-up window. These are the keys you'll need to integrate with Razorpay’s payment gateway.
- Can I use the same API keys for different integrations (e.g., website and mobile app)?
Yes, you can use the same API keys for both website and mobile app integrations. However, make sure to replace Test Mode keys with Live Mode keys once you're ready for real transactions.
- How long do my API keys last?
API keys do not expire unless you regenerate them. However, Live Mode API keys are associated with your account and website and can be deactivated if needed, either immediately or within 24 hours.