Setting Up Shiprocket API keys with AI Cofounder : Integration Guide
This guide provides a comprehensive walkthrough on how to set up your ShipRocket API key. By following this guide, you will be able to properly configure API access, enabling seamless integration with ShipRocket's services for managing orders, shipments, and other functionalities.
- Getting Started: Log in to ShipRocket and Open the Settings
Go to Shiprocket Seller Dashboard (https://app.shiprocket.in/) and log in with your Shiprocket credentials.
Click on "Settings"
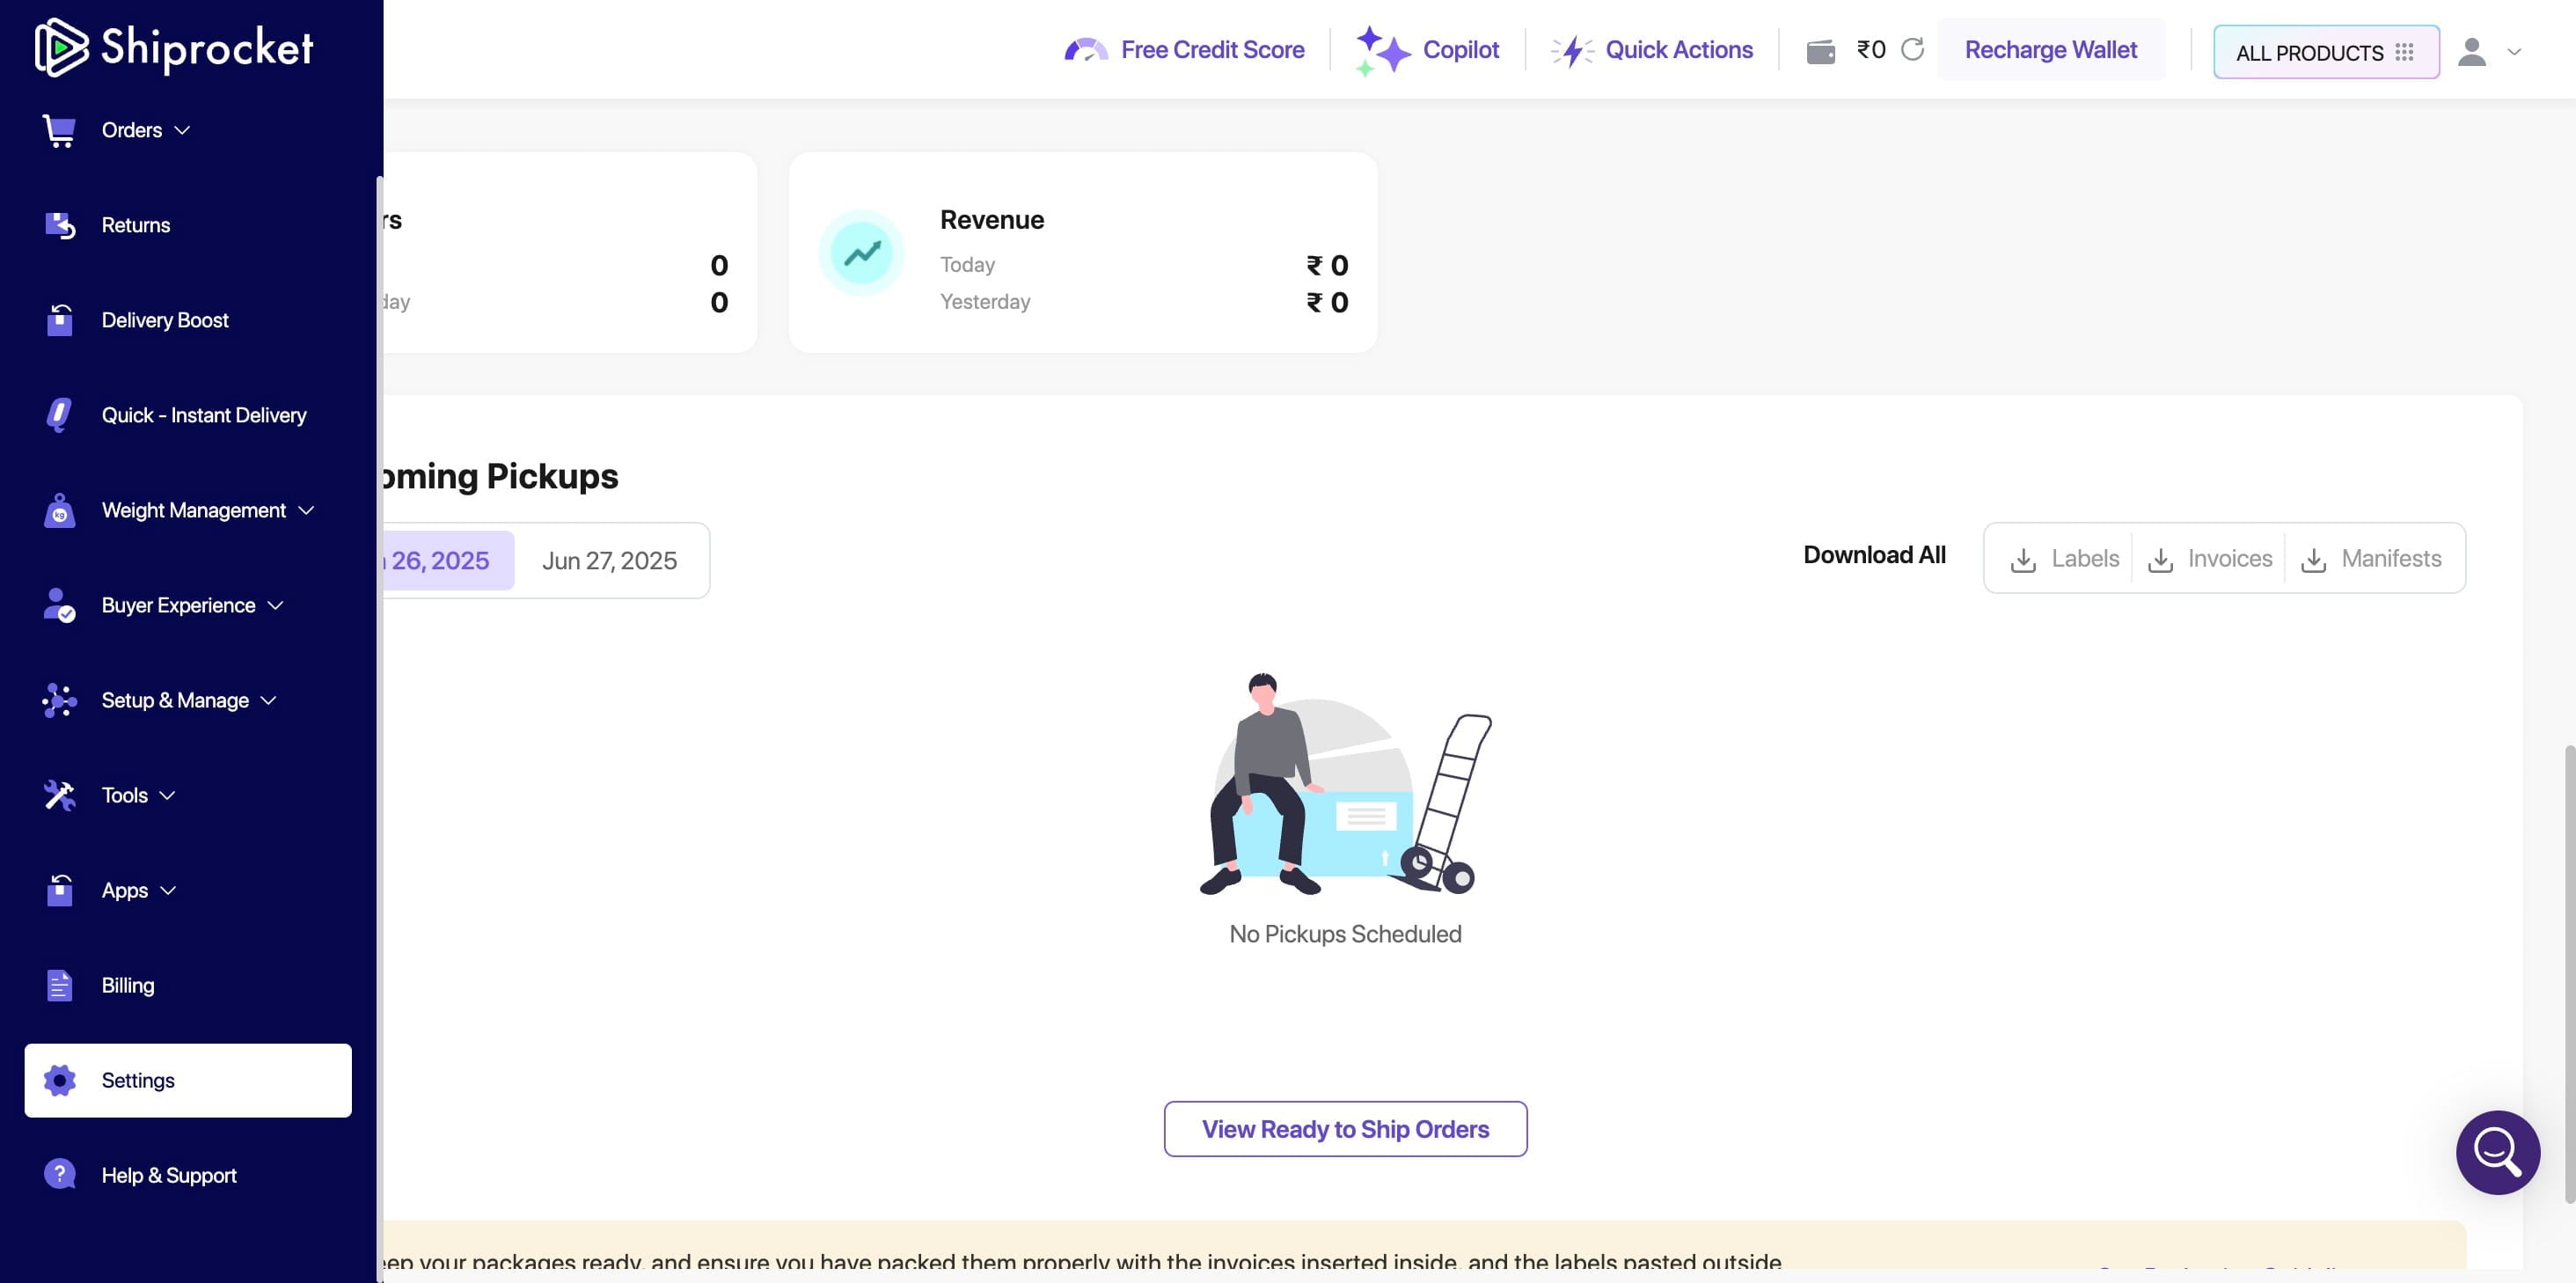
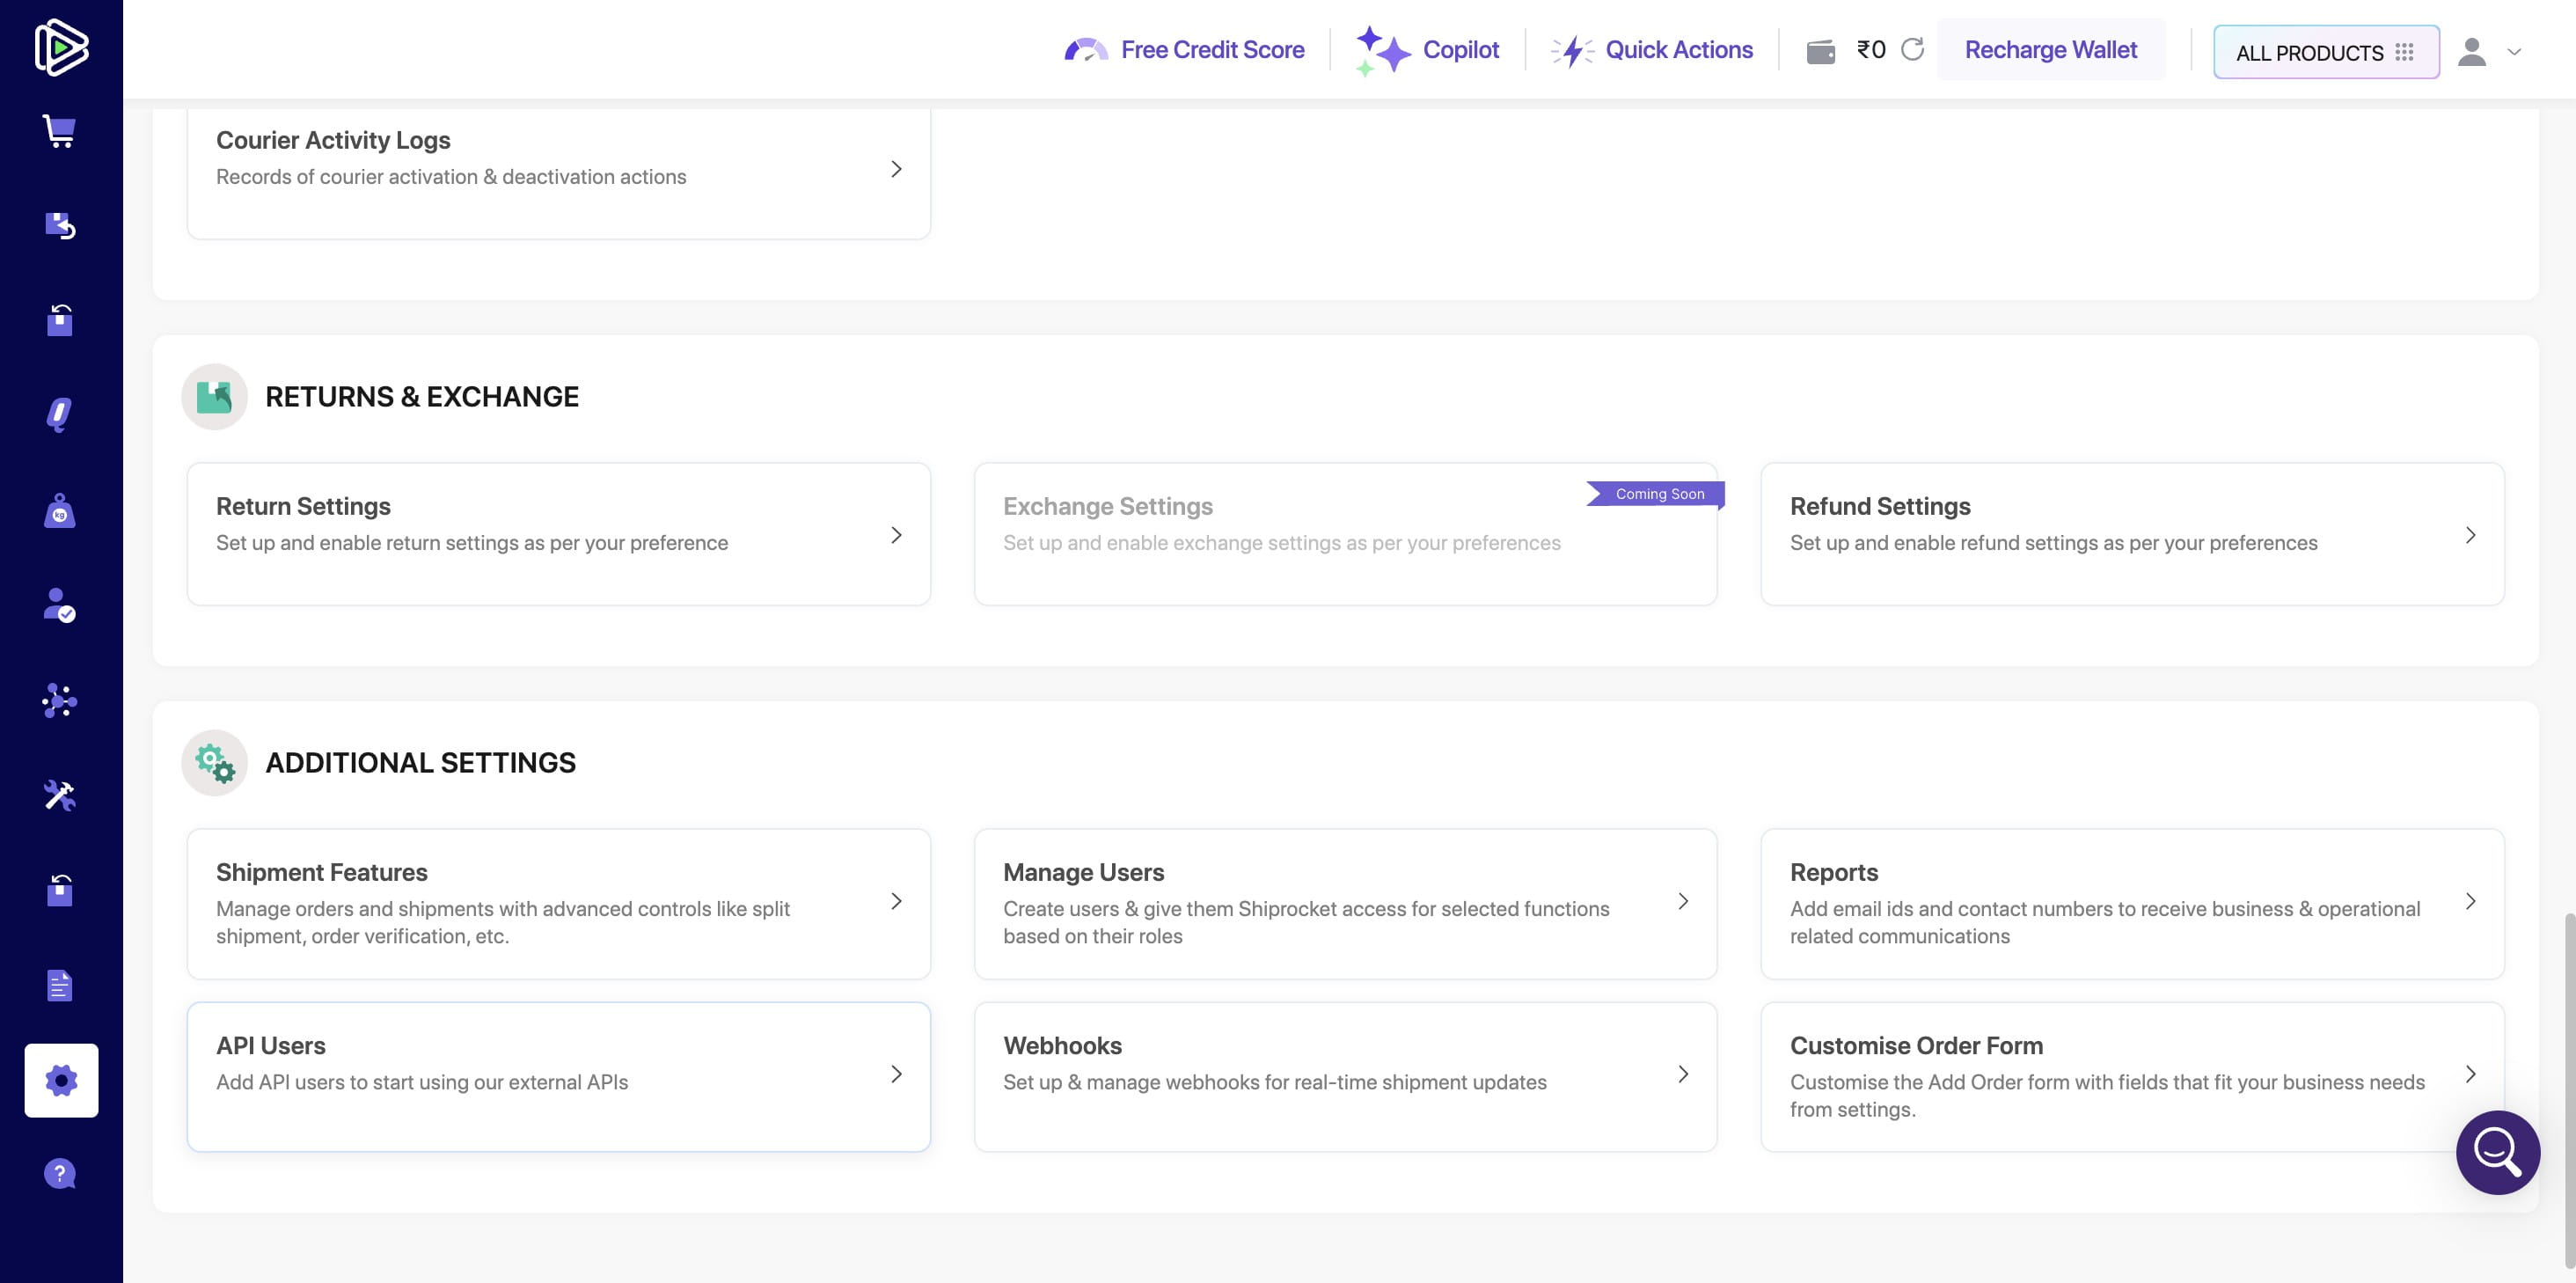
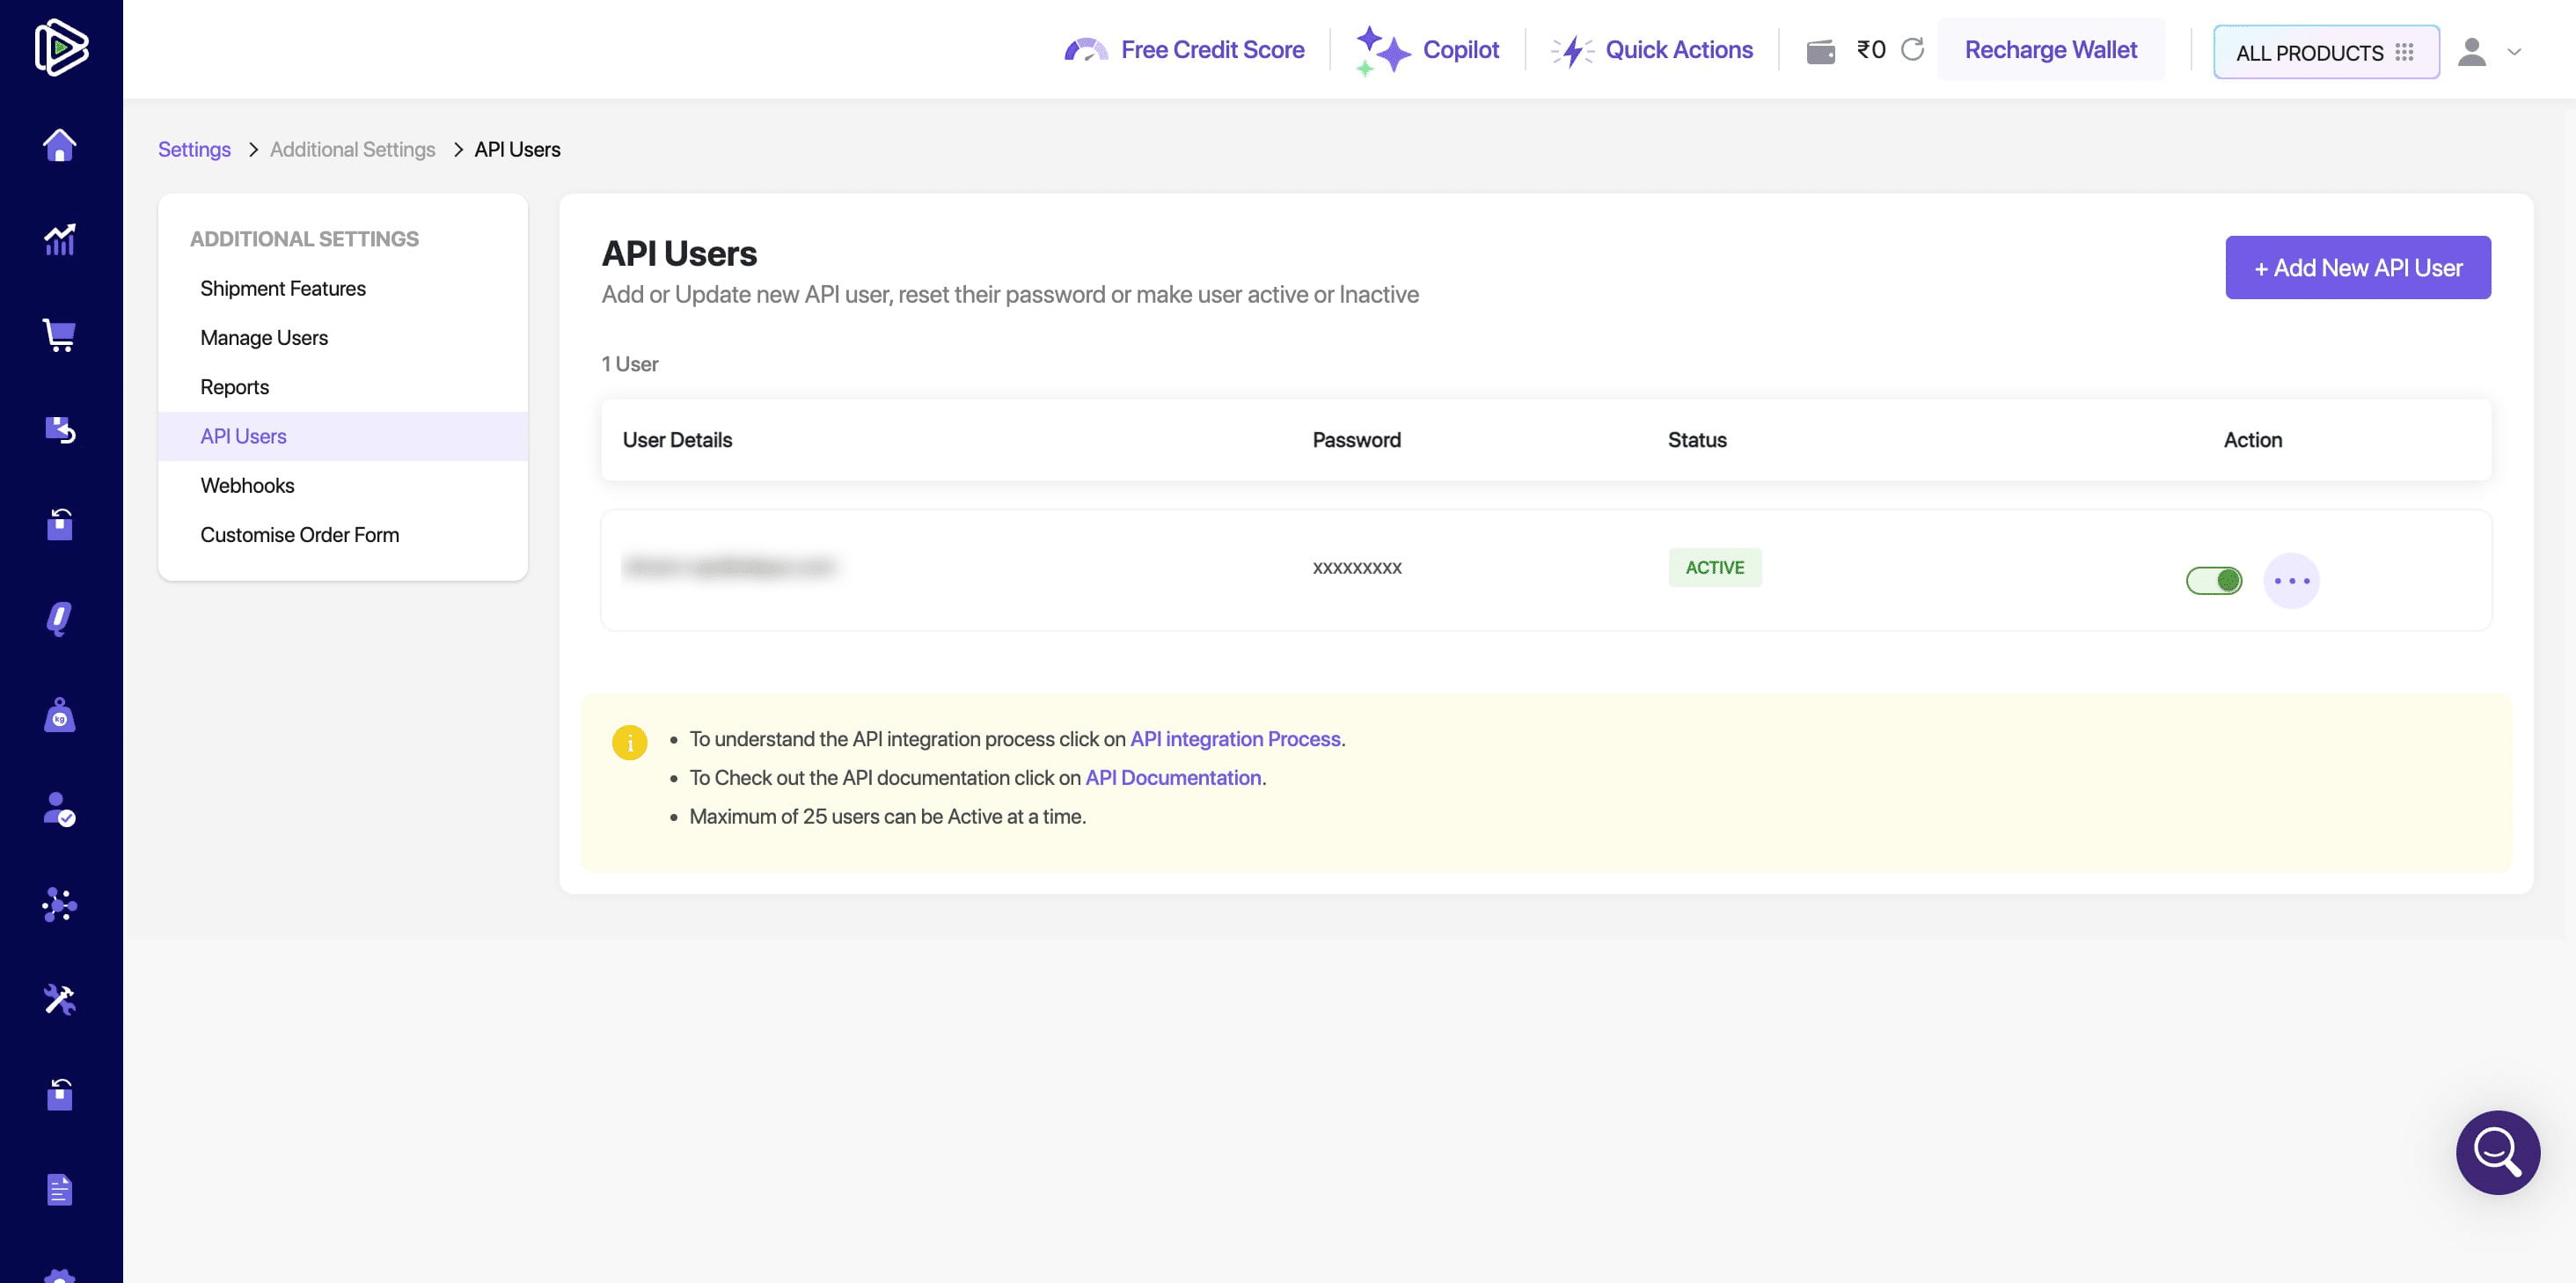
On the settings page, scroll down to the 'Additional Settings' section to find the API Users option.
Setting Up a New API User for Your Account
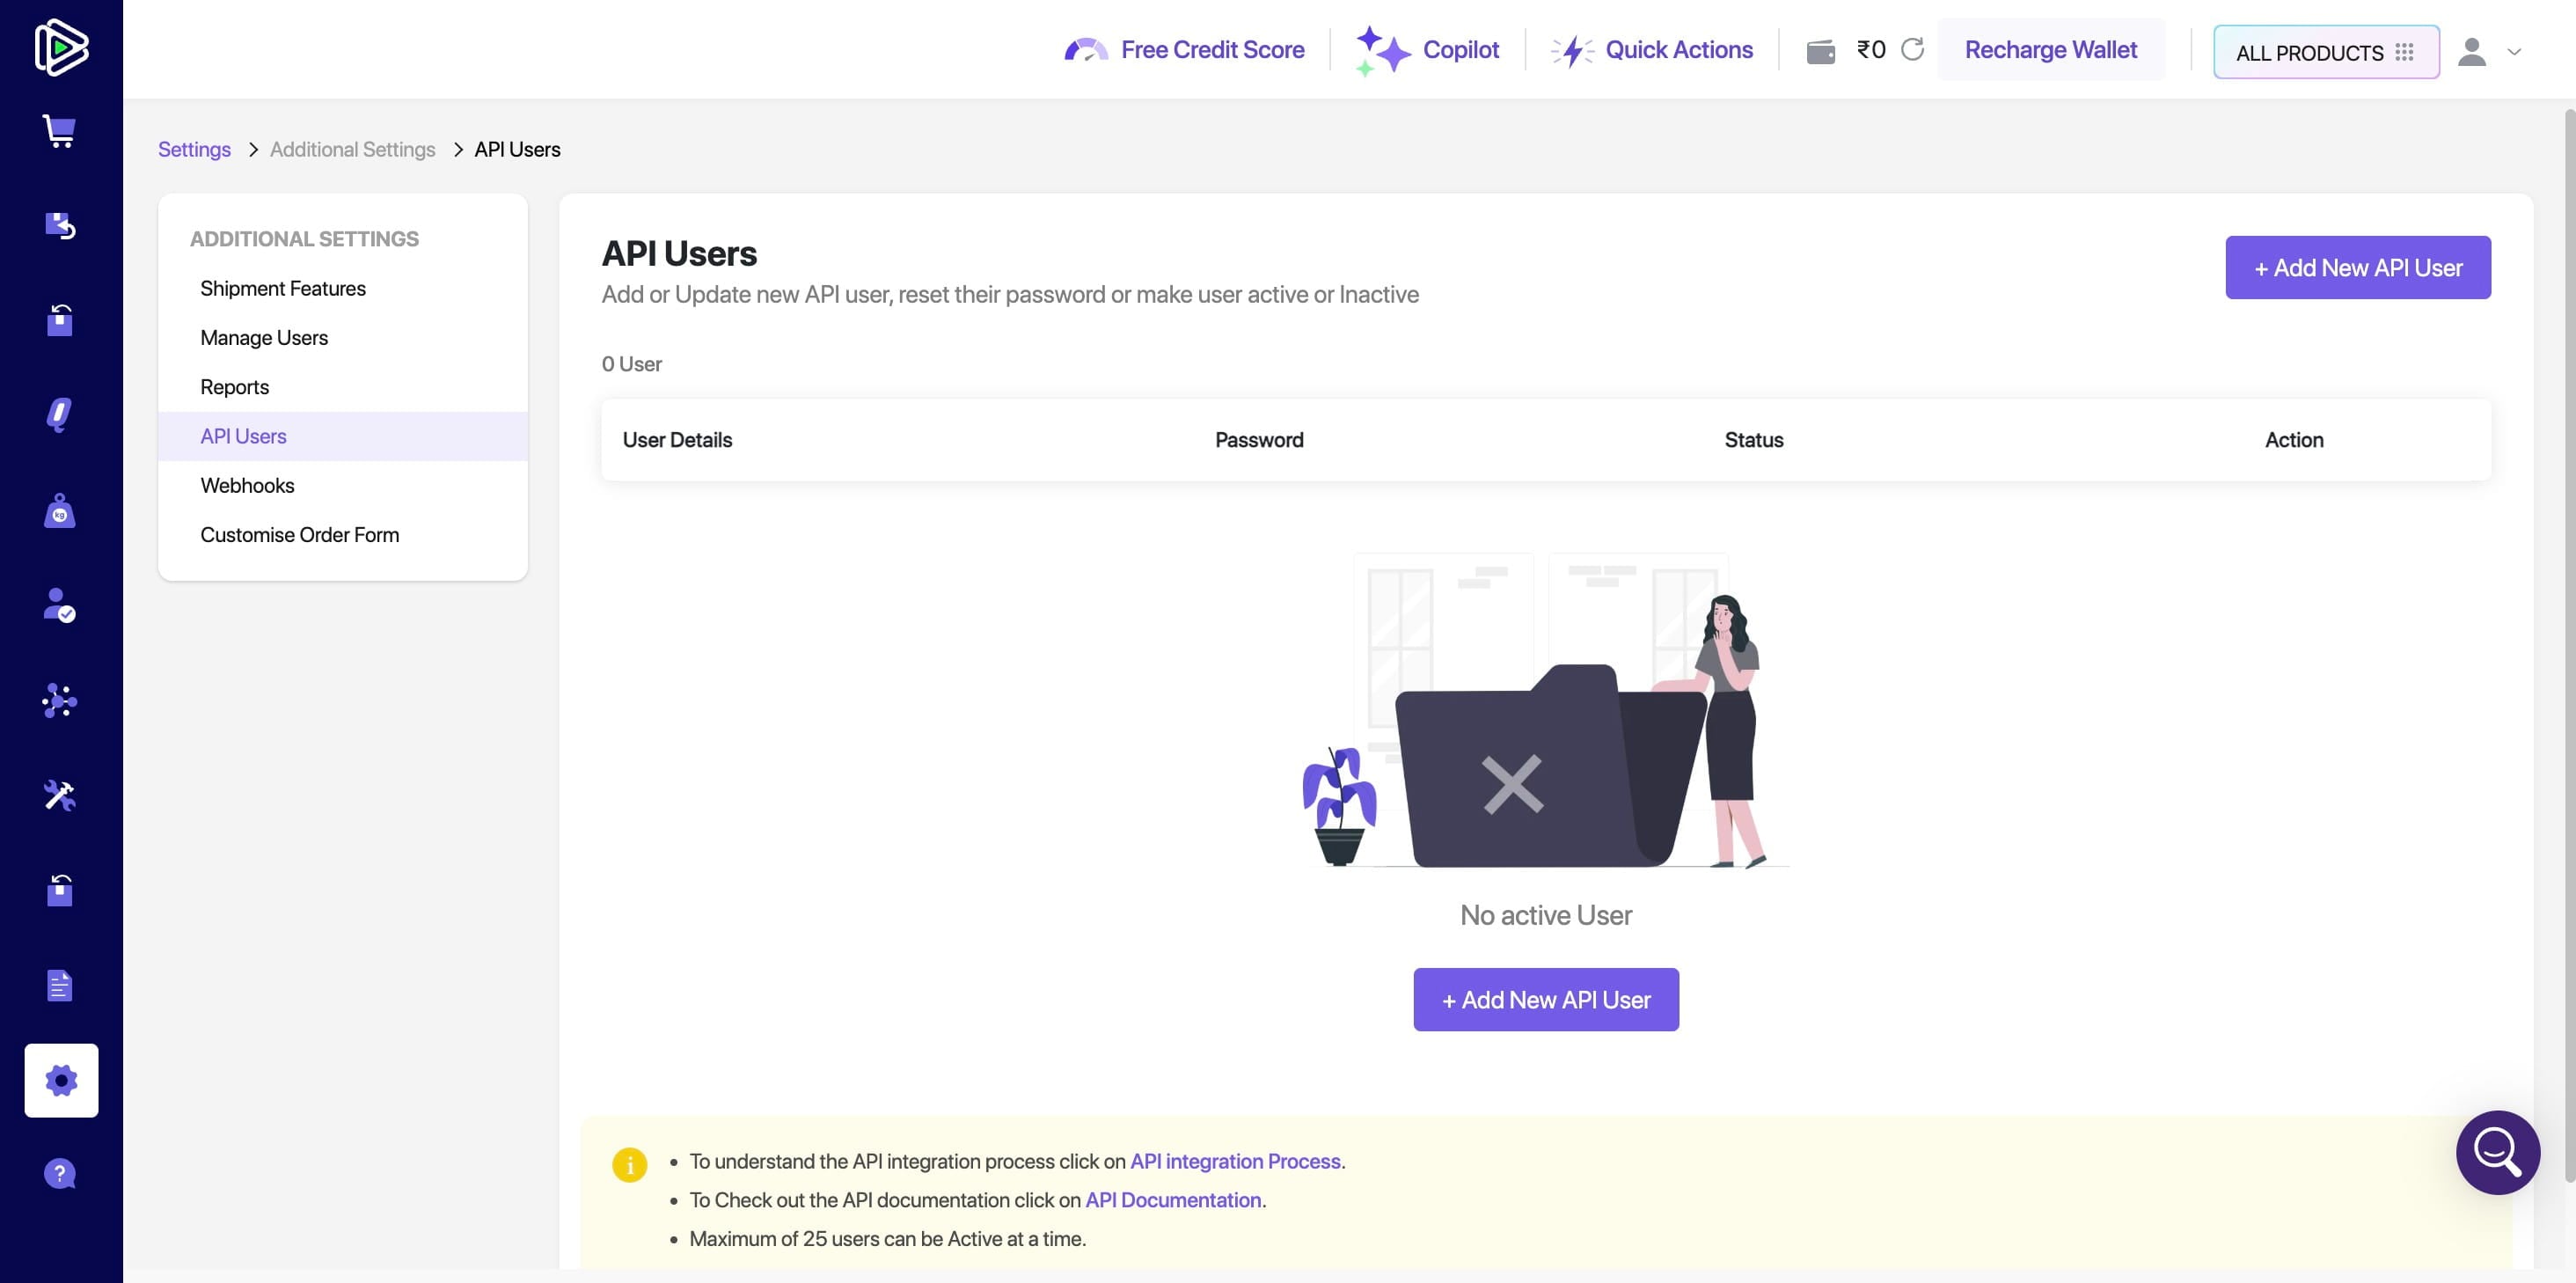
Click on "+ Add New API User"
In the "Add New User" form, enter your email address and add +api before the @ symbol.
For example, if your Shiprocket email address is abc@gmail.com, enter abc+api@gmail.com.
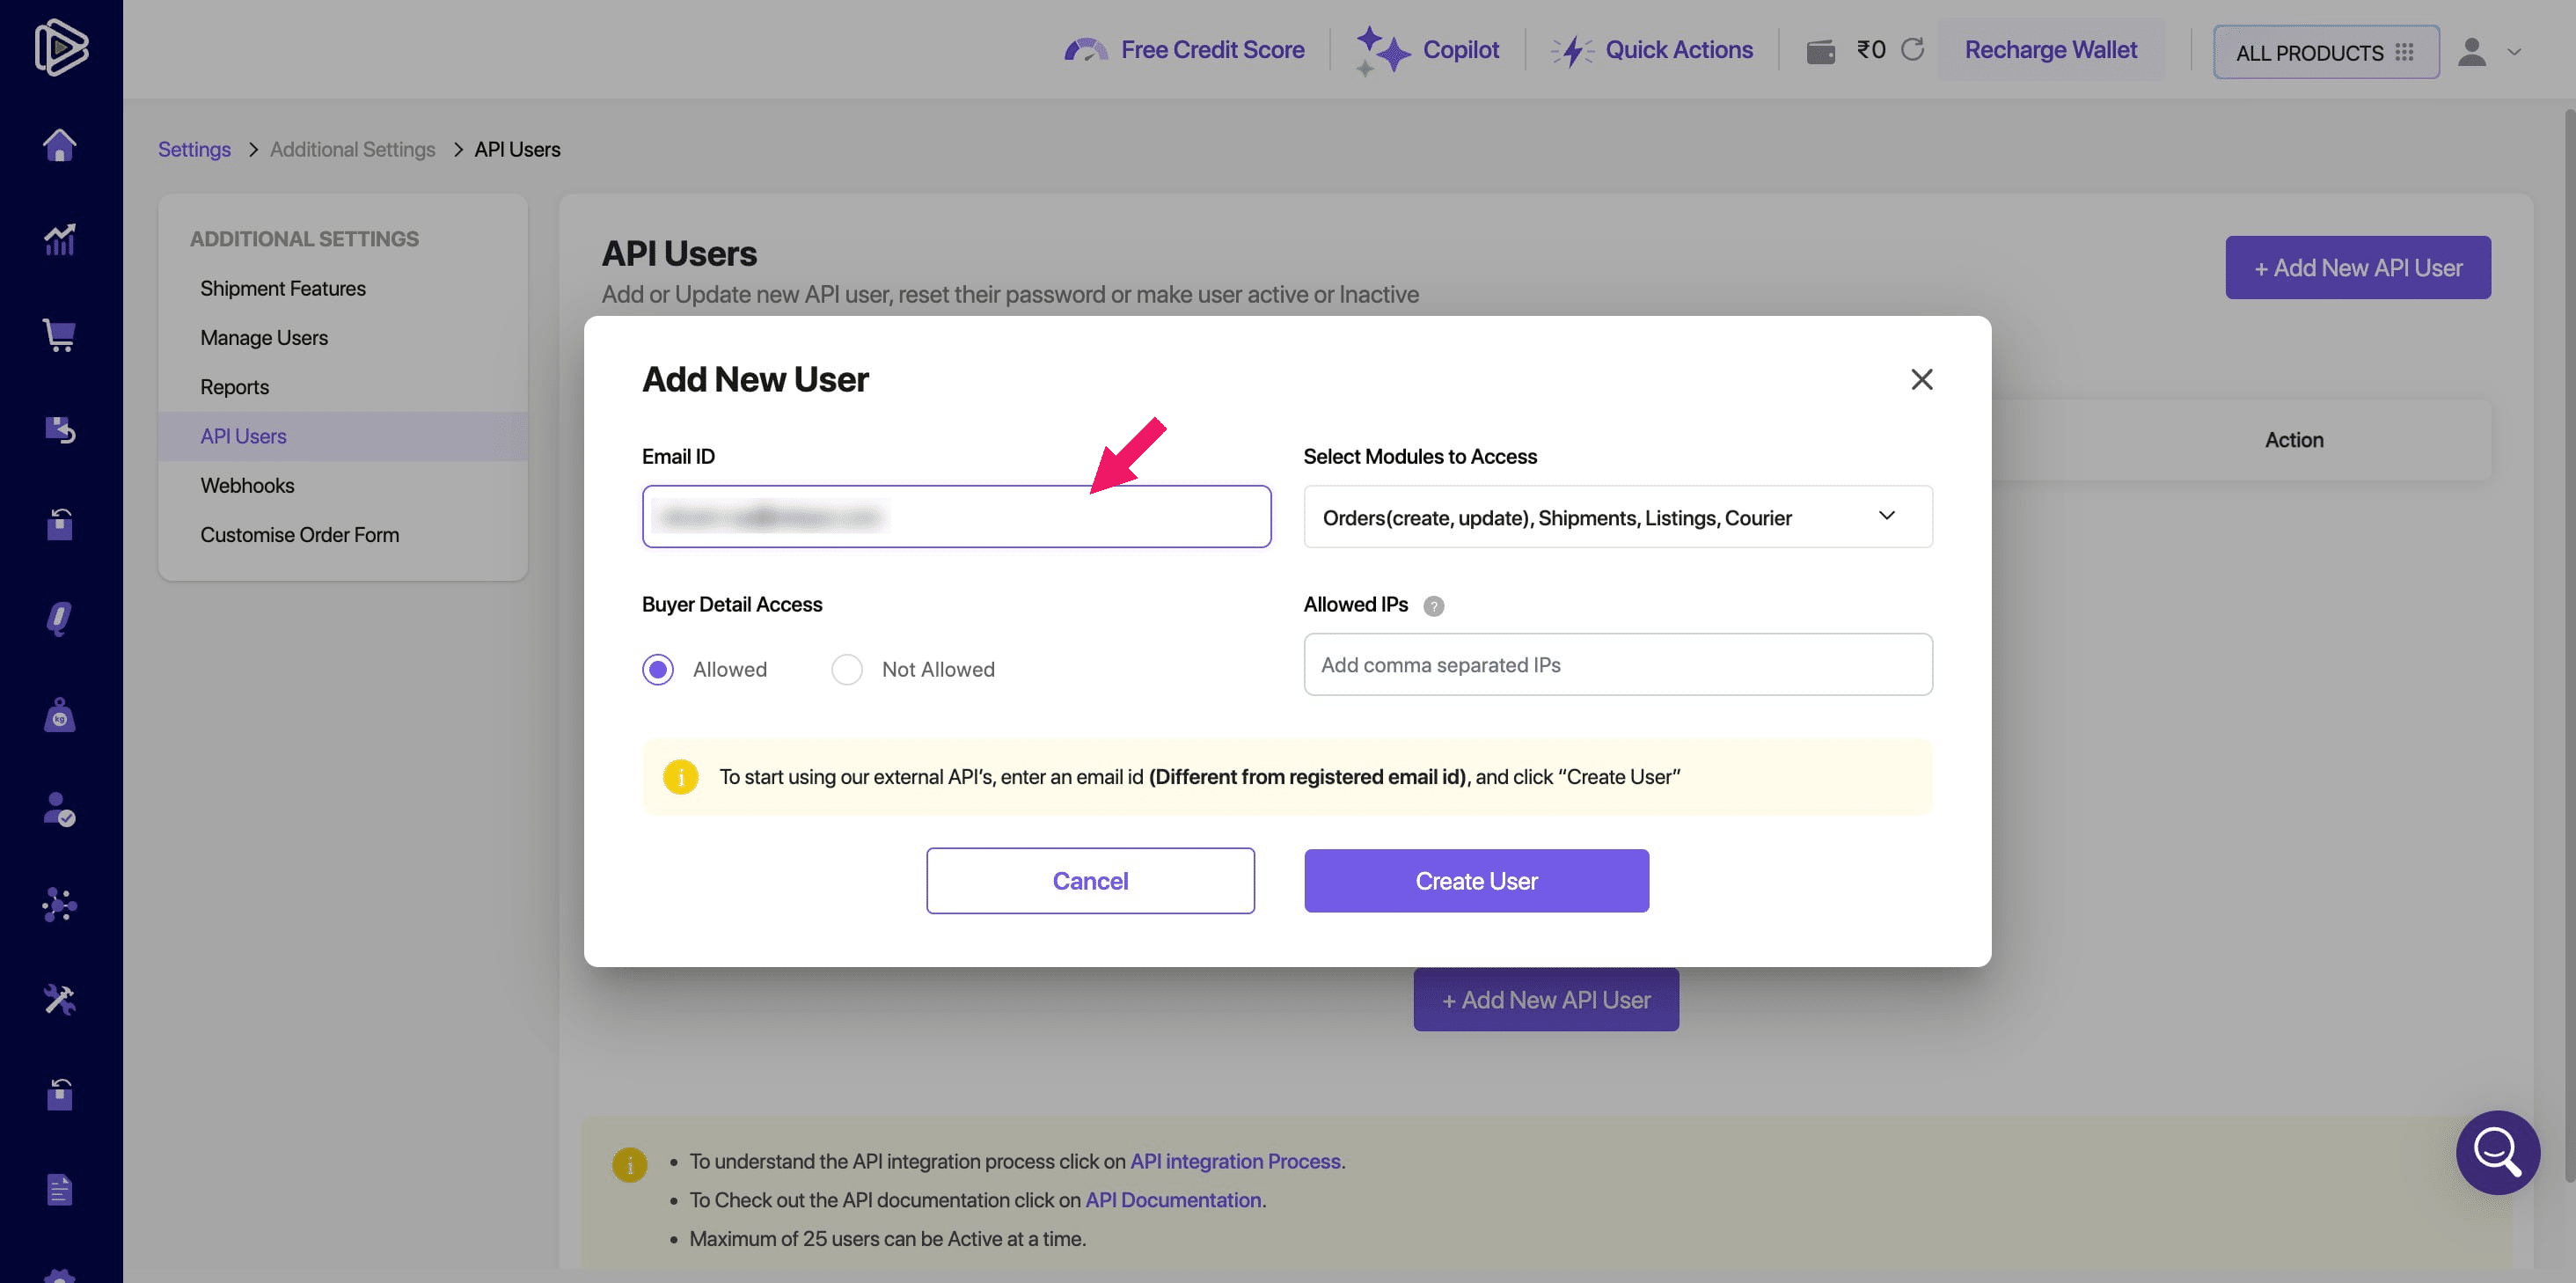
In the Buyer Detail Access section, select "Allowed."
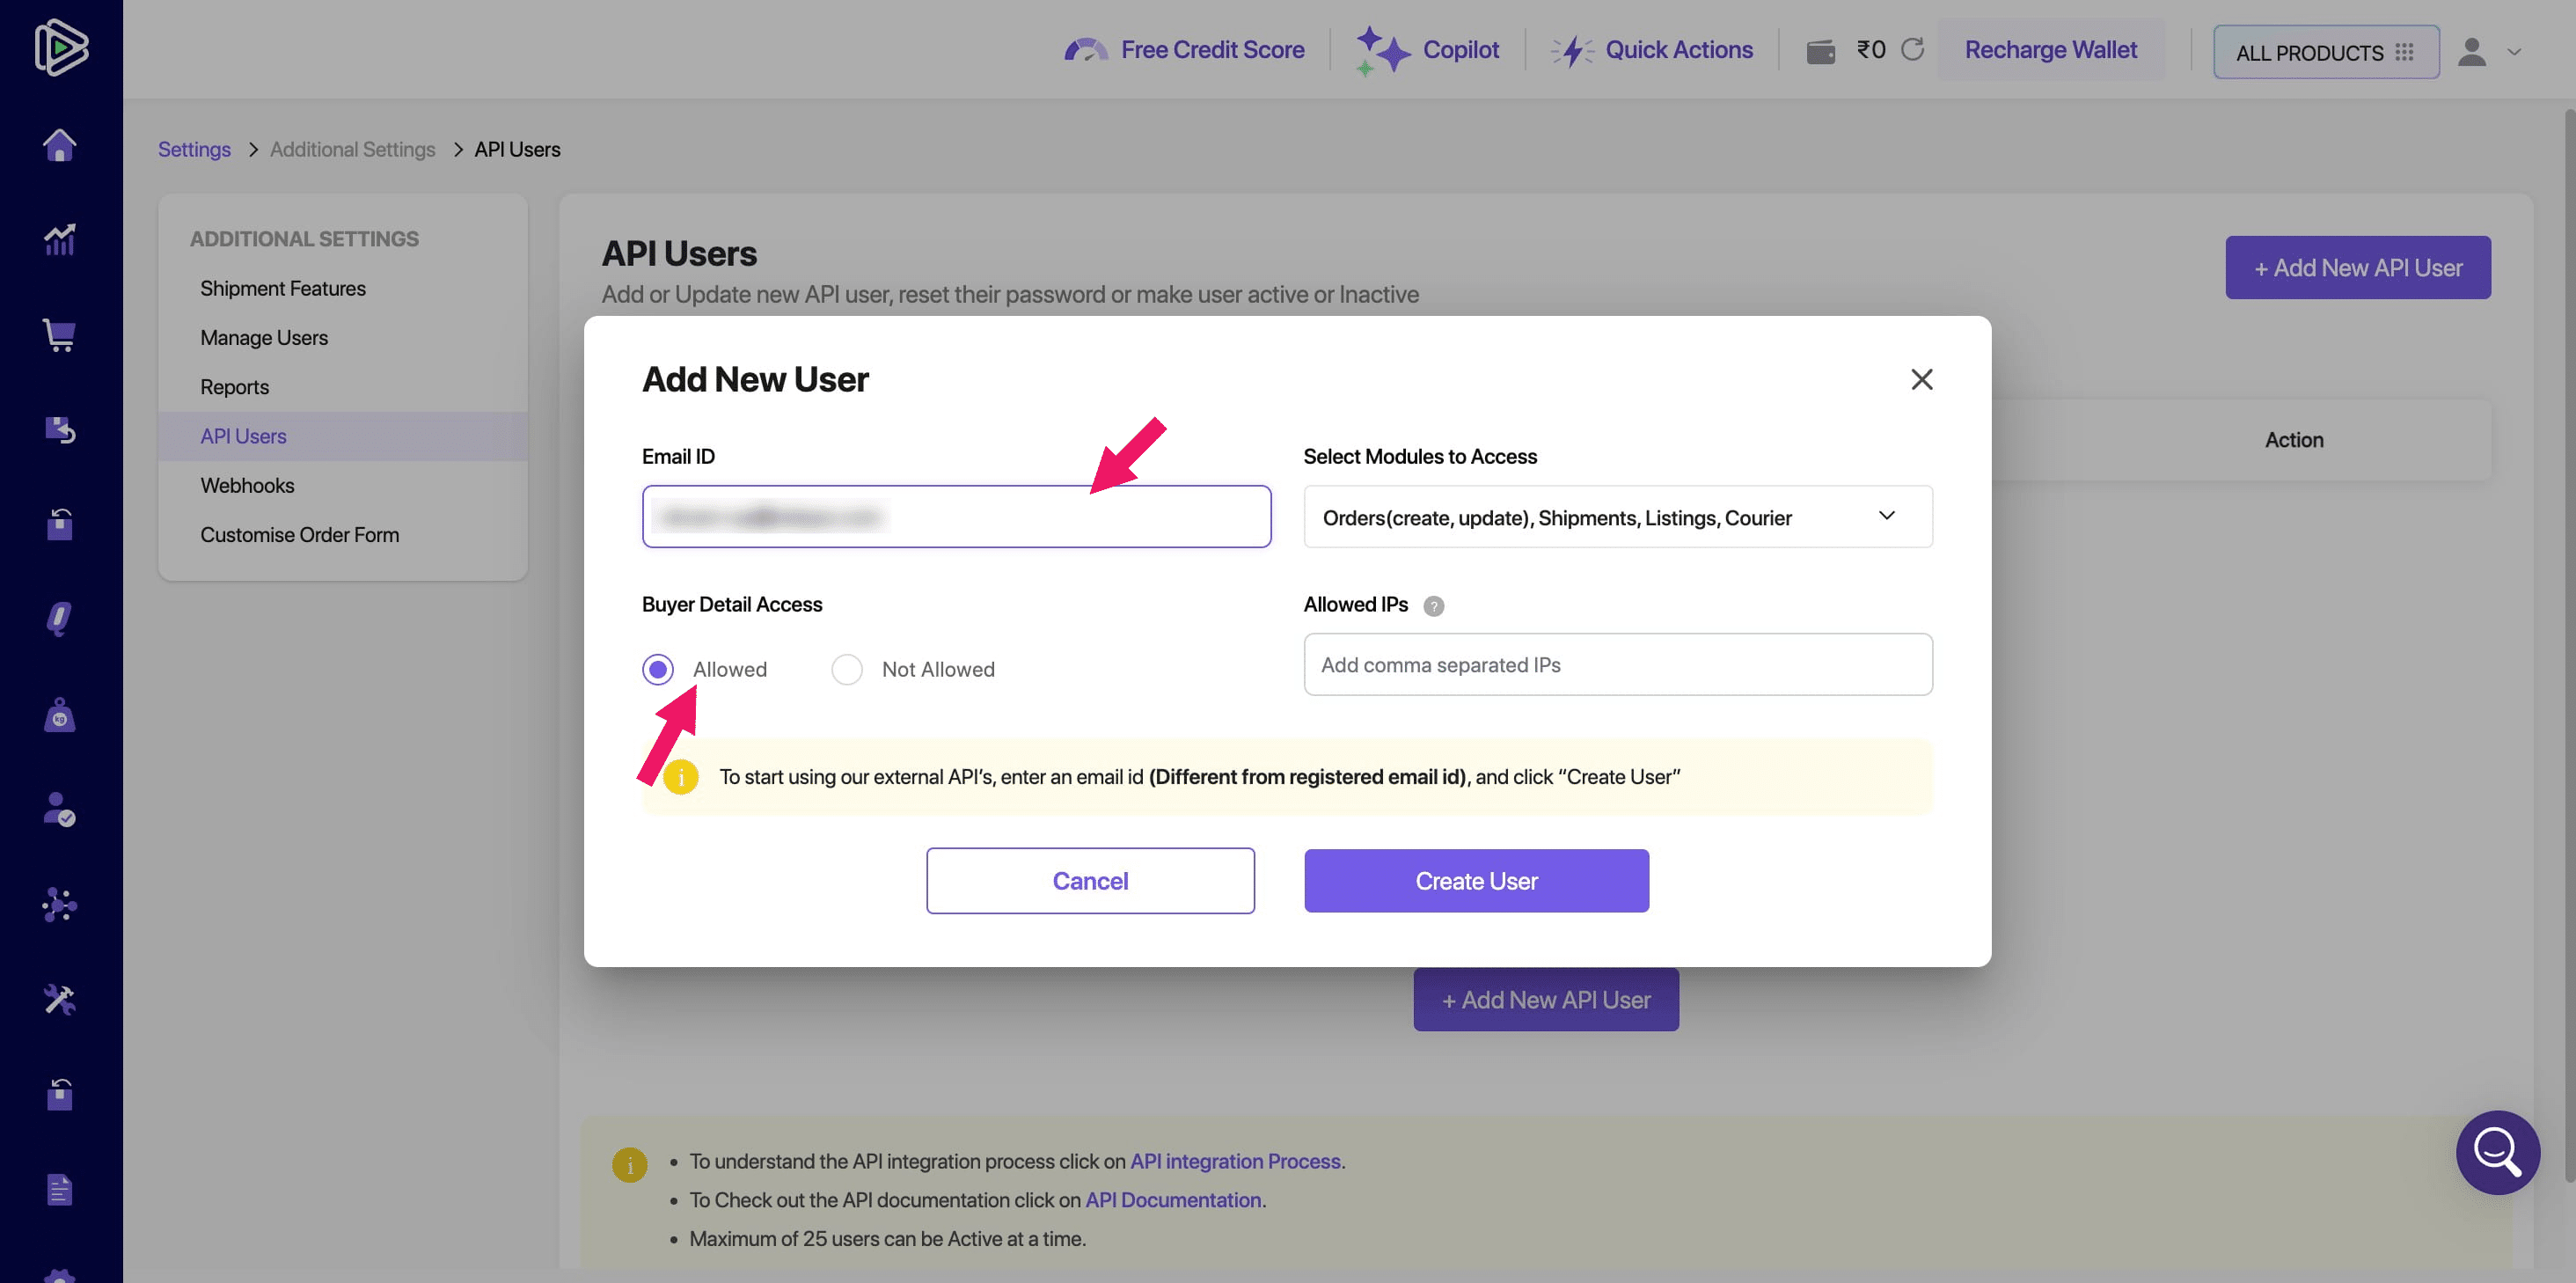
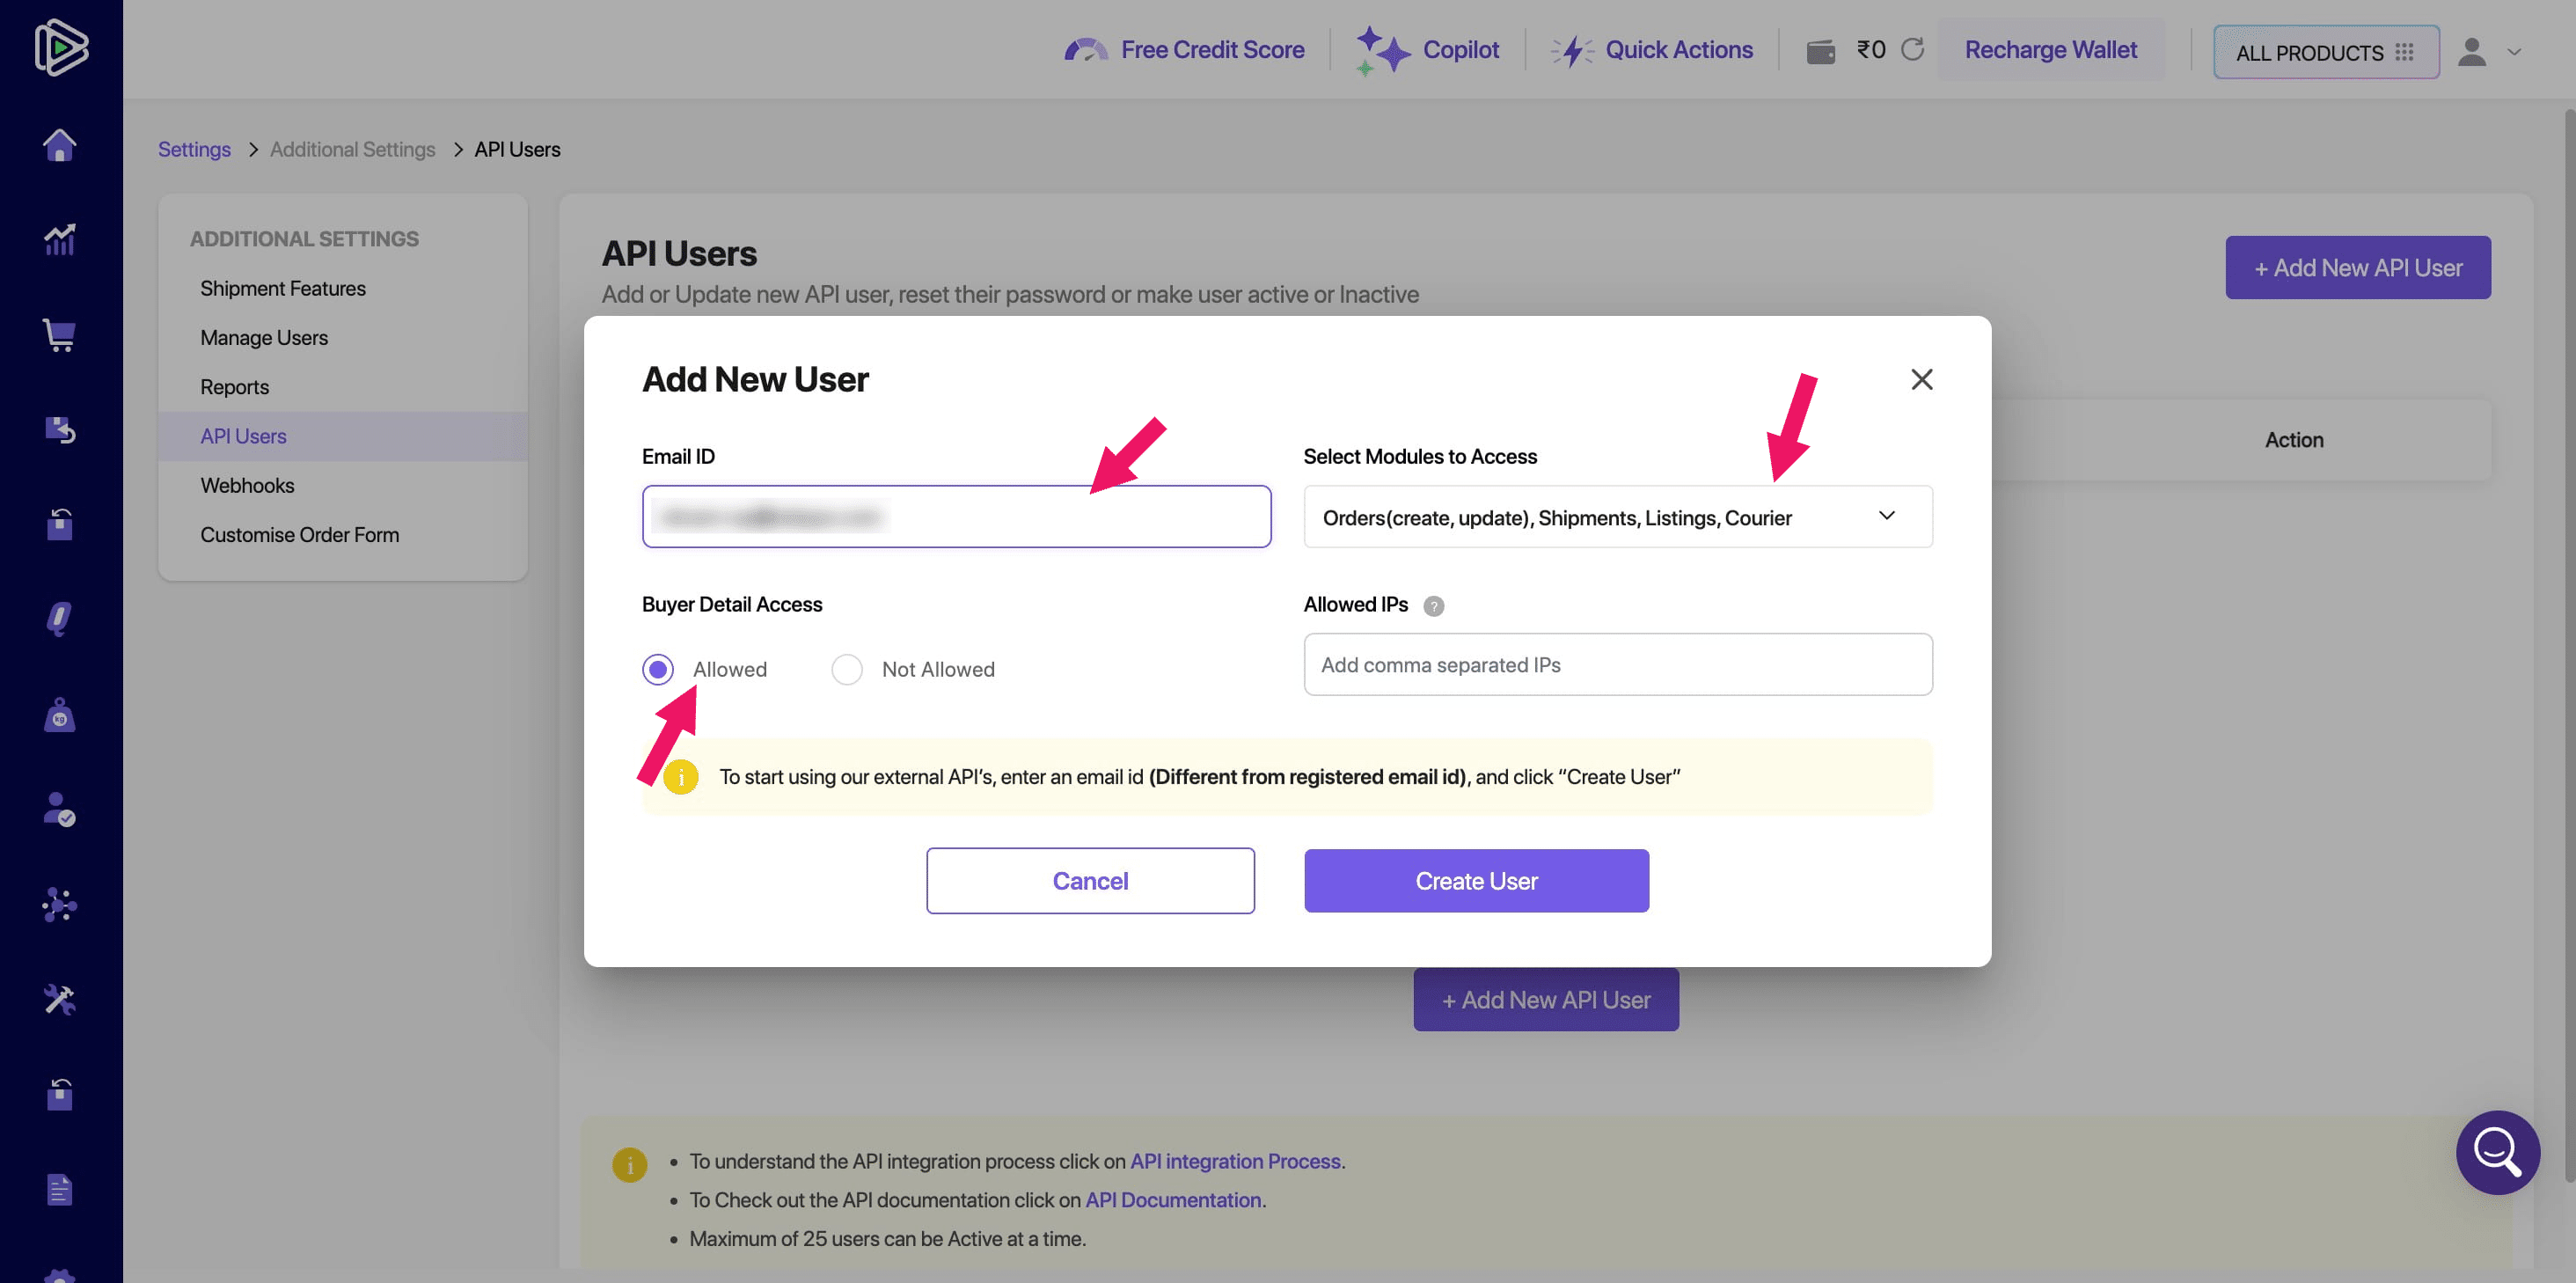
To grant access, select the desired modules. For full API functionality, check all modules. Then, click the "Create user" button.
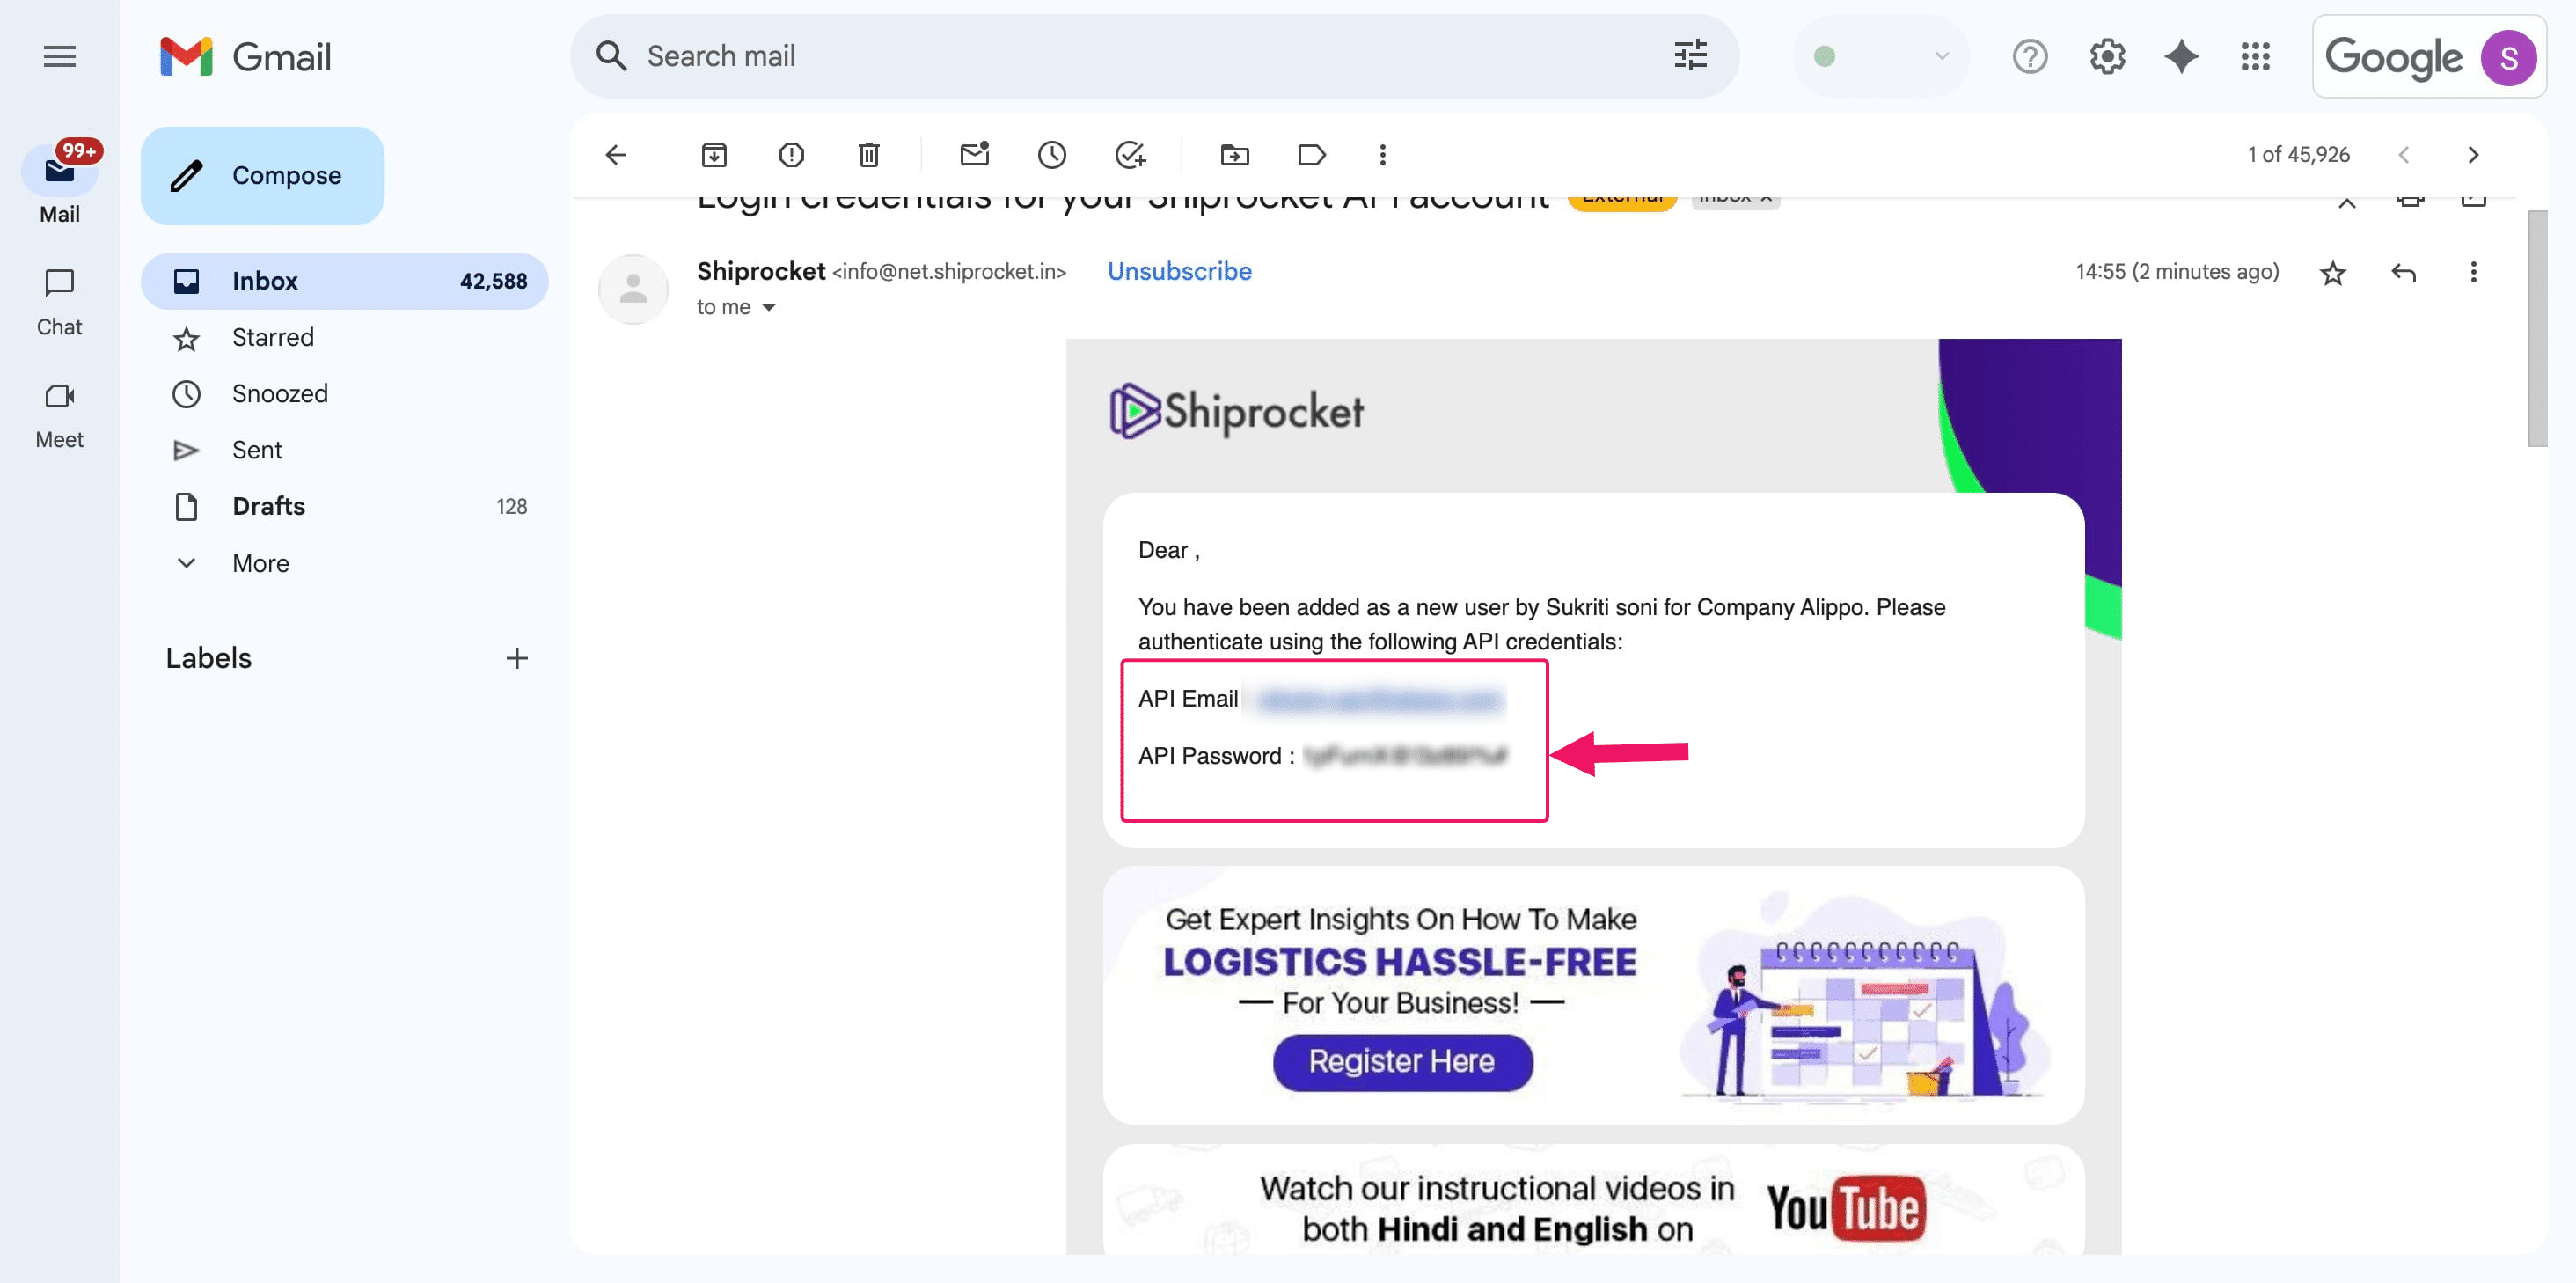
After creation, the new API user will be visible in the user list, displaying the information like User Details: The user's email address.
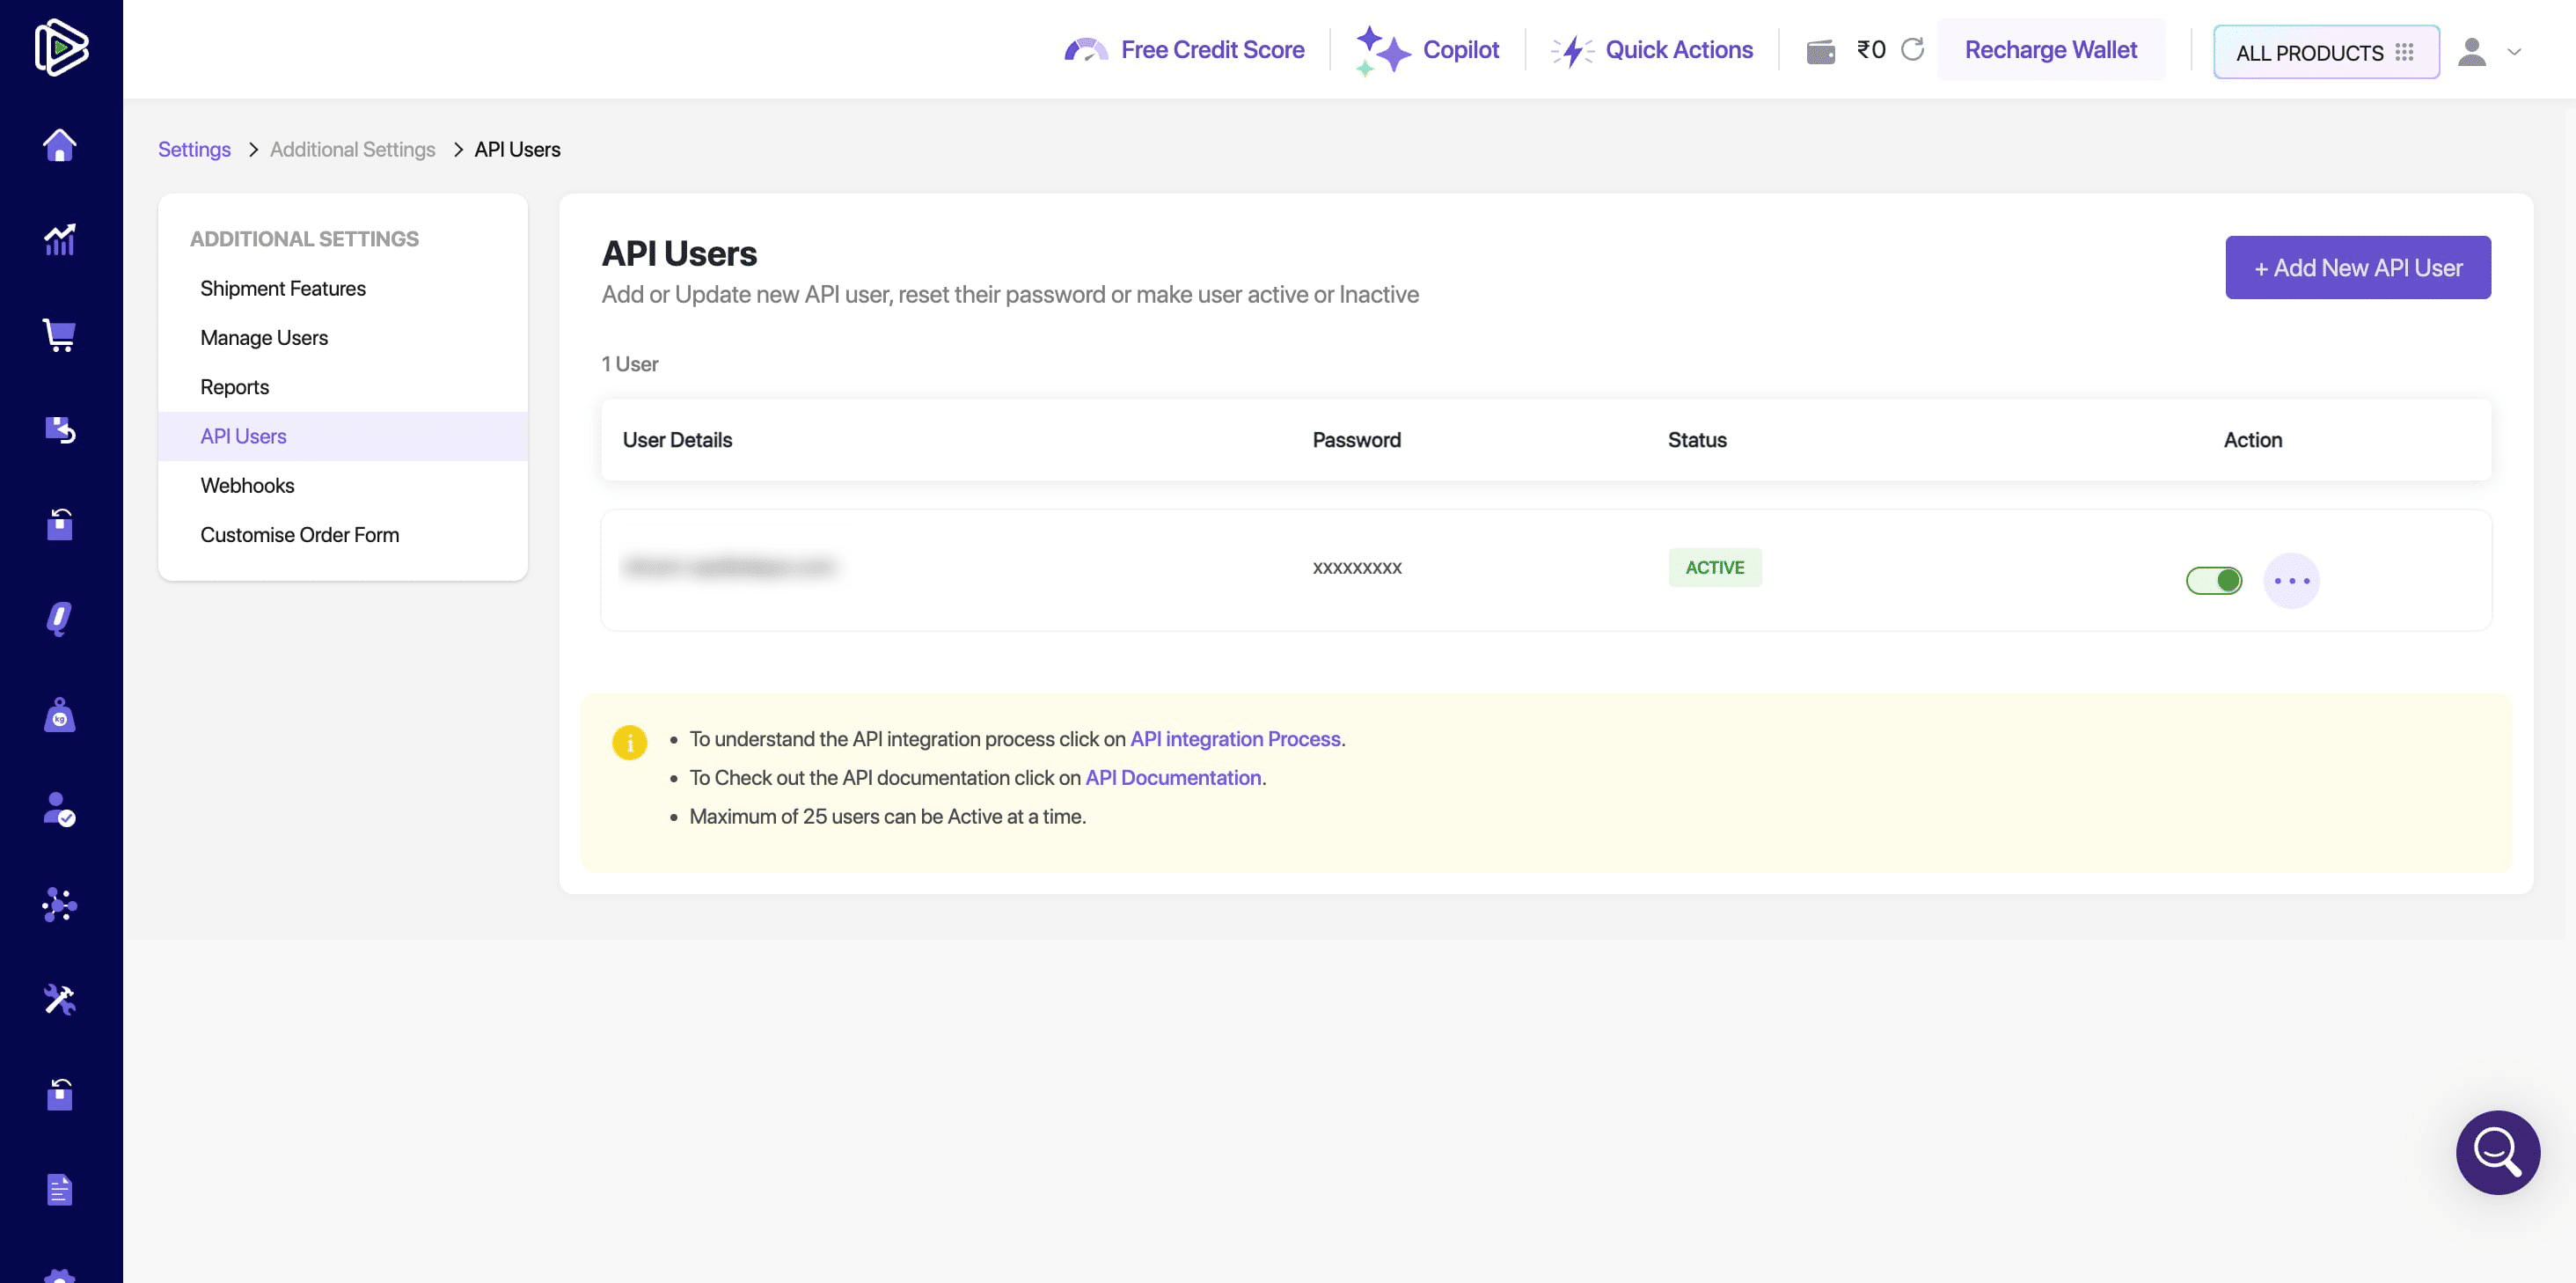
Password: This field displays a masked password.
Please note: Shiprocket will send the password to the provided email address. You must then forward this password to prince@alippo.com.
Status: Displays "ACTIVE" by default.

Action toggles (to enable or disable)

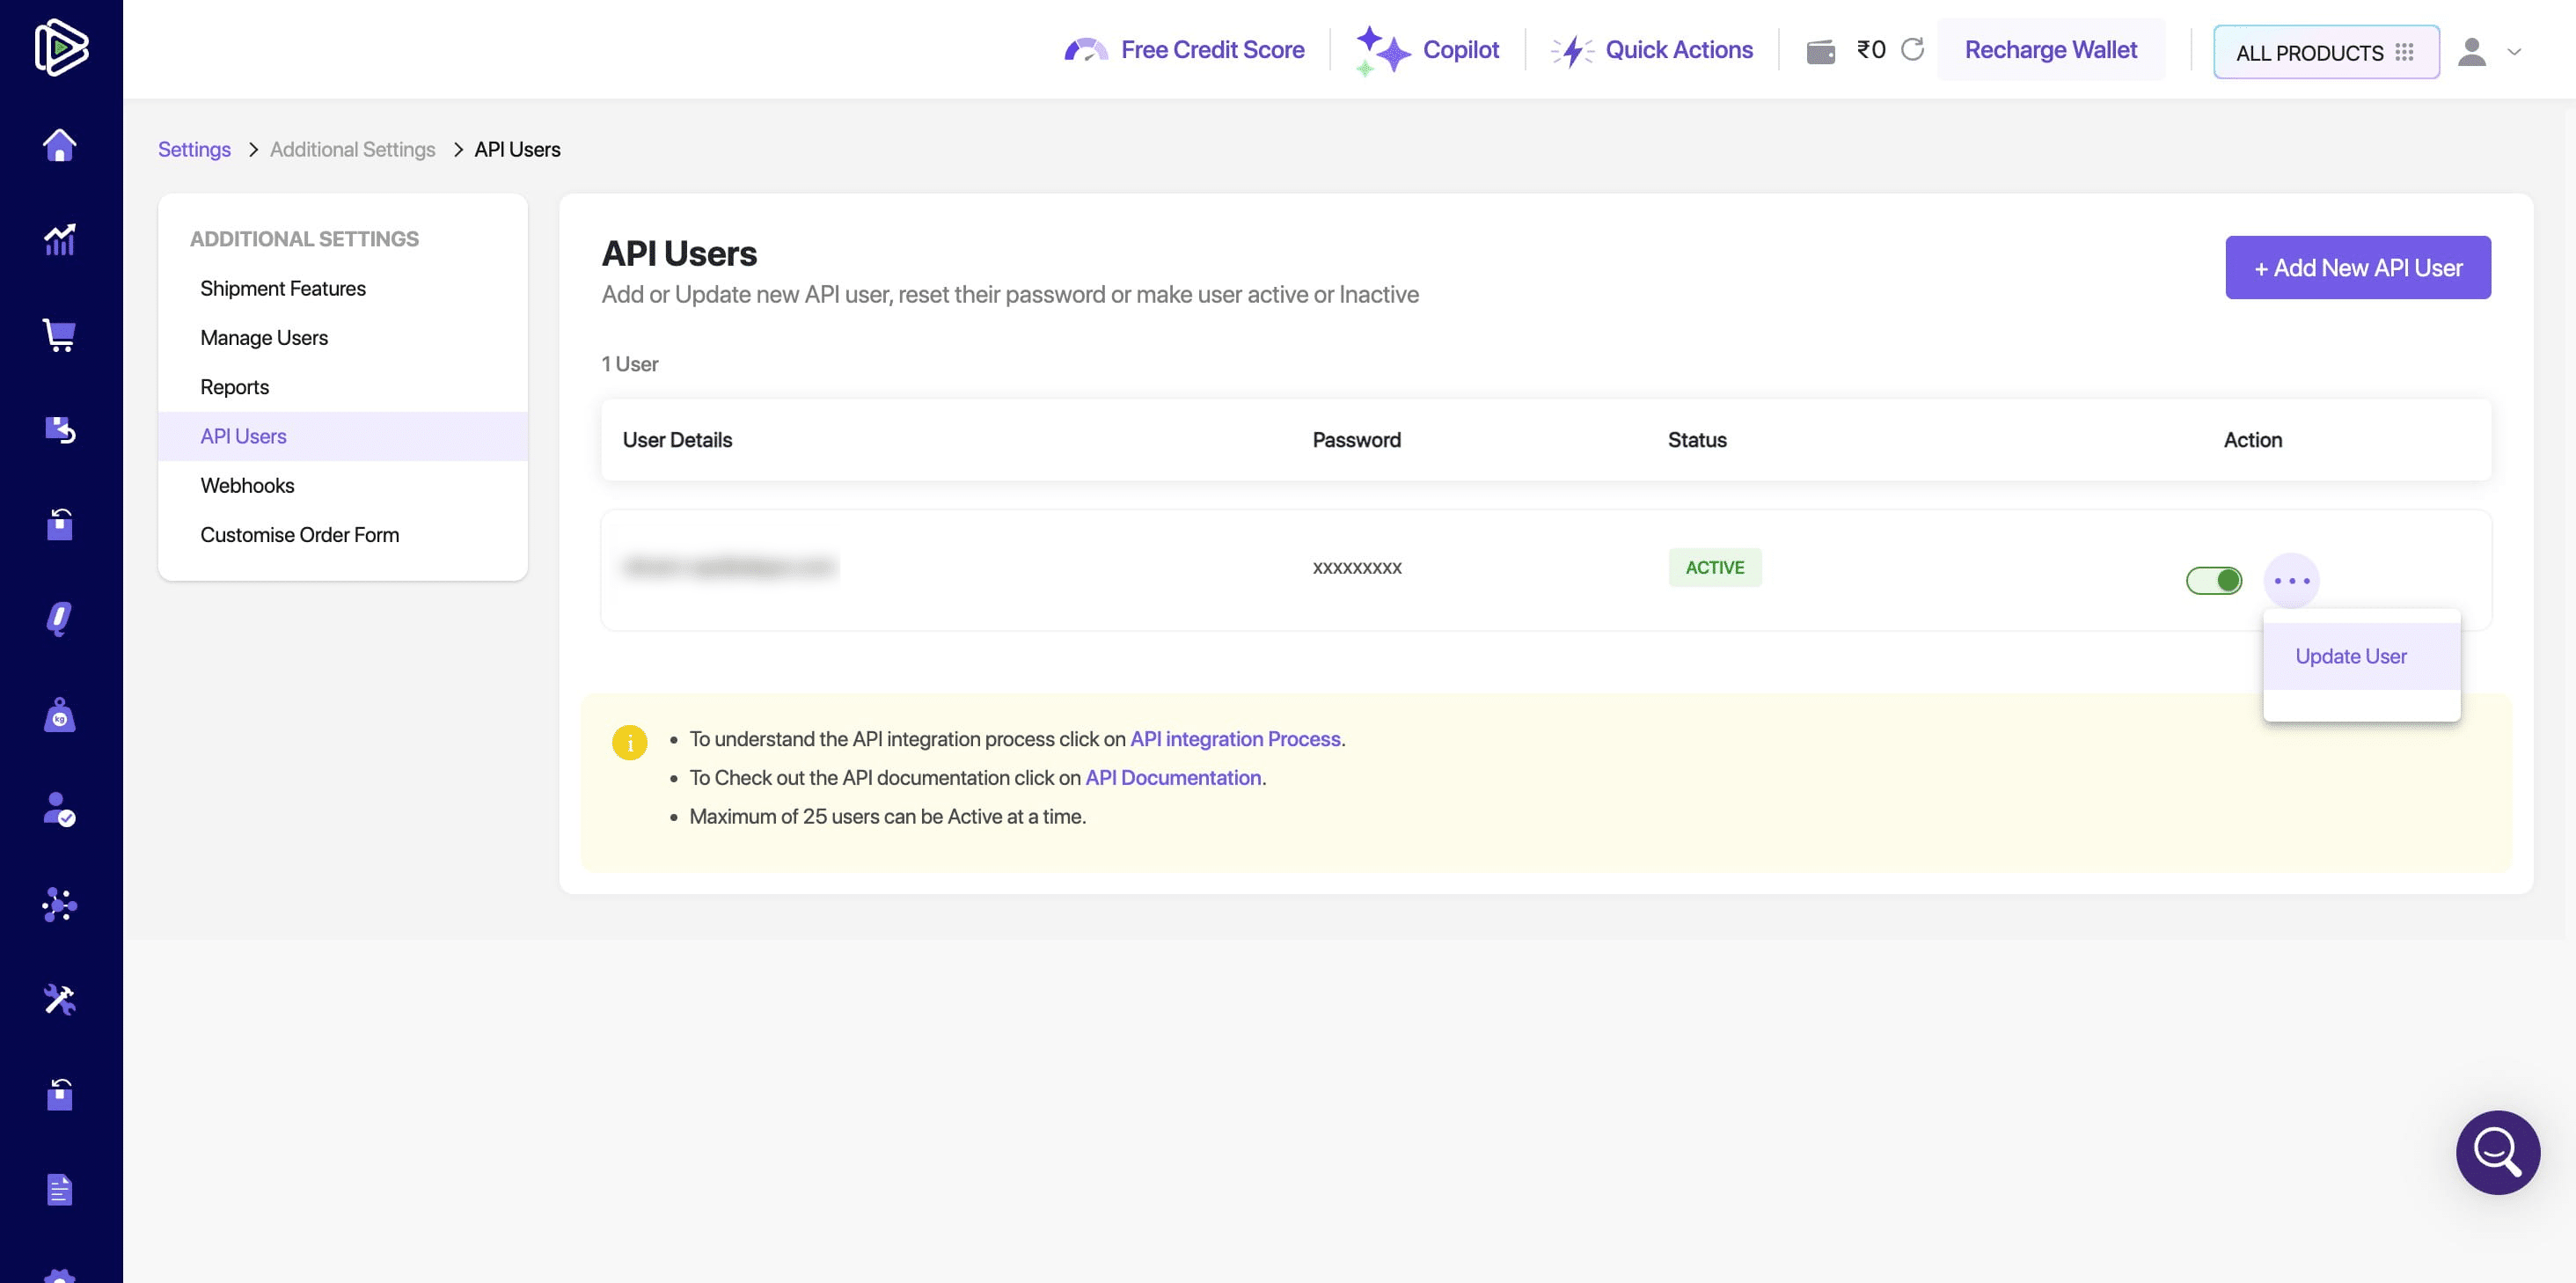
Managing Access: How to Change Passwords or Modify Permissions
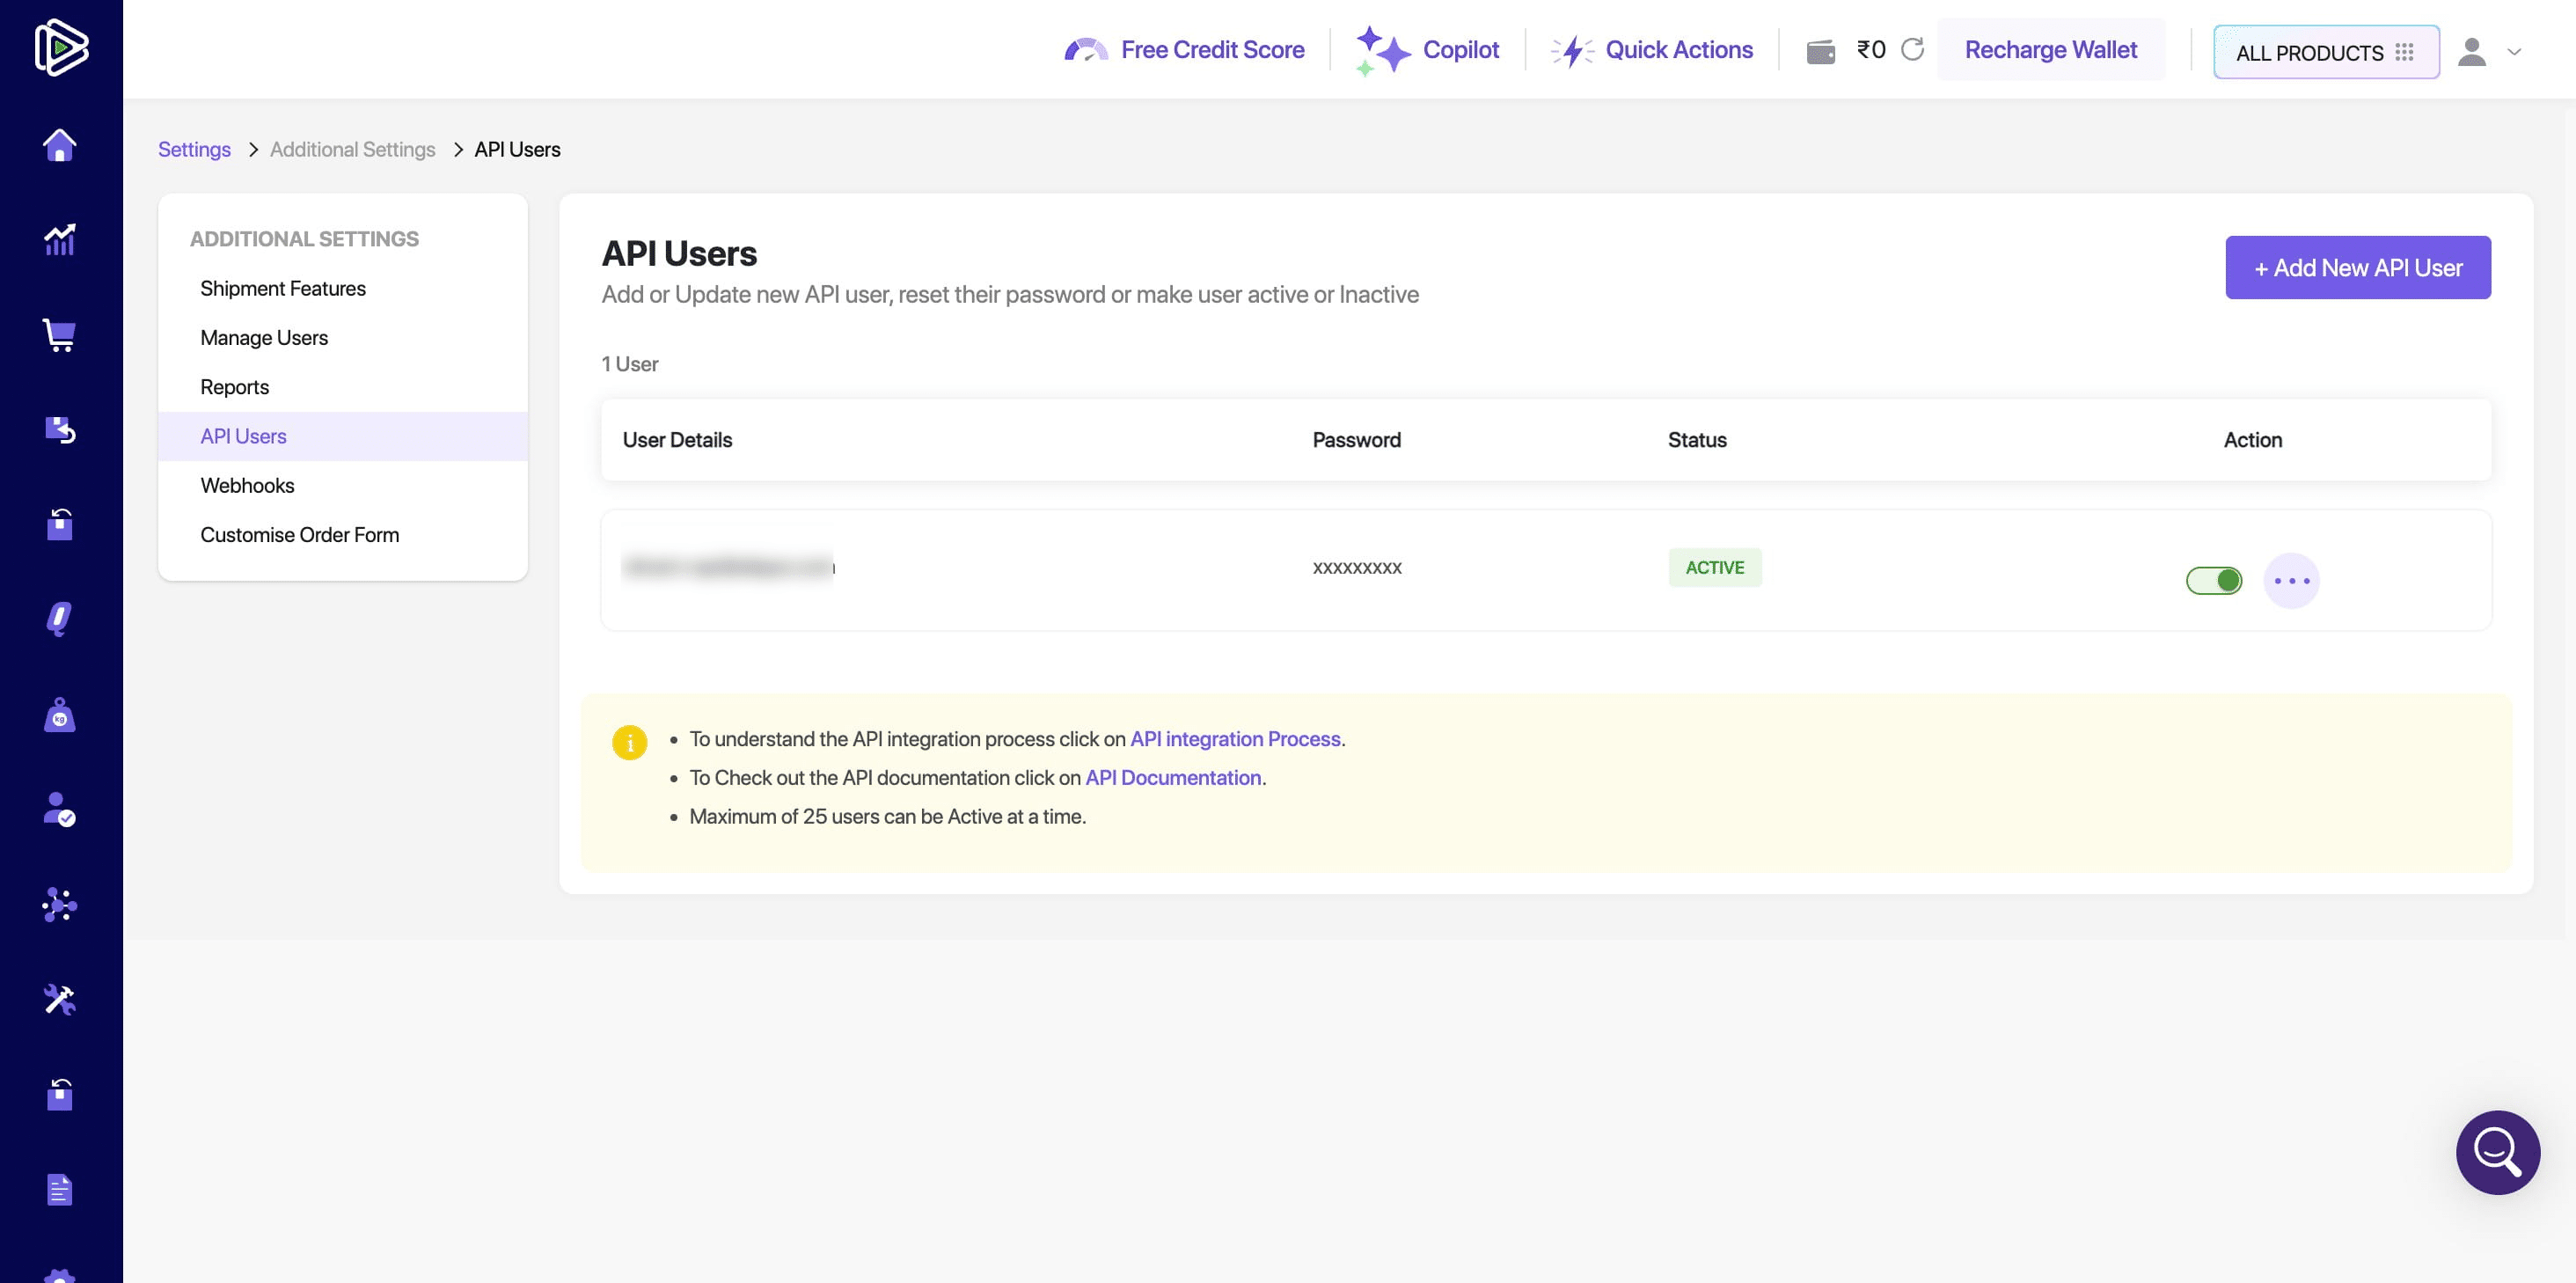
To change the password or modify permissions later, click the ellipsis (•••) under the Action column next to the API user.
Choose Update User.
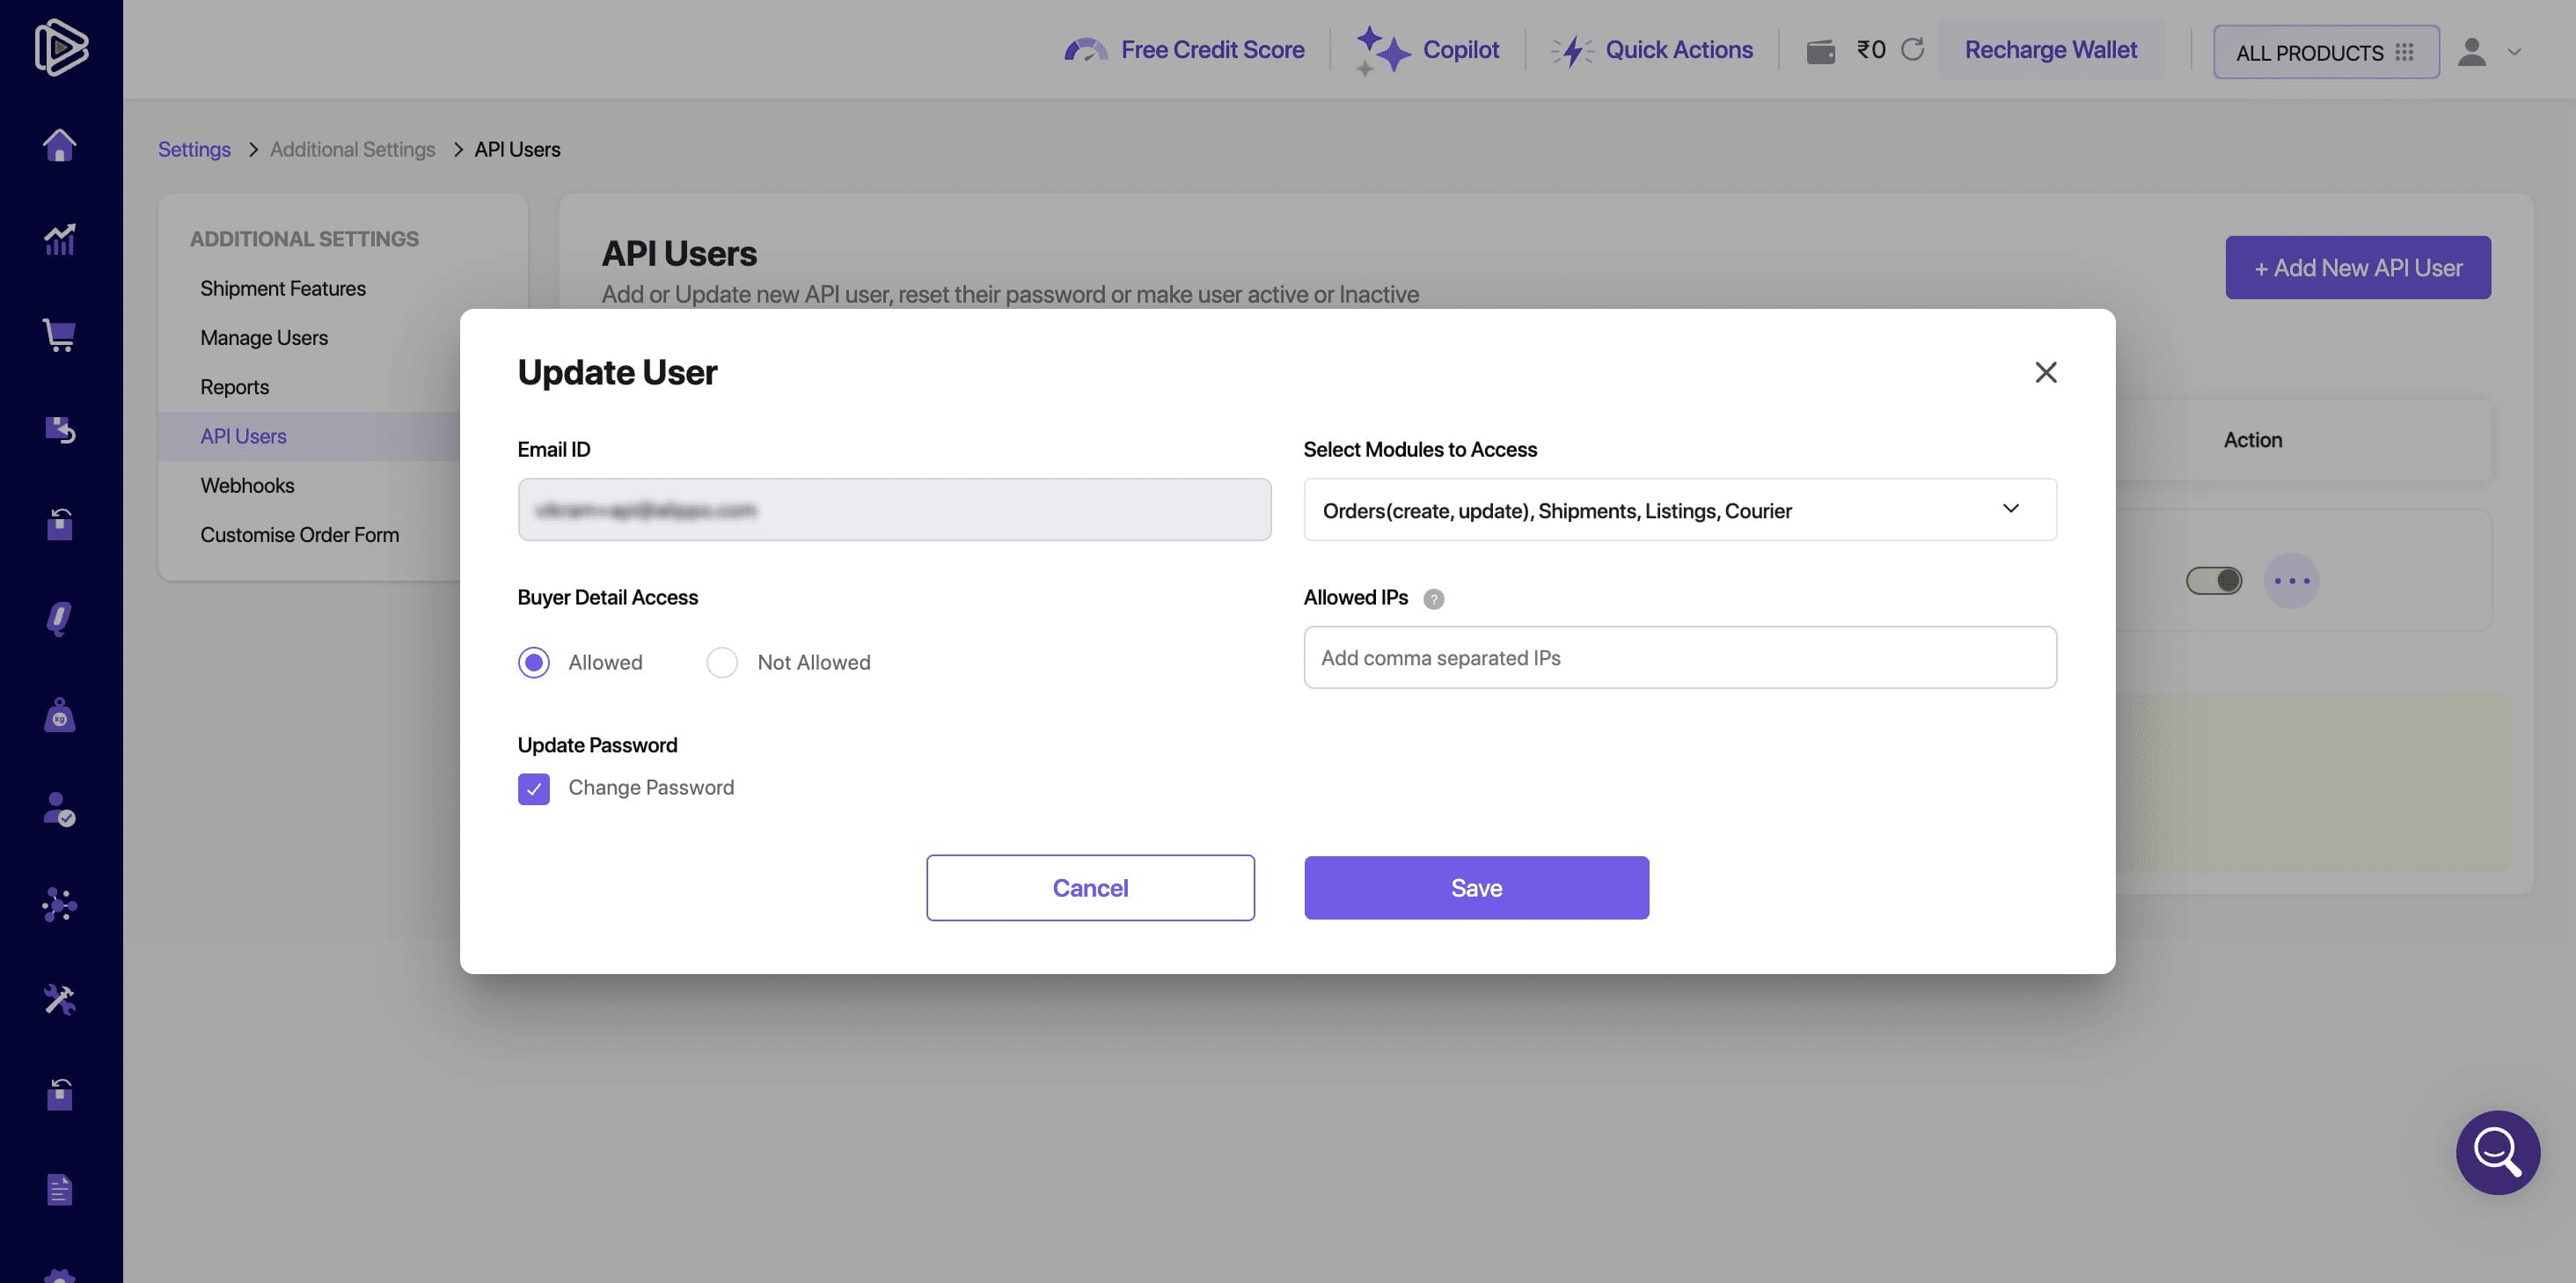
Select the "Change Password" option if you wish to generate a new API password or reset the existing one.
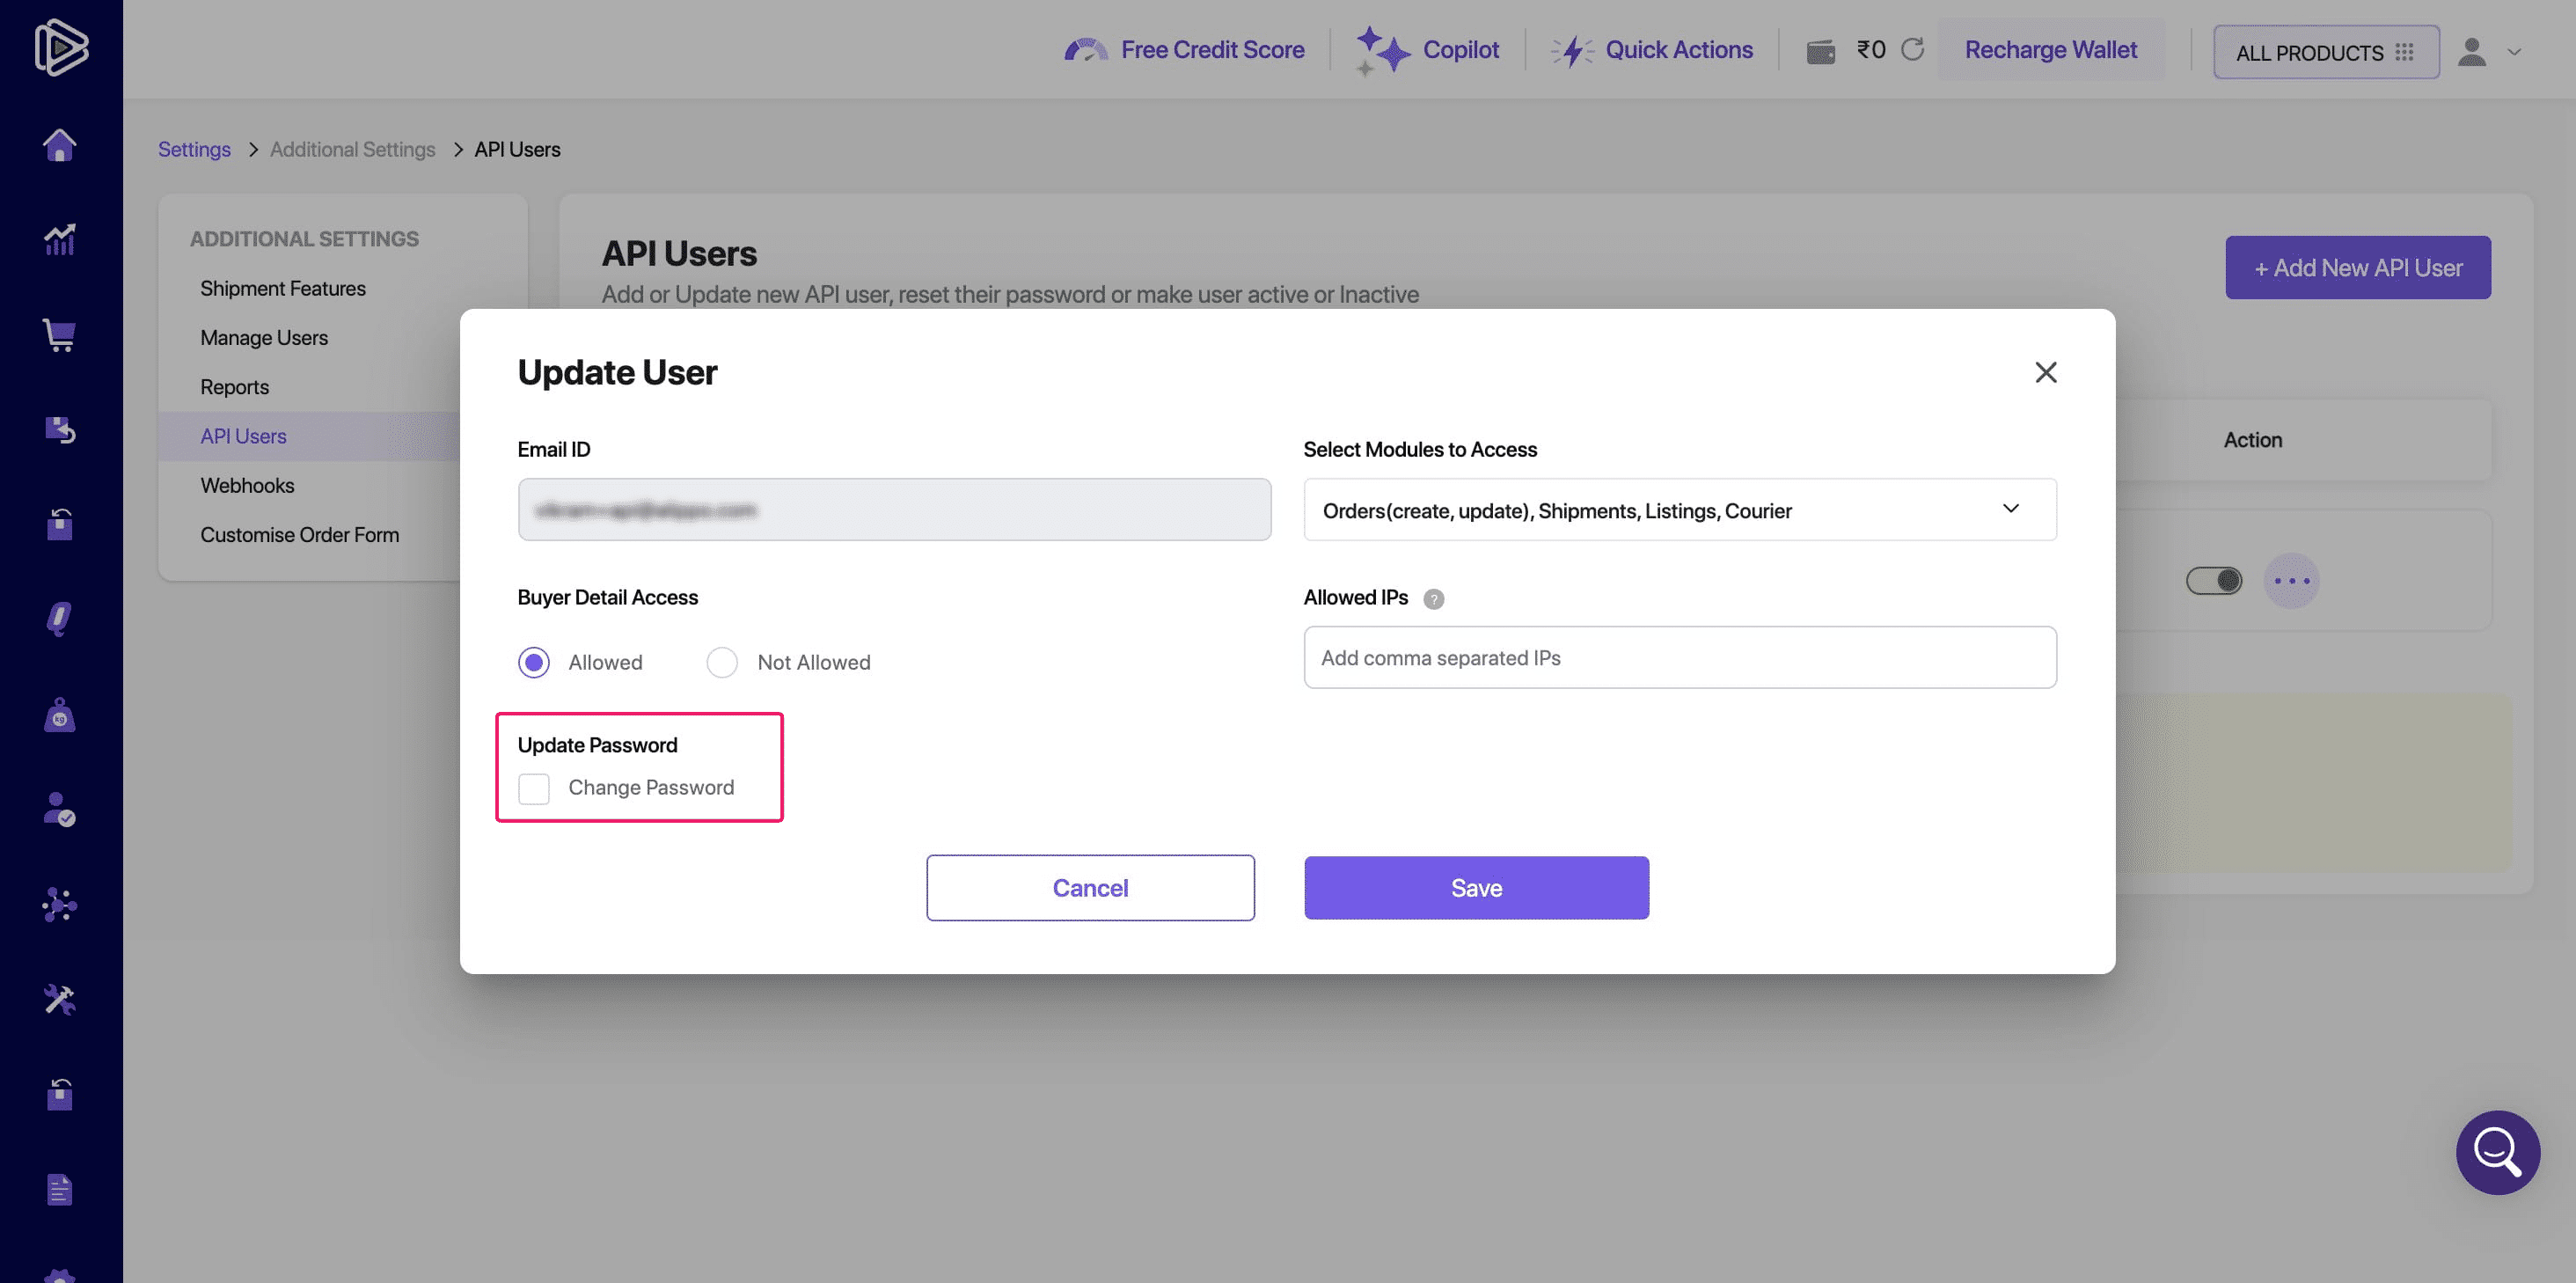
Click on "Save"
Shiprocket will send you an email containing your generated password.
Forward the email containing the New API login and password to prince@alippo.com.
Frequently Asked Questions
- What is an API key and why do I need it for ShipRocket?
API keys are unique identifiers required to securely connect your platform to ShipRocket's services. They allow you to process orders, manage shipments, and access other core functionalities of the ShipRocket platform.
- How do I generate API keys in ShipRocket?
To generate API keys, log in to your ShipRocket Dashboard, navigate to Settings → Additional Settings, and click on Add New API User. Select the relevant API modules and click Create User. Your API Key ID and API Key Secret will be displayed in a pop-up.
- Can I generate API keys for both Test and Live Mode?
Yes, you can generate API keys in Test Mode to simulate transactions without real payments. Once you're ready for live transactions, switch to Live Mode and generate the Live Mode API keys.
- How do I select the API modules for the new user?
When adding a new API user, you will be prompted to select API modules (e.g., Orders, Shipments, Listings). For full API functionality, ensure you select all relevant modules based on your business needs.
- How do I reset or change the API user’s password?
To reset or change a user’s password, go to the API Users section, click on the ellipsis (•••) next to the user, select Update User, and then choose the Change Password option. A new password will be sent to the registered email.
- How do I grant API user permissions?
When adding a new API user, you can grant or modify permissions by selecting the allowed modules. For complete API functionality, ensure all necessary modules like Orders, Shipments, and Courier are selected.
- What should I do if I encounter issues during API key generation?
Your answer goes hIf you face issues during the API key generation process, ensure that you are following each step correctly. If the issue persists, contact ShipRocket support through the Dashboard or refer to the help center for troubleshooting.ere